The following post contains affiliate links and is sponsored by Timeline Wood. Read my full disclosure here.
The stairwell is really just like the story “If You Give A Mouse A Cookie.” Once I started one project it led to another and here we are. I found the perfect solution to brighten up these walls and add dimension. When I found these amazing pre-finished shiplap boards from Timeline, there was not stopping this project.
I have always envisioned wrapping my stairwell in beautiful molding. However, it just seemed like a lot of work. Finding a molding to fit behind baseboards and trim is tricky. Then once you get it all up there is still all the painting to be done. Needless to say, I put this project off for a long time because of all the obstacles.
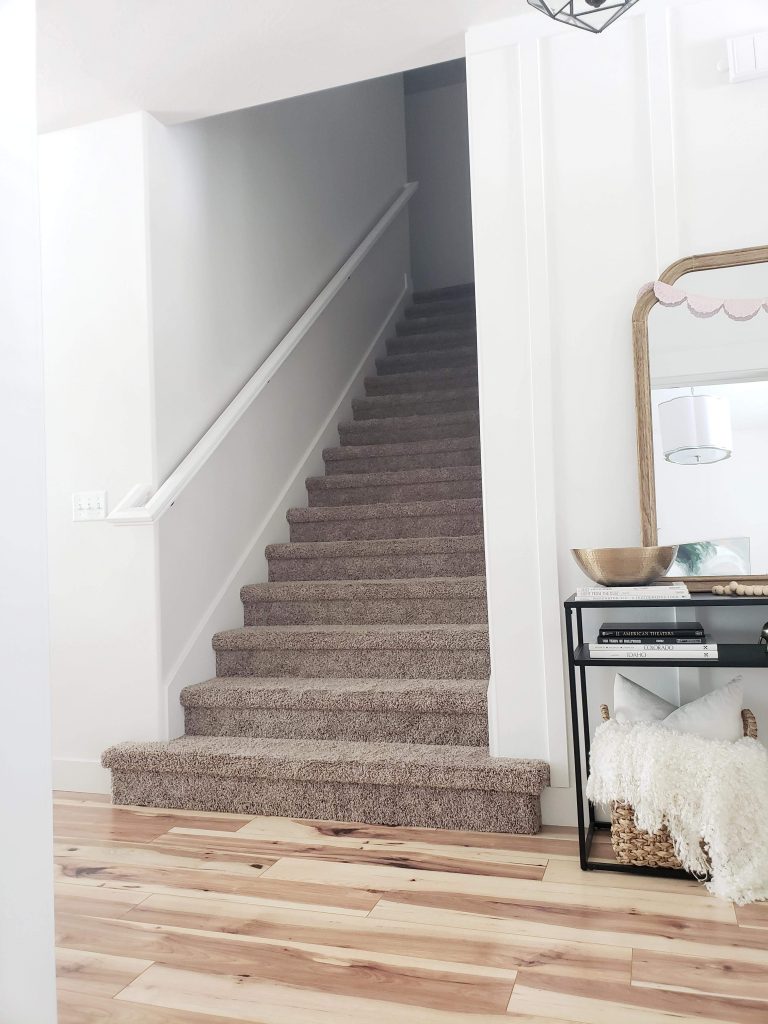
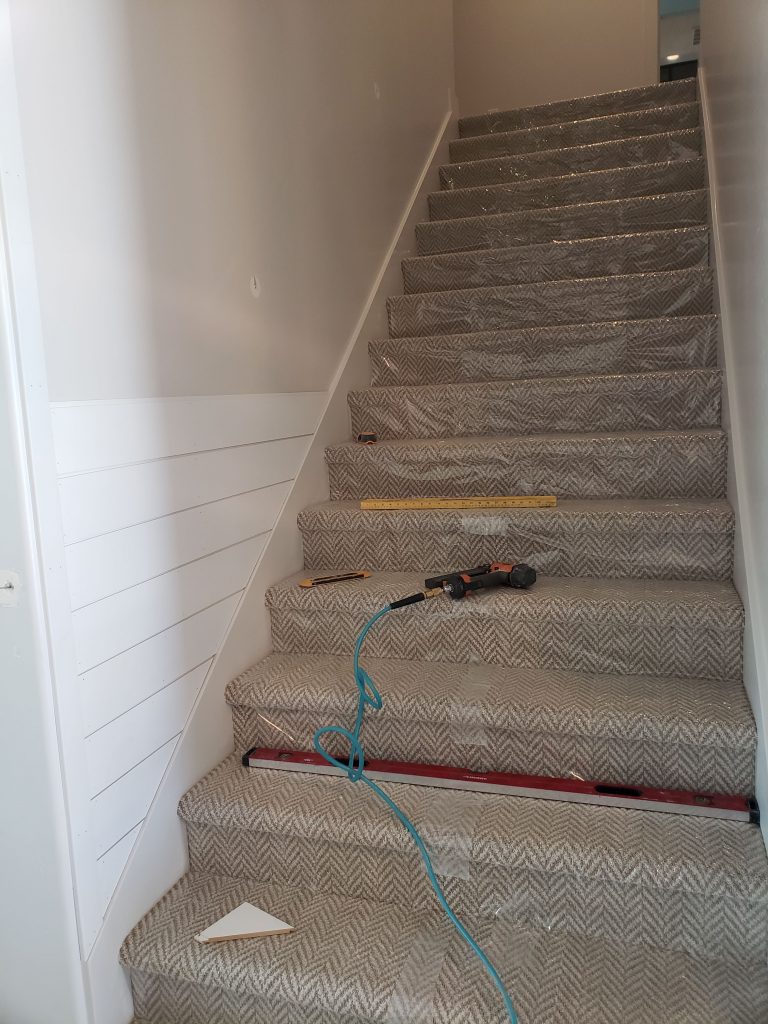
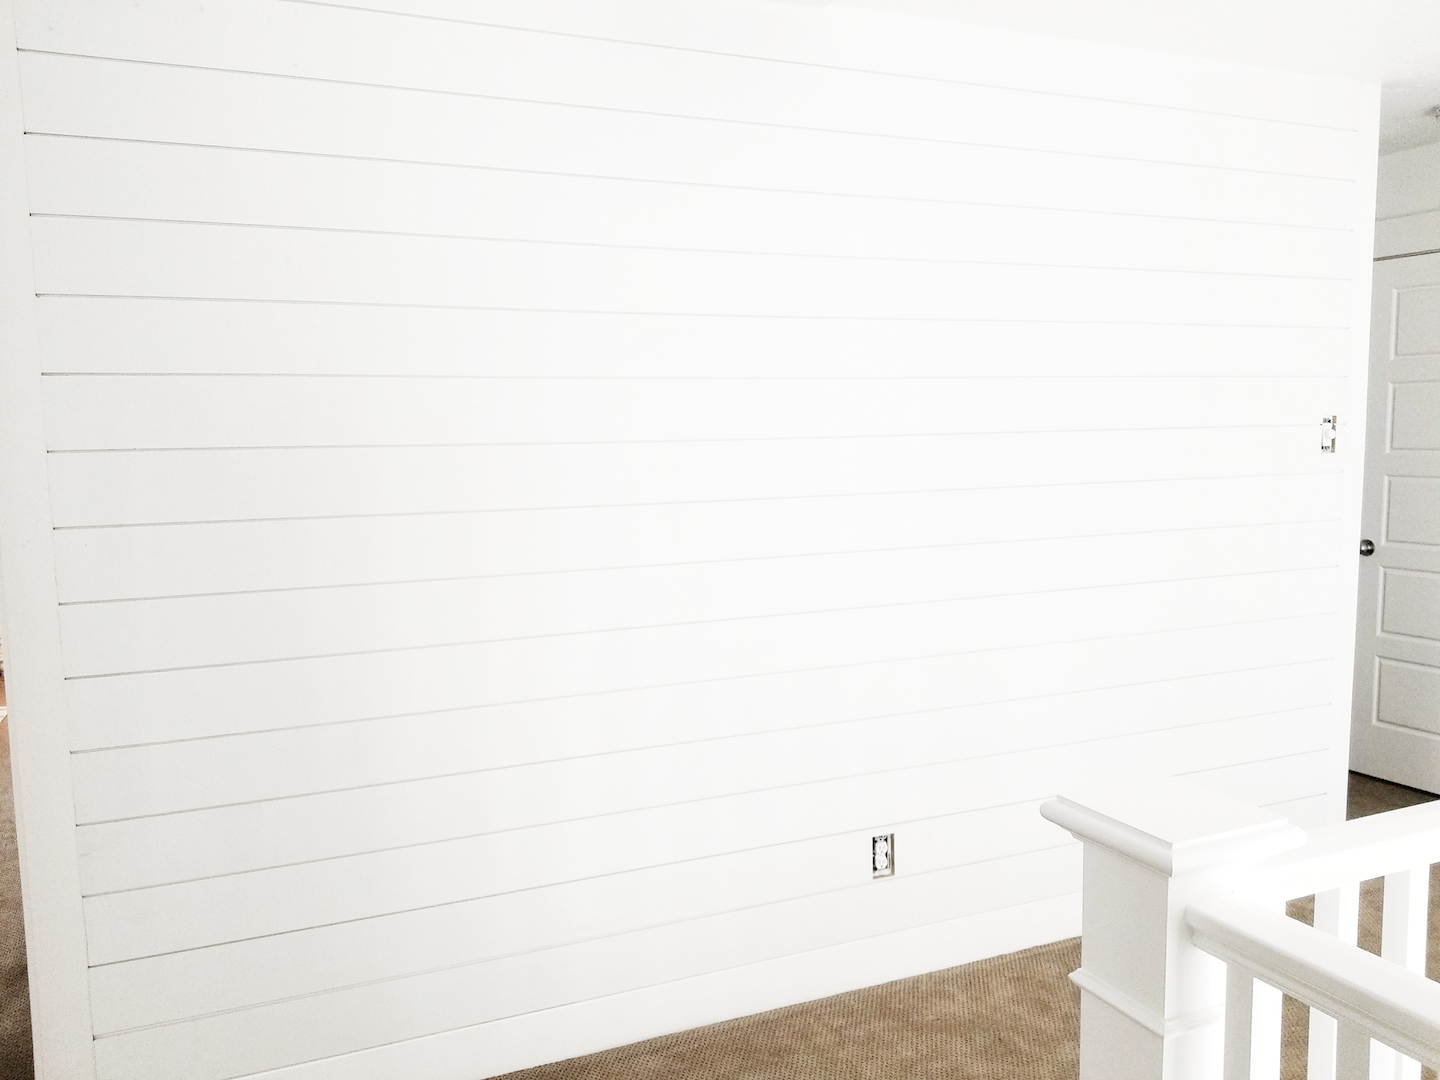
A look at the stairwell Before we started.
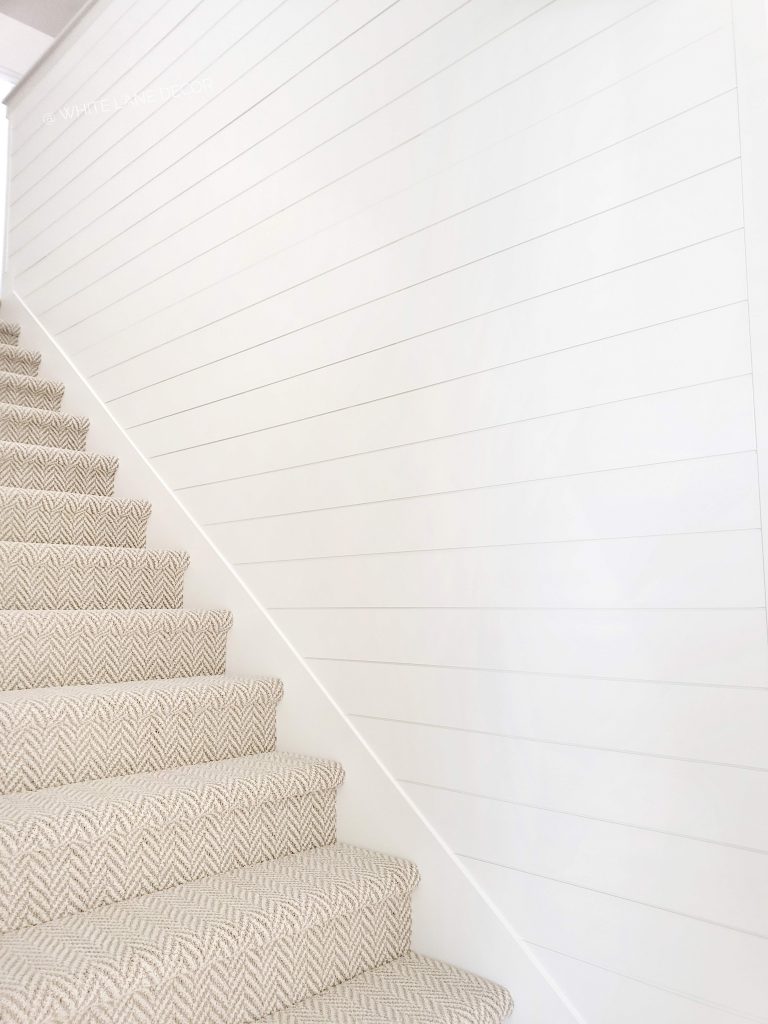
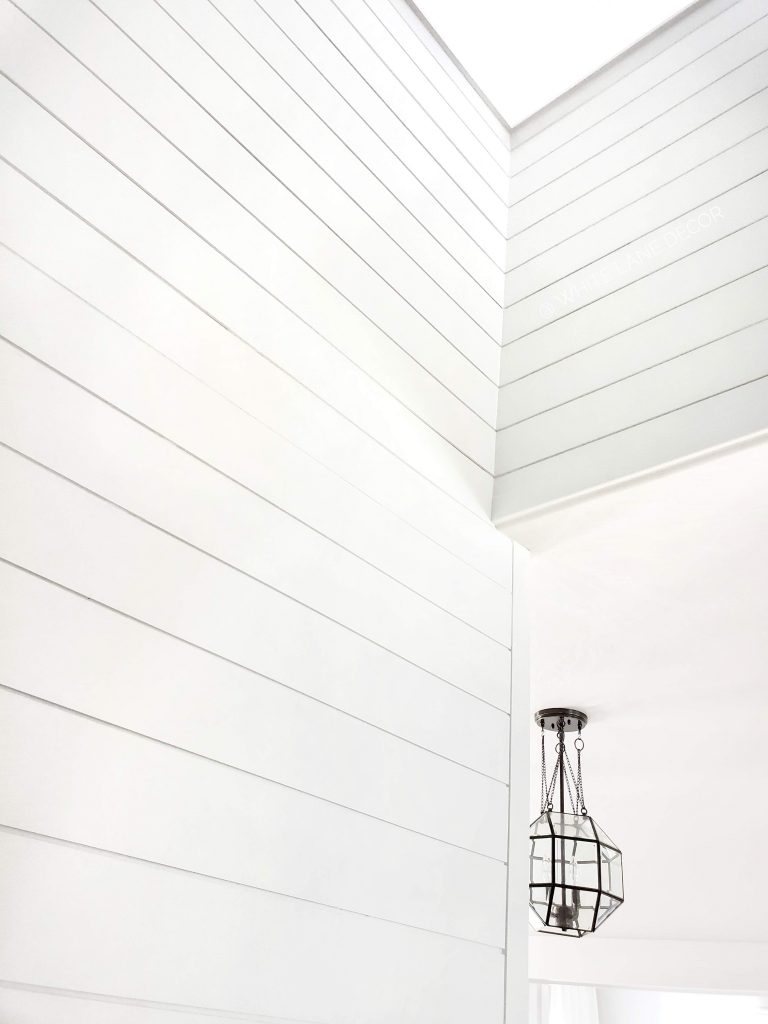
Well, that all change when I discovered Timeline Wood. They actually make shiplap that is thin enough to fit behind baseboards and window trim. It also comes with the classic nickel-gap spacing just like real shiplap! I was so excited about all of those features that my stairwell started to come to life.
Here is the best part of Timeline Shiplap: It comes PRE-FINISHED! That is right people. The shiplap is already painted in the color you choose. Timeline offers white, greige, black, green, and navy all ready to be installed. Once you put it up on the wall, you are done! That is worth its weight in gold right there. You just need to caulk, fill the nails holes and do touch up. A huge time saver to have the majority of the painting already done!
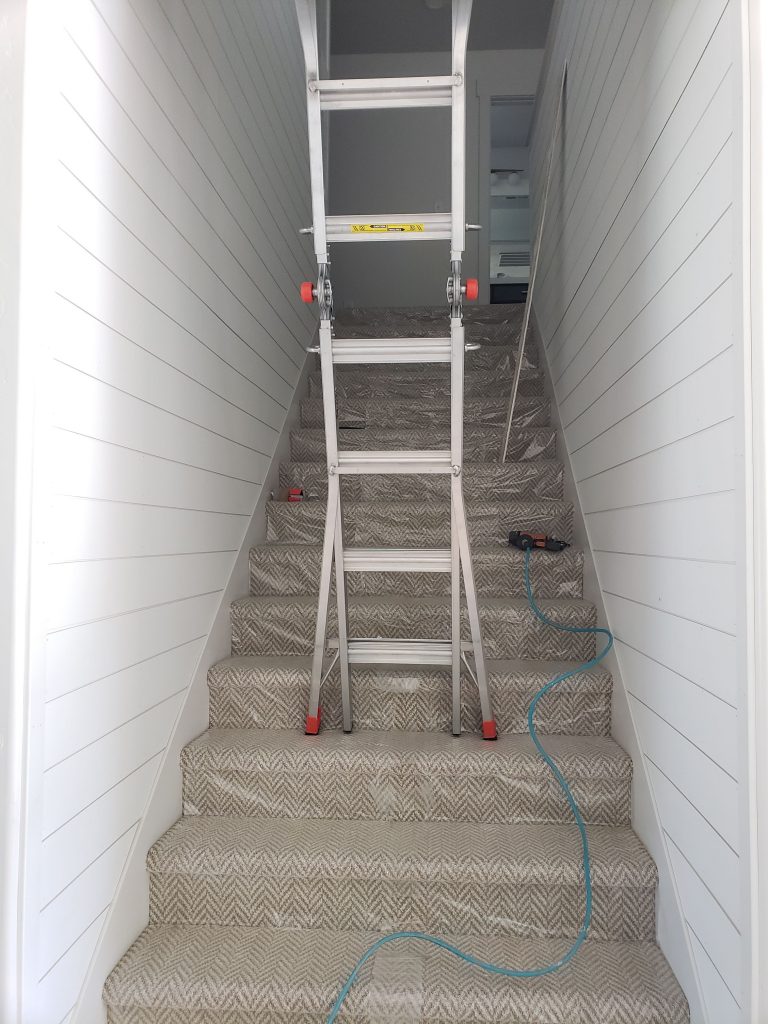
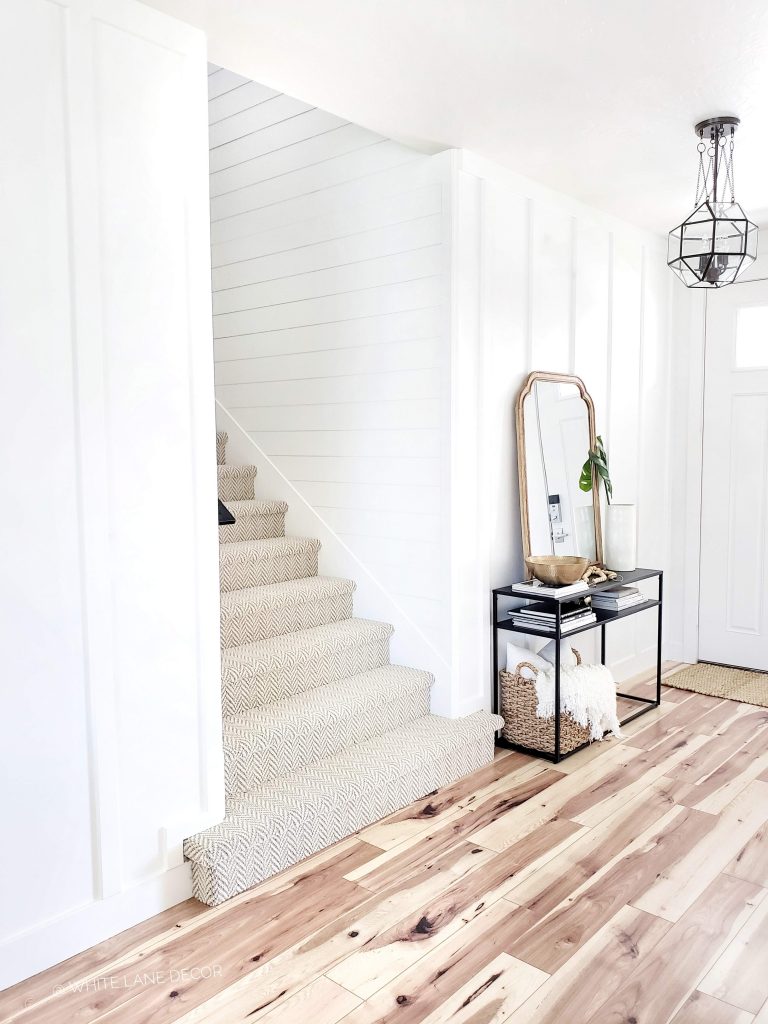
I was so thrilled about this amazing shiplap and got right to work on my stairwell. Mr. Whitelane got an unexpected work trip out of the country so I had to call in my friend Coby to help. He did our kitchen backsplash on the main floor and basement. Coby also does trim and finish work. He was amazing to step in and help us since Mr. Whitelane couldn’t be here.
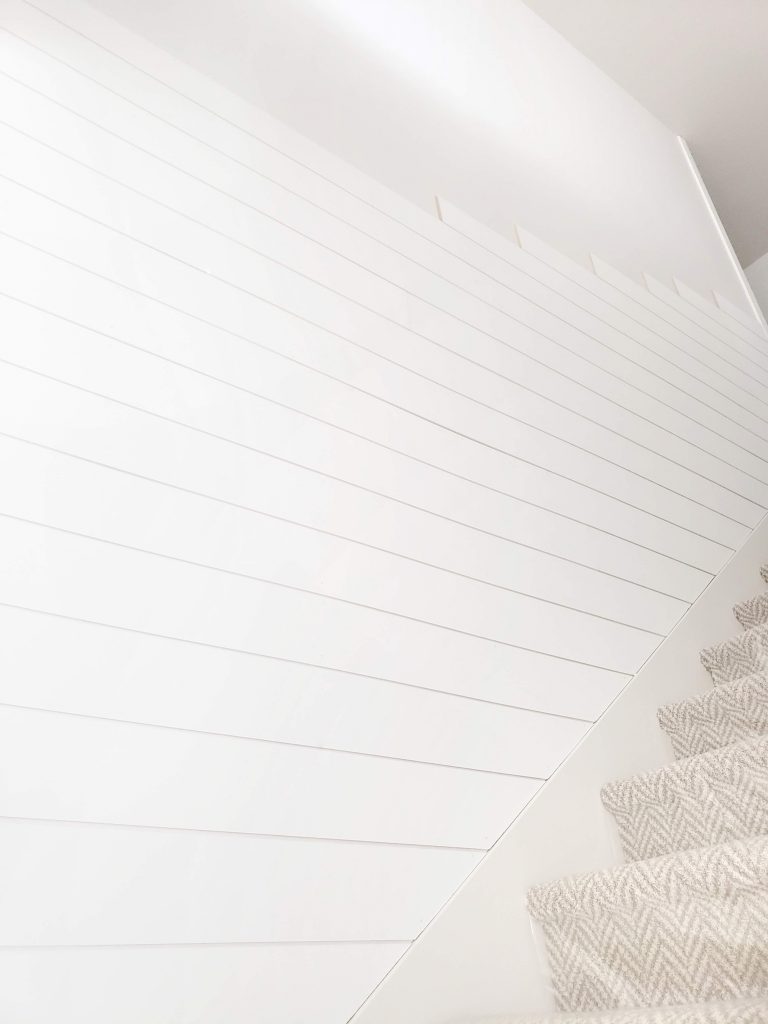
It was such a relief to not have another step to do after the boards were installed. The pre-spaced gap, the clean smooth finish, and thin non-warping MDF made this install super easy. A DIYers dream is everything this Timeline Shiplap is made of. Timeline is also giving you 10% off sitewide with code “WHITELANE10.”
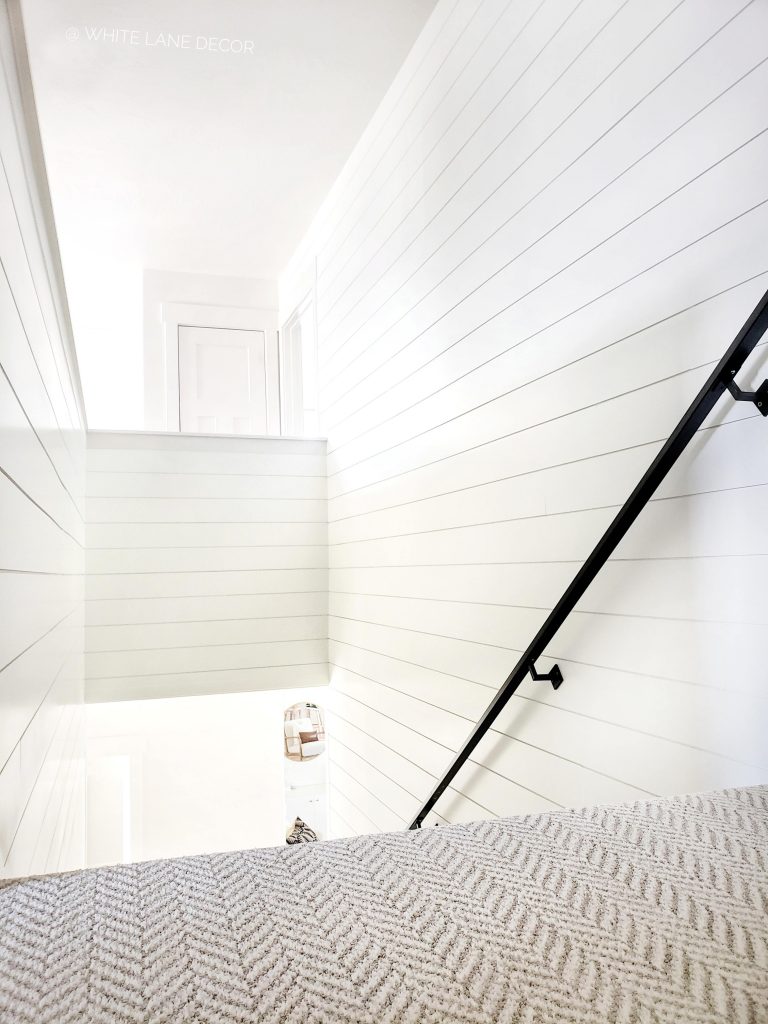
I kind of want to shiplap all of the things now. It is so simple and makes such a statement! I am thinking the black shiplap is next on my list of projects. 🙂 I just need to pick a wall.
The following post contains affiliate links. Read my full disclosure here.
We just finished the shiplap in the upstairs hallway. Mr. Whitelane and I usually do our shiplap by having underlayment ripped into six-inch strips. We used this type of shiplap above our bathroom vanity. However, I am going to let you in on a big secret. Mr. Whitelane found an even easier and better looking DIY way to shiplap. I almost hesitate to share because I want to finish up a few more shiplap walls before all the stores sell out. 🙂
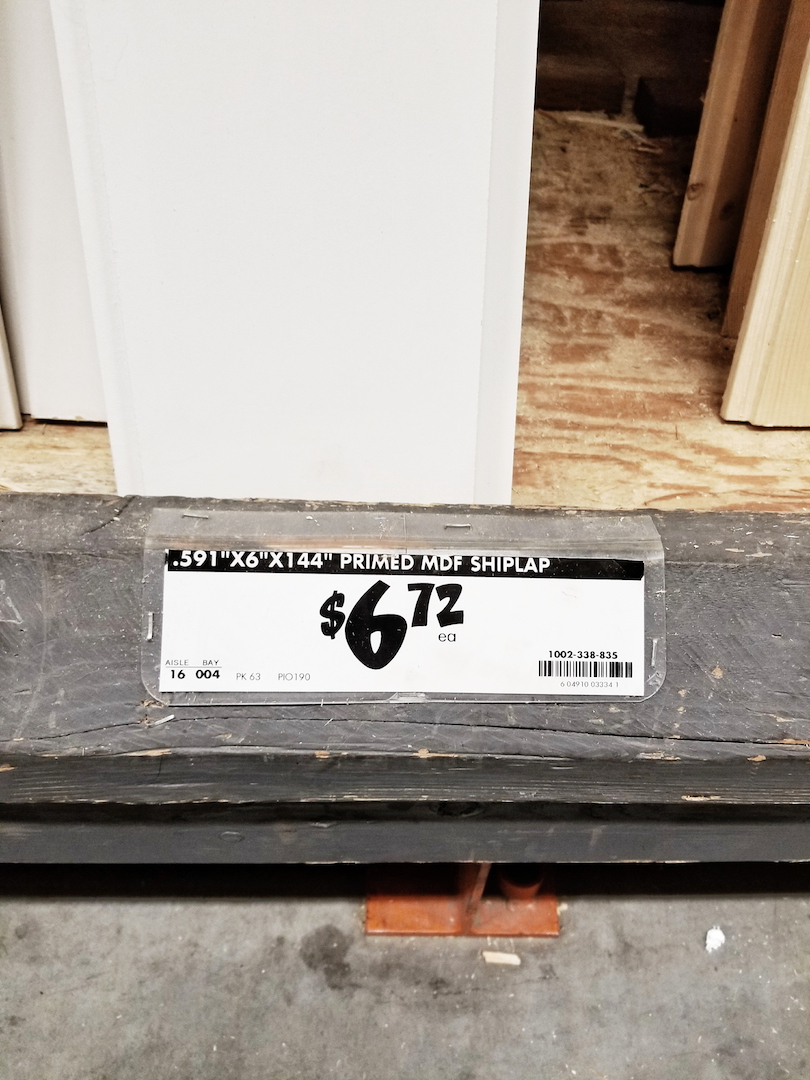
I am totally joking. I wouldn’t do that…well, maybe. We went to Home Depot to get boards for the upstairs hallway. Mr. Whitelane had gone to find a worker for help getting wood down. I get a phone call a few minutes later from him telling me to come look at what he found. Mr. Whitelane told me he found primed shiplap boards. I reluctantly said they were probably just the cedar tongue and groove boards and wouldn’t work. He convinced me to walk over and find him.
I was giddy with excitement to behold what he found. HOME DEPOT now carried primed MDF shiplap boards. NO WAY! There were 12 foot and 8-foot shiplap boards. HALLELUJAH! This was going to look so much better and match our entry shiplap at a fraction of the cost. The boards in our entry were customed ordered from a wood mill. Way to go Mr. Whitelane, way to go! I was thinking its about time Home Depot carried shiplap. It is all the rage these days.
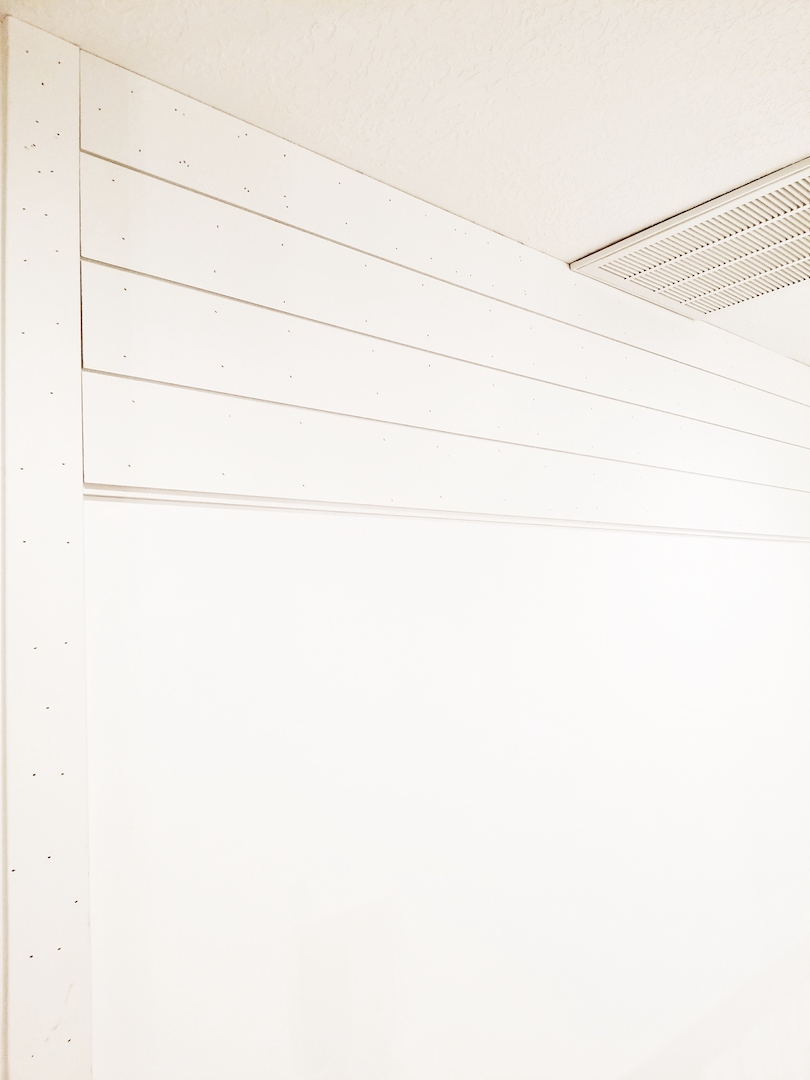
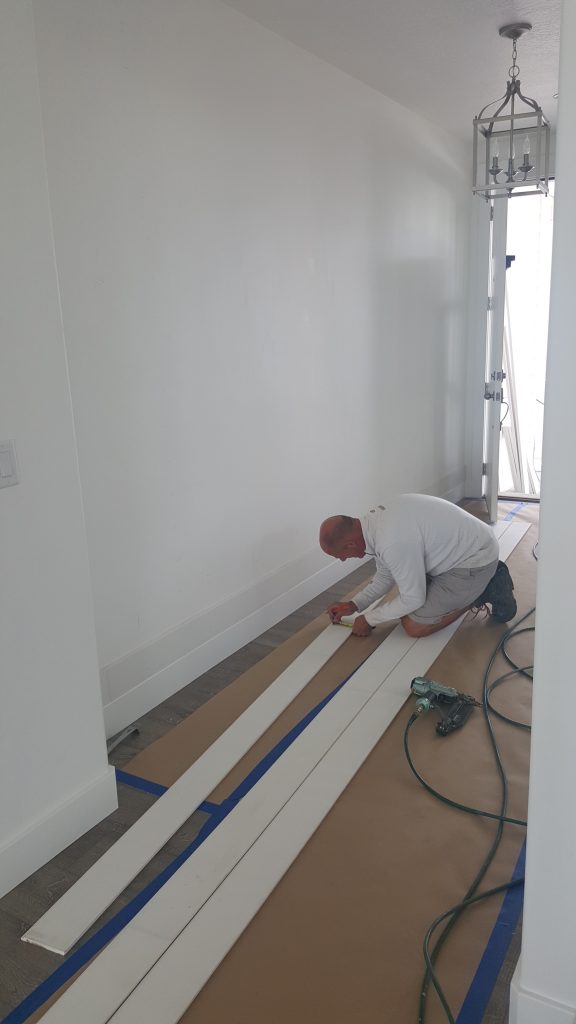
We quickly snatched up all the shiplap boards they had left and hit up another local Home Depot for a few more. We got home and got started. Since the wall is open on each end in the hallway, we used 3.5″ MDF casing on each end. Otherwise, there would be all the ends of shiplap showing. It wouldn’t be a finished look. We put those end caps up first. Then we added the shiplap boards starting at the ceiling.
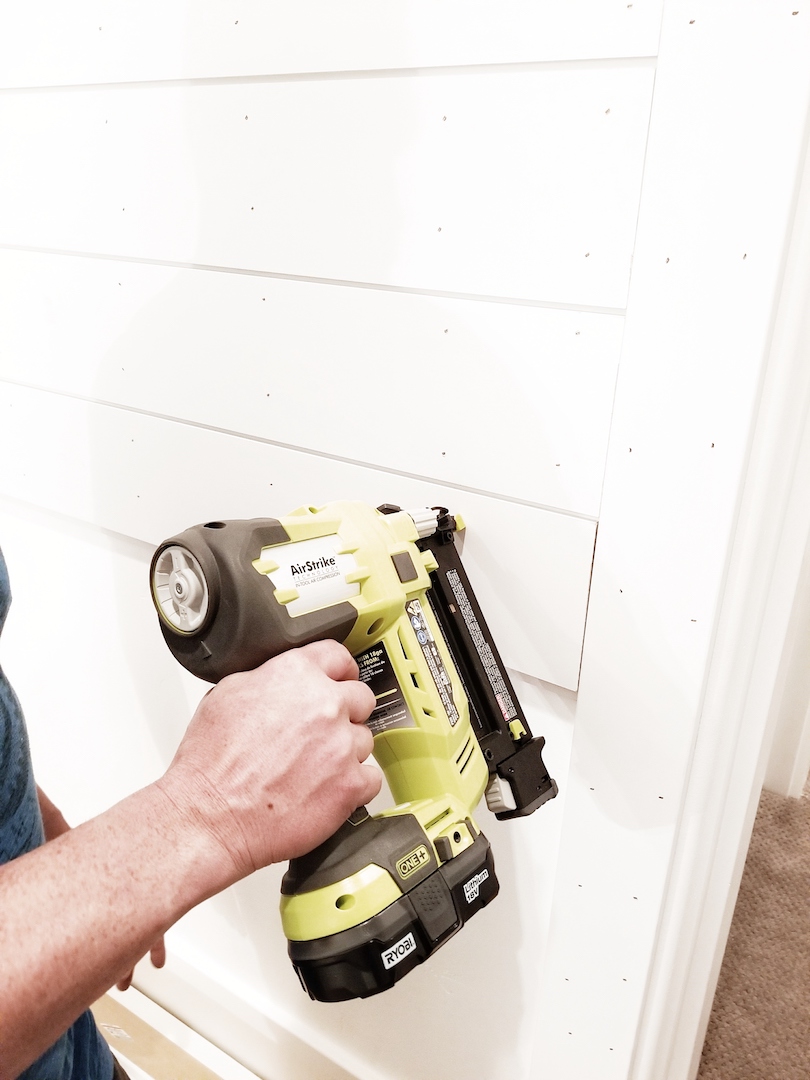
The ceiling is never level and there will be bigger gaps in certain areas. This is what caulk and paint are for. We continued putting up the boards down the wall until we reached an outlet. We then used our jigsaw to cut out around that area. I give Mr. Whitelane all the props for that tedious job. His measurements were spot on with the square cuts for the outlets. Did I mention, we used our Ryobi Airstrike cordless nail gun? We were able to do this project while our kids slept at night. Literally a few feet away from their bedrooms. It was so much quieter than a compressor nail gun!
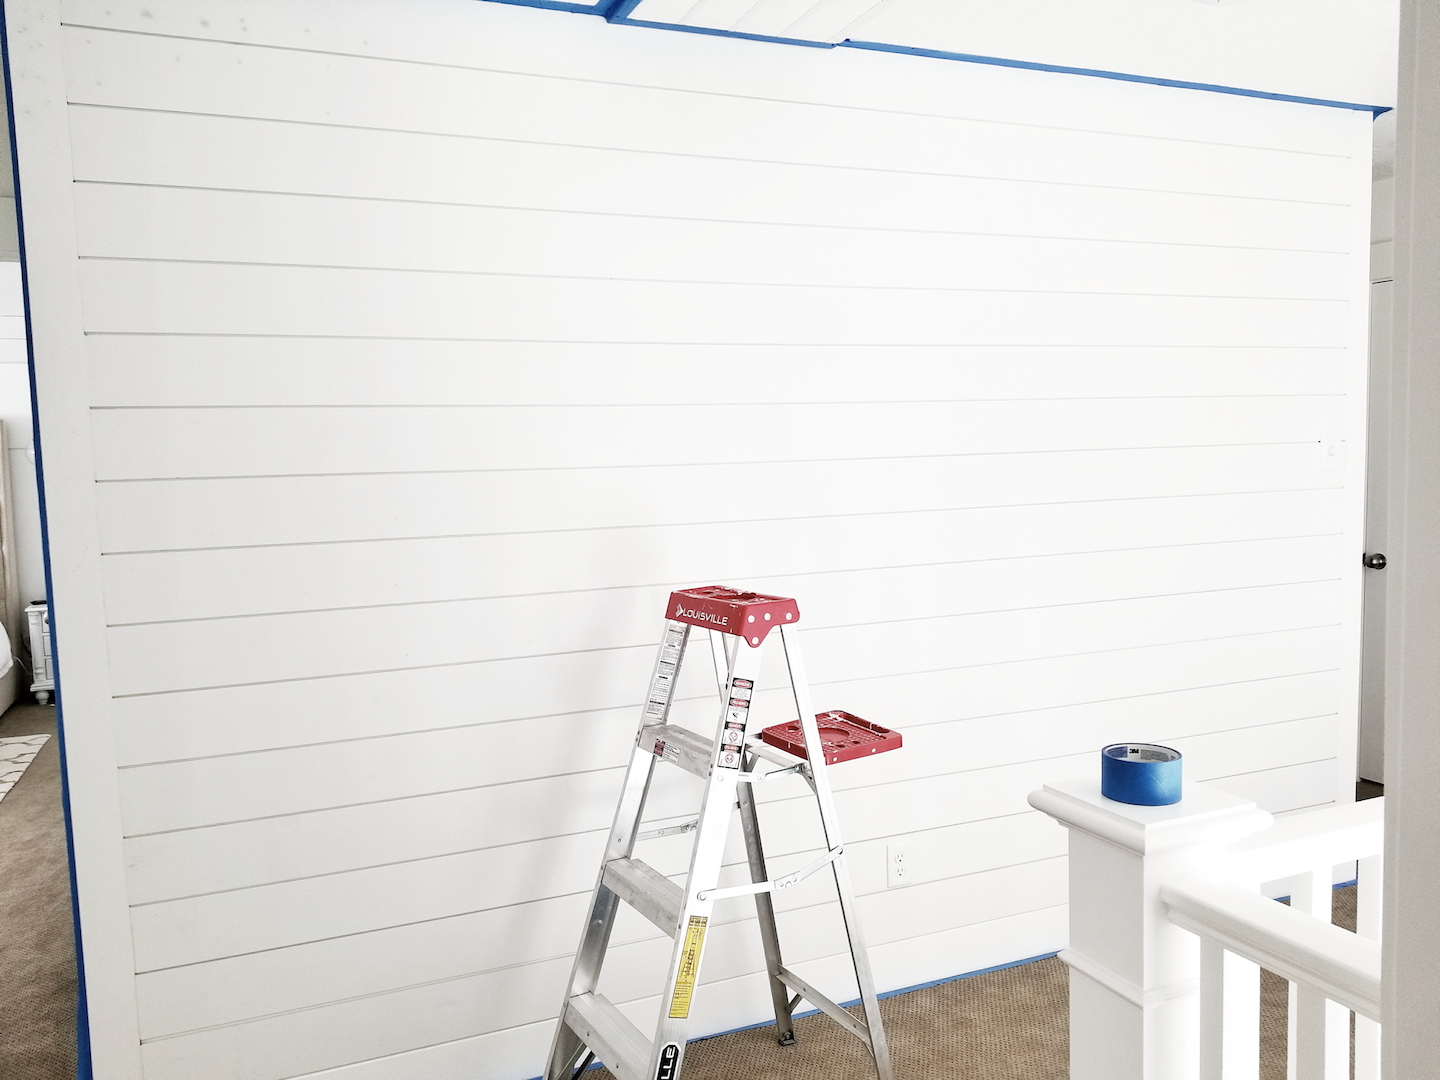
After we got all the boards up, I used caulk and spackle to fill all the gaps and holes. It sat that way for a good two weeks. I really was not sure about painting this beast wall. I knew spraying the wall would be best. Also, it would be more expensive to have someone come spray it (my paint sprayer is not made for indoors). That is also on the account that I could even find a decent painter that is not crazy busy right now. After looking at the wall unpainted for weeks, I decided to just go for it.
I used a foam roller and very small art paint brush. I used the small brush to get in all the open grooves and then smoothed it over with the foam roller. I will be honest, the first coat was a long nightmare. I wanted to quit halfway through. It didn’t look very good and it was soooo time-consuming. I actually did quit for about a week. I then decided to give it a second coat. It started looking way better. In fact, the second coat went way faster and smoother. I even did a third coat of paint the same day in less than 30 minutes. Each coat got easier and quicker. It was not as smooth of a finish as spraying. However, it was DONE! I plan on hanging three large frames across the wall. I don’t think you will notice all the little imperfections of my paint job once they are hung.
Sadly, we haven’t got family pictures done in two years! WHAT? I know it’s crazy. I haven’t hung the frames because I am waiting until the new baby arrives, to get updated family pictures. I will be sure to share the finished wall, with frames, when that all happens. I just wanted to share my top secret source for the best DIY shiplap. Who knew, Home Depot?
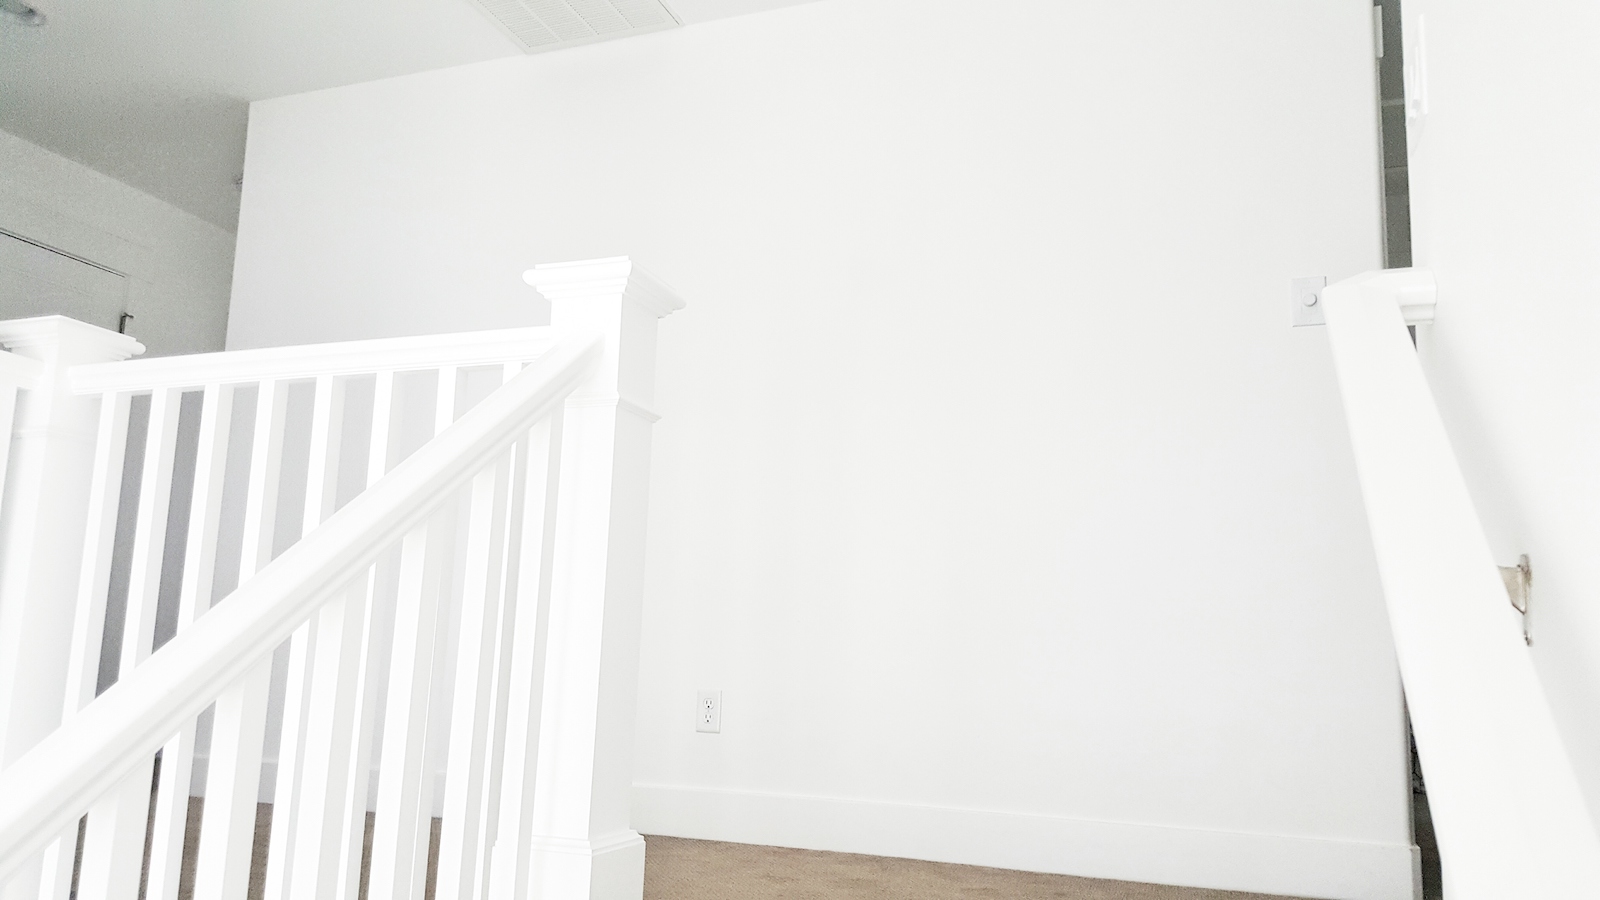
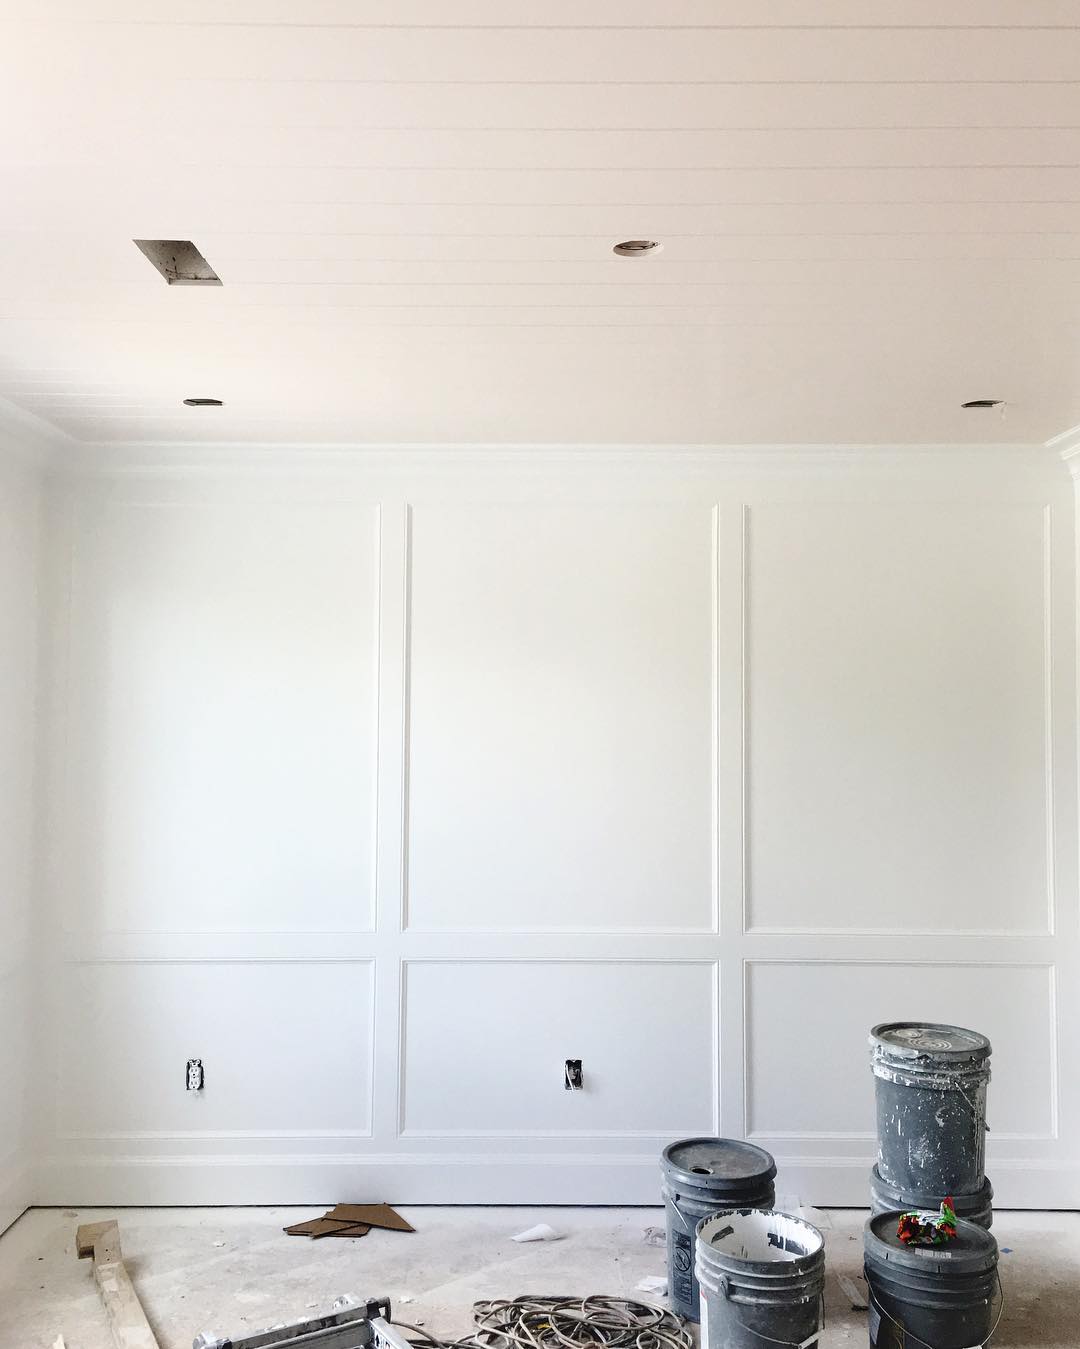
I have a big nice hallway at the top of stairs. Every time you walk up the stairs you see this nice long hallway or wall. It is just over 12 feet long and is begging for some sort of wall treatment. I mean, look at this big blank canvas. The possibilities are endless! I have narrowed down the options to just a few.
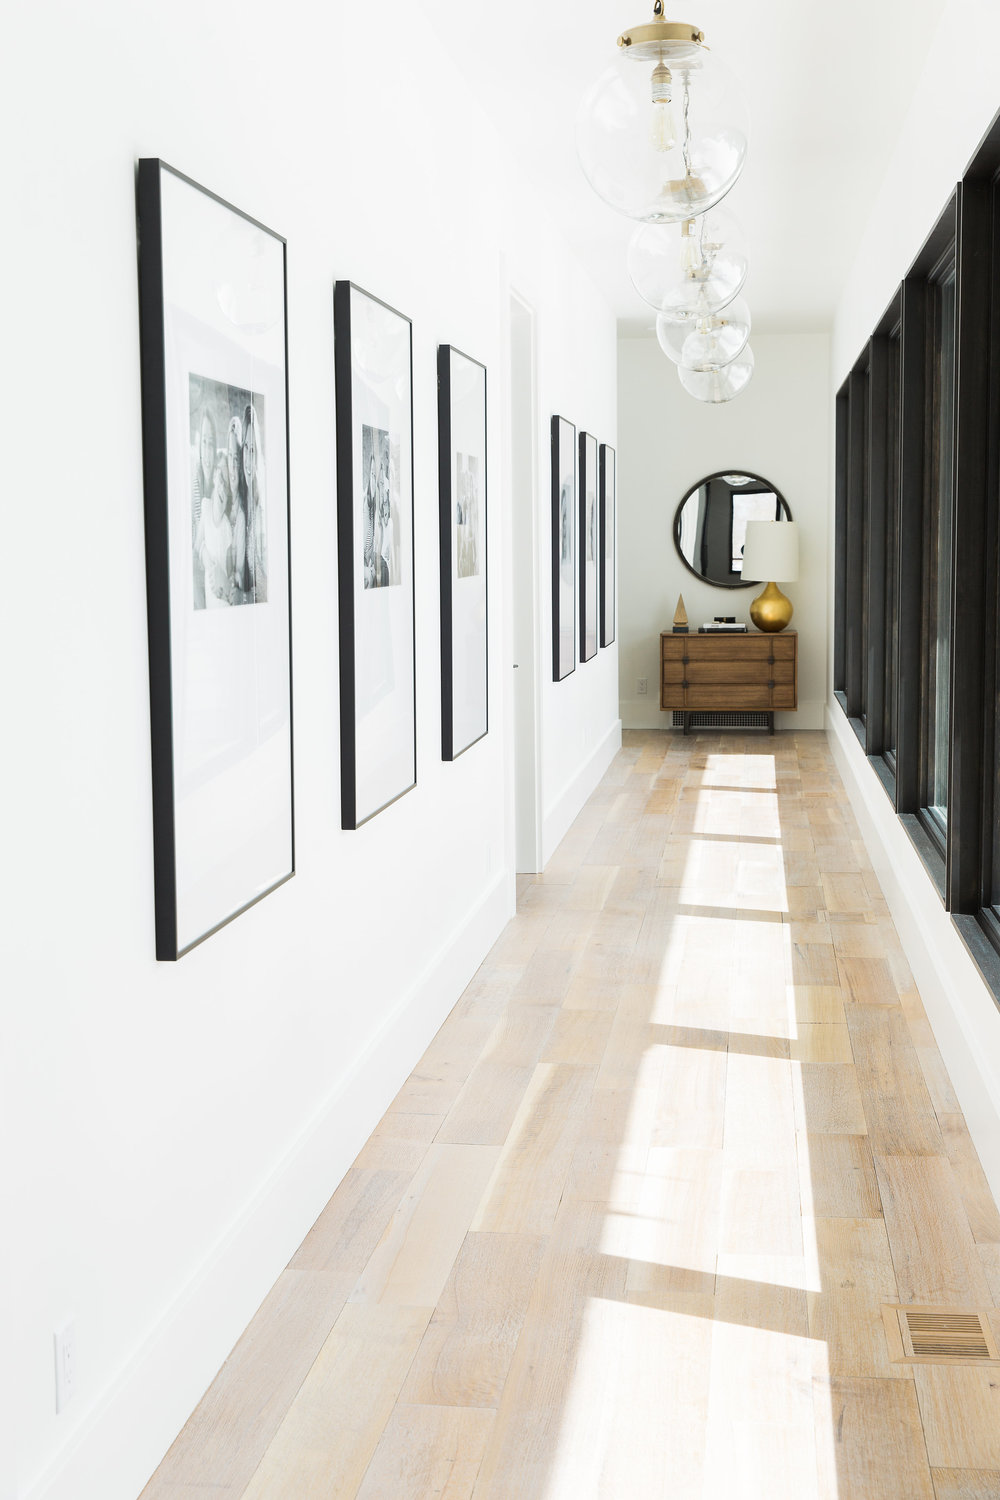
I love shiplap and I think it could look really cool here. Just picture some clean and crisp white shiplap with large black frames spaced across the wall. I found the image below, here. I think some black and white family photos inside a few large black frames will really pop against the shiplap. If we did shiplap, it would be the same as our entry shiplap. The planks are similar to tongue and groove and are about 7.5″ wide.
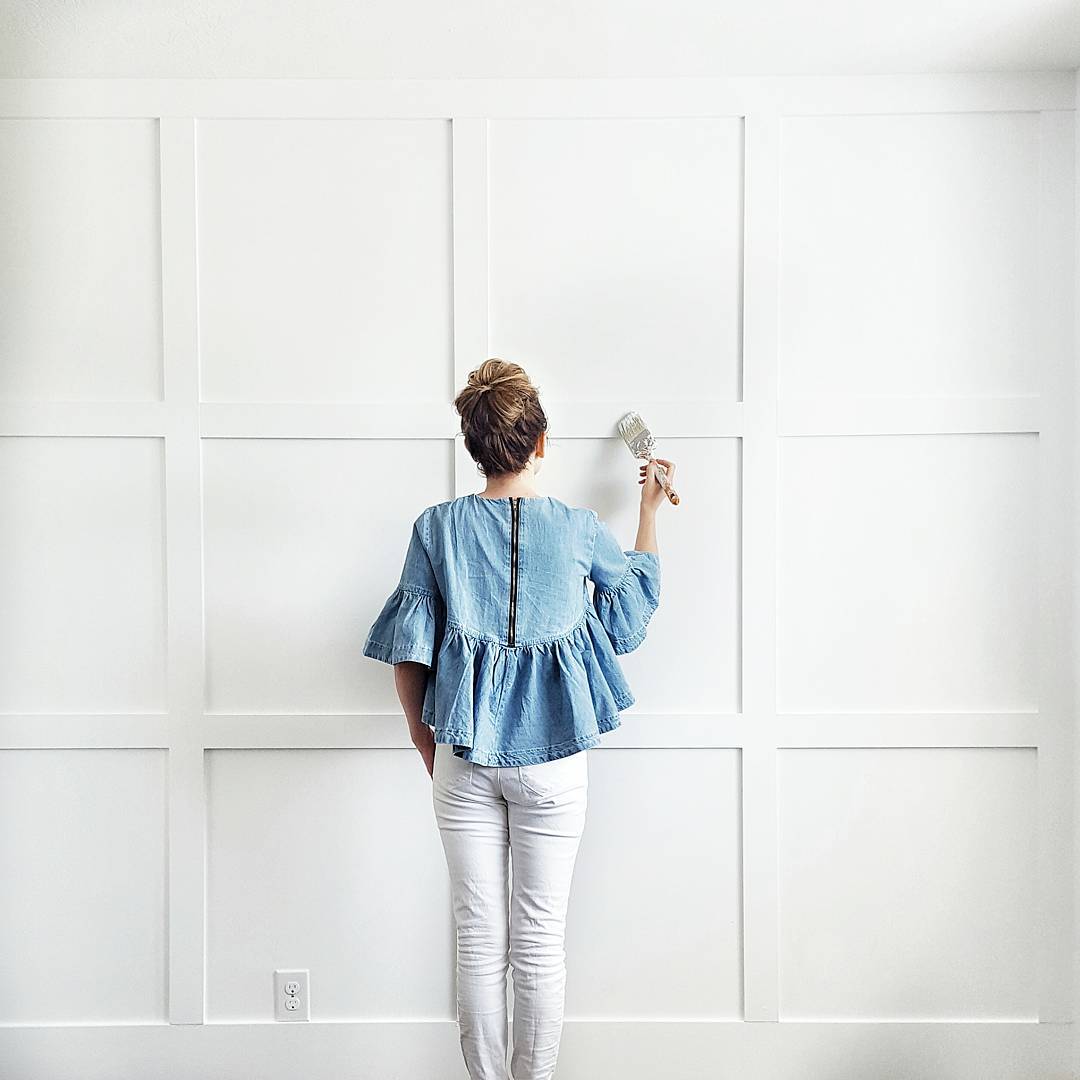
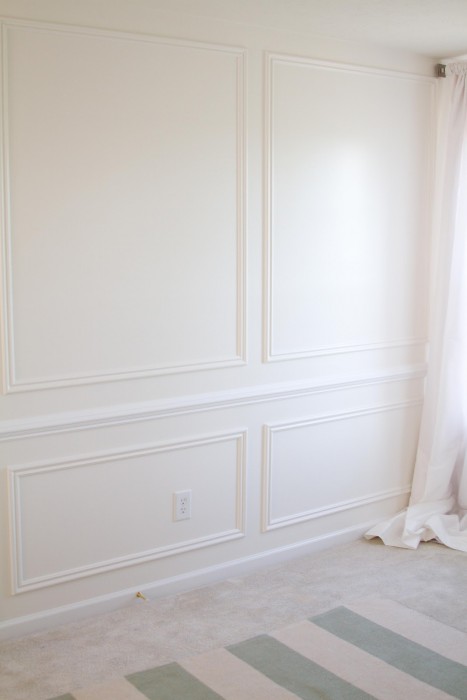
Then there is board and batten. Not just any board and batten, but square board and batten. I thought about evenly spaced squares across the wall like the first image below. I really want to hang large black frames across that wall as well. I am not sure if all the evenly spaced squares would look as good with frames over them. Then I came across the second image below. The longer spaced squares would fit a frame perfectly between each section. It is still a unique twist on your typical board and batten. Also, either of these board and batten options would be a lot easier to install than the shiplap.
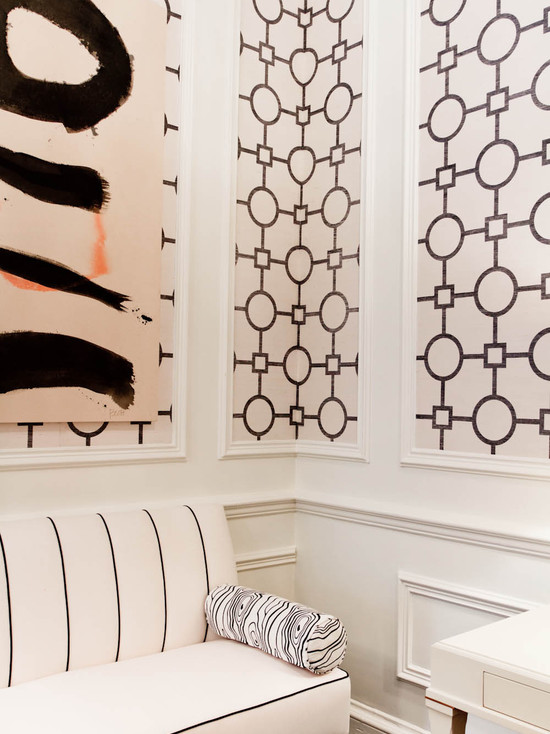
The final option I am weighing is picture frame molding. I found the first image below here. I think large black frames would look great within the larger molding. This would still be relatively easier than shiplap. Truth be told, I have never installed picture frame molding. It could be a fun learning experience. I came across this idea in the second image below as well. I could add a fun wallpaper inside the picture frame molding. I am just worried I would get tired of the wallpaper over time. Picture frames make it easier to swap out pictures when an update is needed.
What do you think? I want to knock this project out before the baby comes (along with a few others). I need to make a decision quick. This will be a weekend warrior project (or a few weekends) with Mr. Whitelane. I am leaning towards the larger board and batten squares for ease of installation and time. However, Mr. Whitelane thinks we should do the shiplap like our entry. Decisions, decisions.
Today is one of those days. I woke up all night long. I finally woke up for the day at 5 a.m (but I layed there until my kids came busting through the bedroom door). I ran around all day just trying to keep up with life. Mr. Whitelane was out of town. I finally sit down to share this blog post, and my kids get out of bed every 5 minutes. My eyes are burning, my feet are freezing (winter is coming), and Chic-Fil-A nuggets are not very filling. 🙂 So, as I sit here stuffing popcorn in my face, I am so ready to share our entry and woodwork.
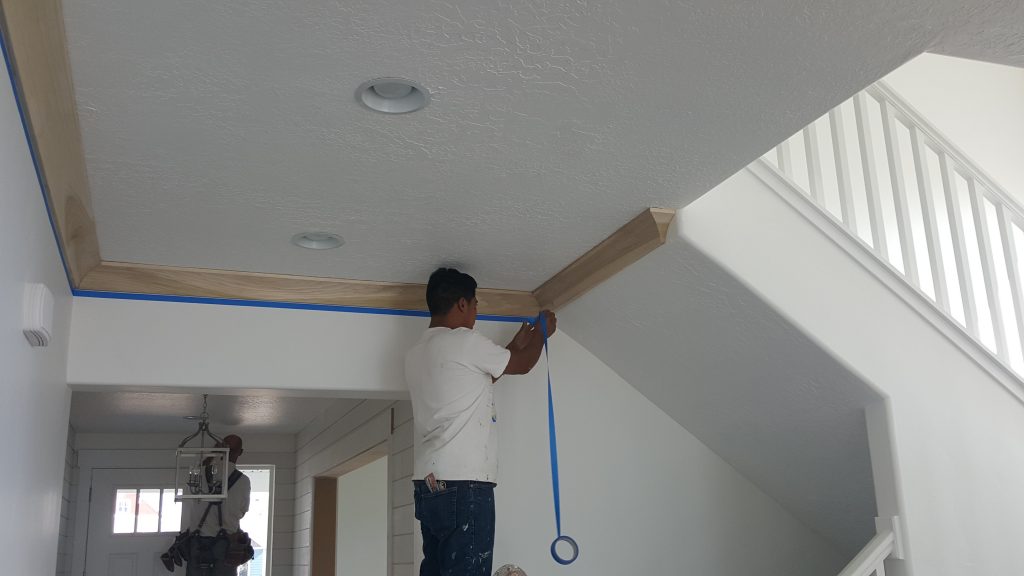
When we started getting in the final stages of our house, the project list started. I wanted to get a few things done right away. Diederich Construction finished the basement in our townhouse. I knew I wanted to use Diederich Construction for our entry, crown molding, and window casing too. Troy does amazing finish work.
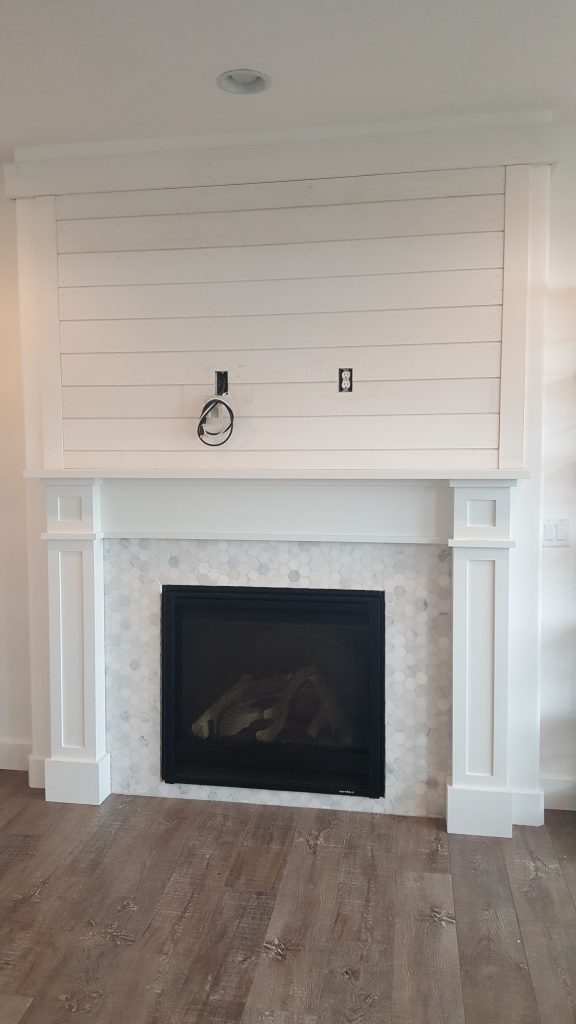
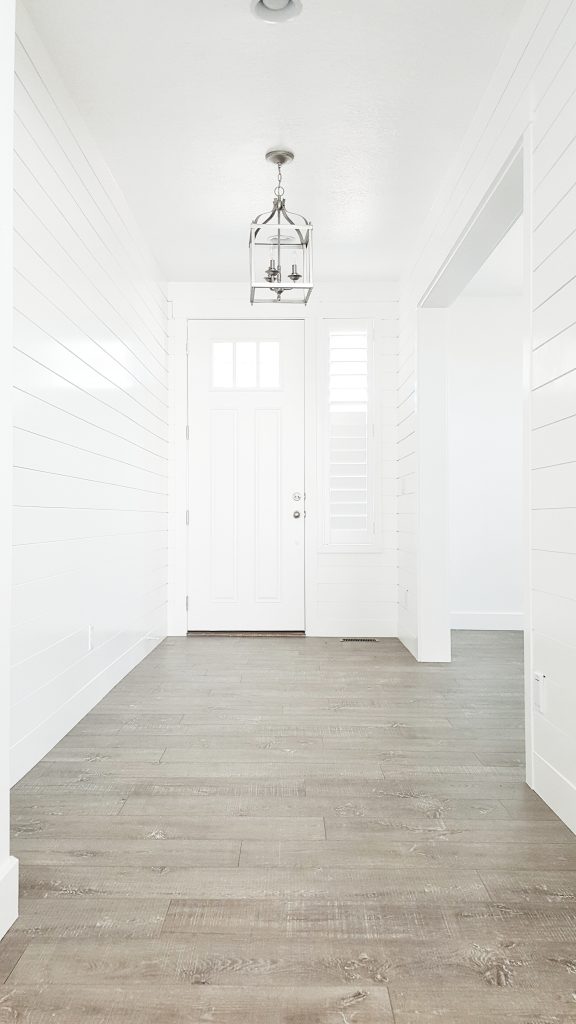
I had a hard time deciding what kind of wood work I wanted for the entry. I thought about board and batten, picture frame molding, and shiplap. I love all three options. I decided to go with shiplap wrapped around all the walls of the entry. I thought it would add the most character without being overwhelming. I also figured it would be good to go ahead and case the front room opening, shiplap above the fireplace, and put crown molding around the living room. While Troy had his equipment on site, we might as well do as much as we can. Painters also had to come. So, we wanted to get as much wood work done, making it easy to all be painted at once. Our priority was the main floor. I still have a lot more wood work I want to have done in this house. However, this turned out really great, for now. 🙂
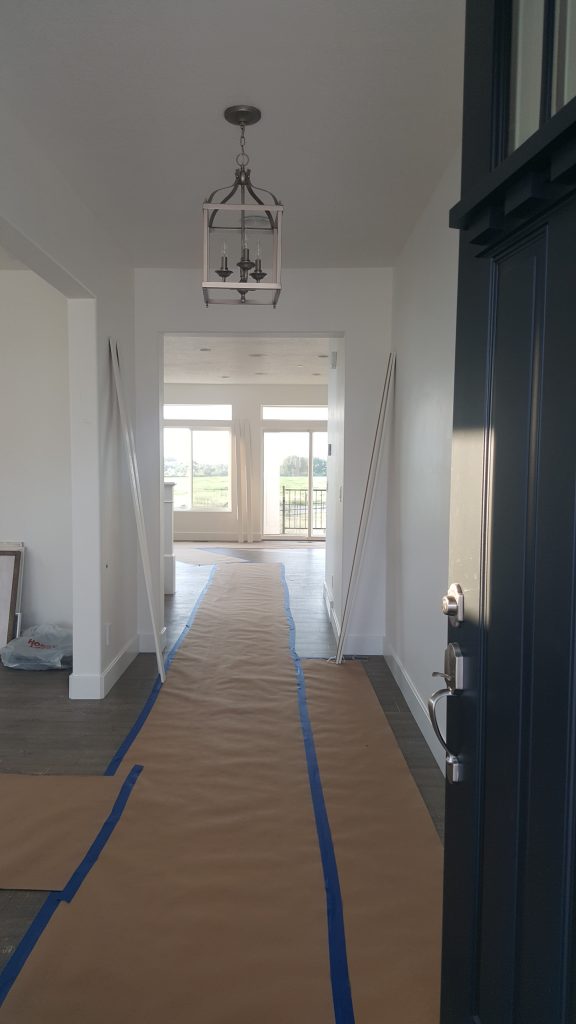
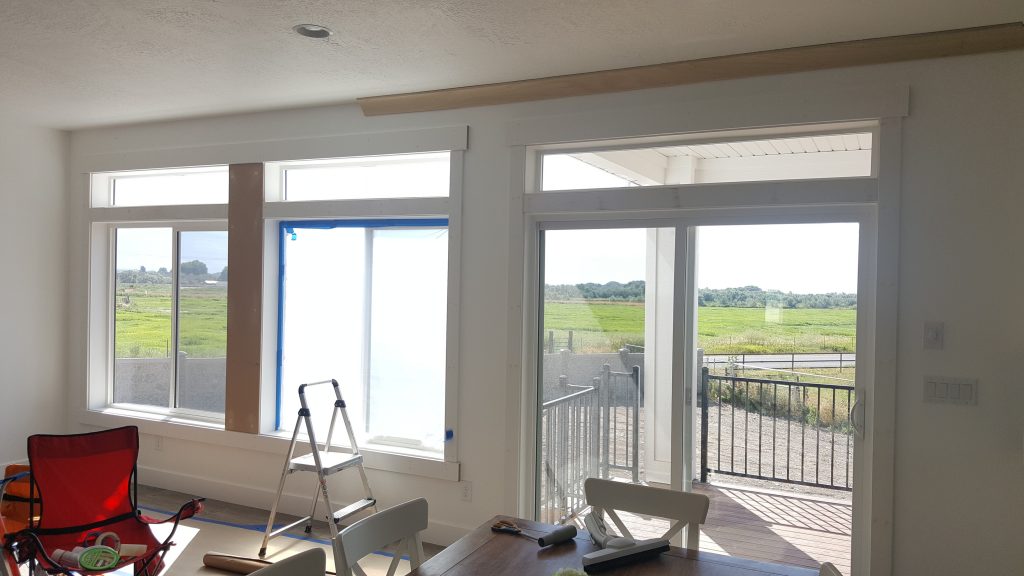
I am kind of obssesed with the view out of our back windows and deck. It is a huge open green field and to the left (not pictured) is the lake and mountiains, right out of the kitchen sink window.
We had this done right after we closed. The first few weeks were a still a construction zone in this house. I am so happy with how it turned out. I am glad we knocked out a few projects at the beginning. Be sure to check back in a few weeks to see these spaces deorated for Christmas.
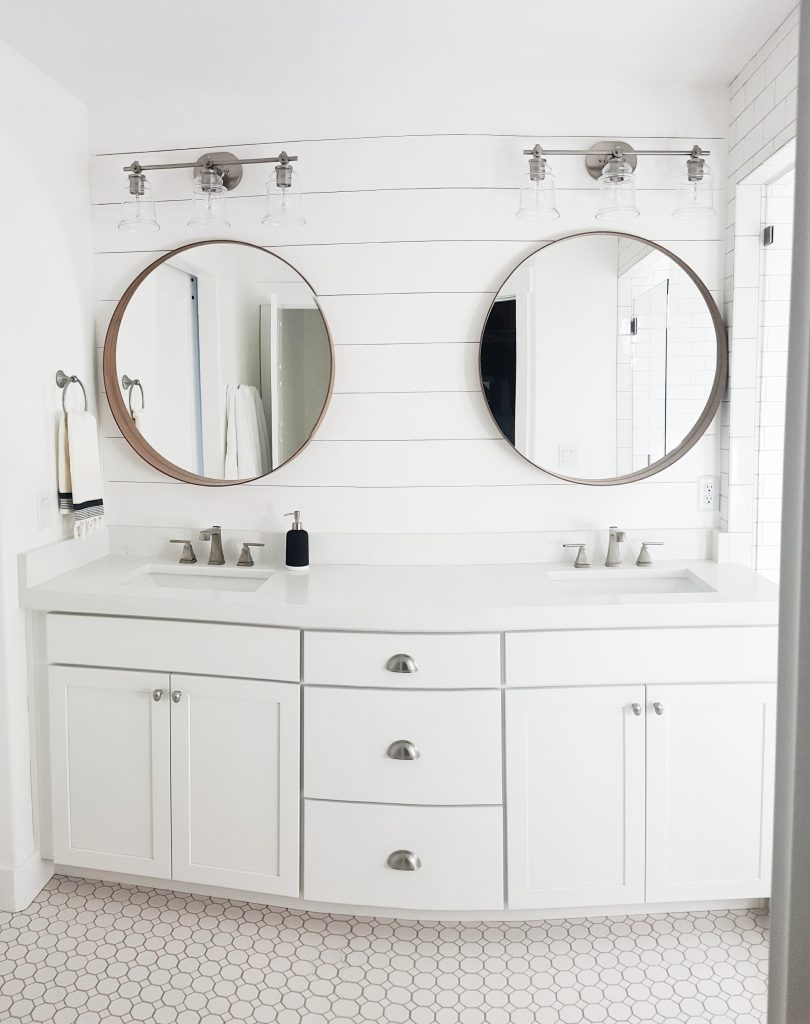
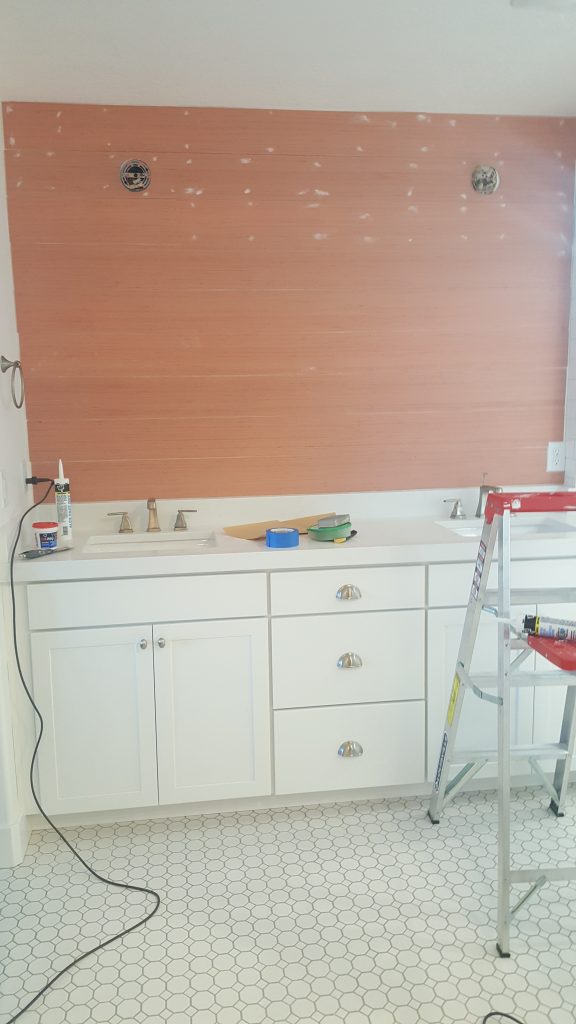
I finally got the shiplap put up above our vanity and I am in L.O.V.E. I have been trying to get it done for about a month. We have only lived in our new house two months but the projects have been planned for a loooooong time! From the second we picked our floor plan, the project list started. This was really an easy weekend project that made a big impact. We did this same type of “shiplap” in our townhouse going to the basement. The method we use is way cheaper than traditional shiplap. I think it looks just as good too!
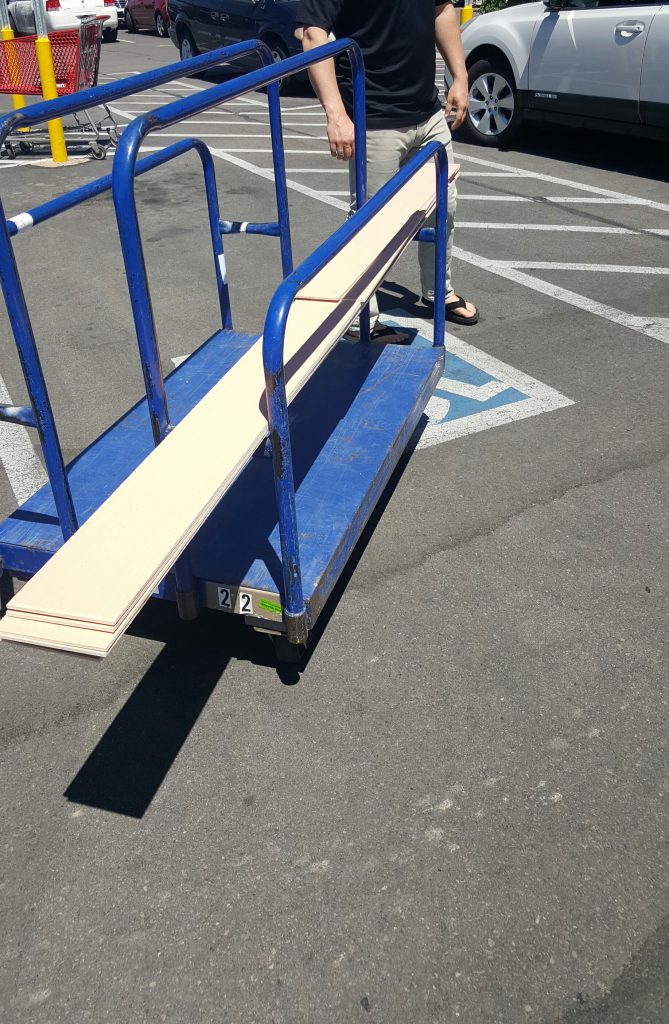
Mr. Whitelane and I started out by going to Lowe’s to get some plywood underlayment board. It comes in 4’ by 8’ sheets for $14.48. Then we had Lowe’s cut the board into six-inch strips. They will do straight cuts for free. So, take advantage of that! I was able to get five stripes that were six inches. There was one more strip that came out of the sheet but it was a little less than six inches because of the saw blade. When you make cuts, you lose a little of your board each time due to the width of the blade. After I had my six-inch stripes, I had them cut the boards to the length I need to go across my vanity.
Now that we had our strips, we loaded them up and got to work. NOT! We went home, unloaded them to the garage, and that is where the boards sat for a month. Each weekend we had something come up and it did not get done. I finally got tired of looking at those boards. I decided that we would get it done this past weekend, no matter what! It is a miracle! It actually got done between our kid’s football and soccer games.
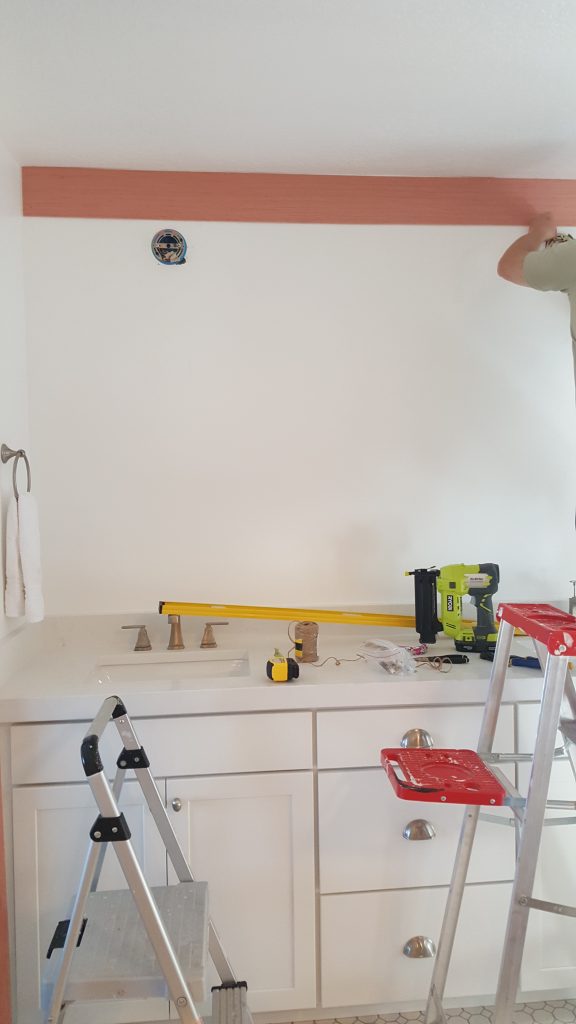
Before we started, I took a sander to the all the edges of the six-inch strips. The edges can be a little rough after they are cut. Just to be sure, I like to sand all around the boards to make it smooth. Mr. Whitelane got our little one down for a nap, while I quickly gave the boards a sanding. Now we were ready to nail them up. In most cases, your ceiling is not level. Make sure the first board you put at the top of your wall is level. There may be a gap between certain spots of the board and your ceiling. That’s okay because caulk will hide any gaps.
After the first board is level, things go pretty quick. I used nickels to space between each board to give that small line. I love using my Ryobi Power Strikecordless nail gun. It is so simple and no cords get in the way. We used a jigsaw to cut around our electrical boxes and outlet. It is not perfect but caulk is a lifesaver!
When we got all our boards up, I went back and filled the nail holes with spackle. I then used a lot of caulk to fill and smooth all my gaps. I used to hate caulking because of how messy it got. Mr. Whitelane then introduced me to the best invention ever. A caulk toolmakes the perfect smooth lines with half the mess. I love how perfect and easy it is to use. You really need to try one for your next project. It’s a game changer!
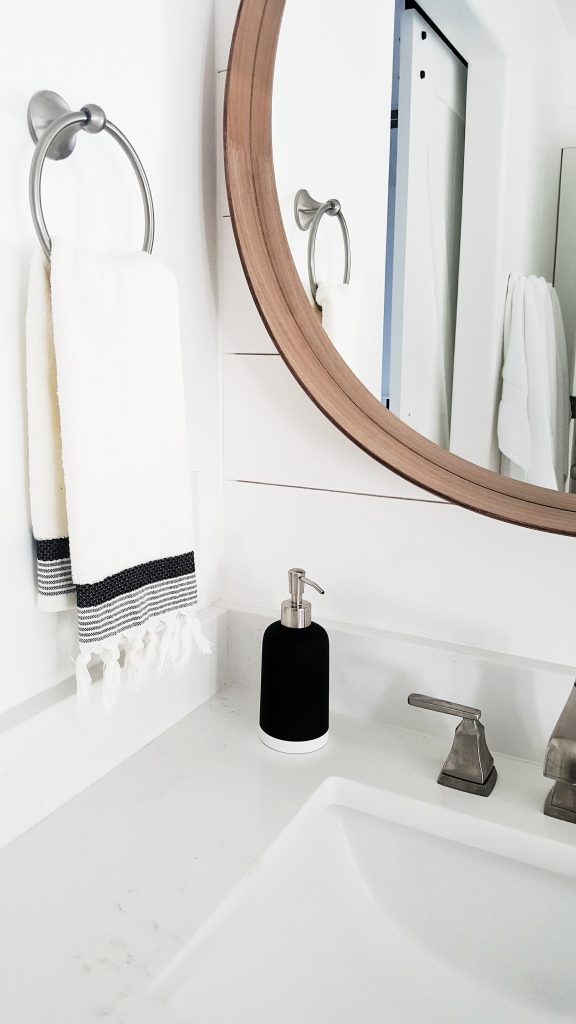
Now that everything was spackled and caulked, I let it dry overnight. I then used a foam roller to put on four coats of Sherwin Williams “High Reflective White.” Another great trick I like to use in between painting is to put your roller in a plastic bag in the fridge. Keeping the roller in the fridge stops the paint from drying out. You also don’t have to rinse it out each time. Just grab it out of the fridge and start painting again. When you are done with all your coats, you can trash it or rinse it out.
The shiplap looks so good with the barn door we got hung!
Kate
Hi there, I’m Kate. Welcome to White Lane Decor. Thanks for stopping by. I love neutral, bright, and airy spaces. I’m always looking for new ways to turn our house into a home. Have a look around and find inspiration for your next project.
Search
Disclosure
Some of my blog posts, ads, and banners contain "affiliate links." This means if you click on the link and purchase the item, I will receive an affiliate compensation. However, I only recommend products or services I use personally and truly feel you will enjoy too! I am disclosing this in accordance with the Federal Trade Commission's 16 CFR, Part 255: "Guides Concerning the Use of Endorsements and Testimonials in Advertising.” White Lane Decor is a participant in the Amazon Services LLC Associates Program, an affiliate advertising program designed to provide a means for sites to earn advertising fees by advertising and linking to amazon.com.