Stay Connected With The Latest Posts

  • This field is for validation purposes and should be left unchanged.

Stay Connected With The Latest Posts

Timeline Wood Shiplap

The following post contains affiliate links and is sponsored by Timeline Wood. Read my full disclosure here.

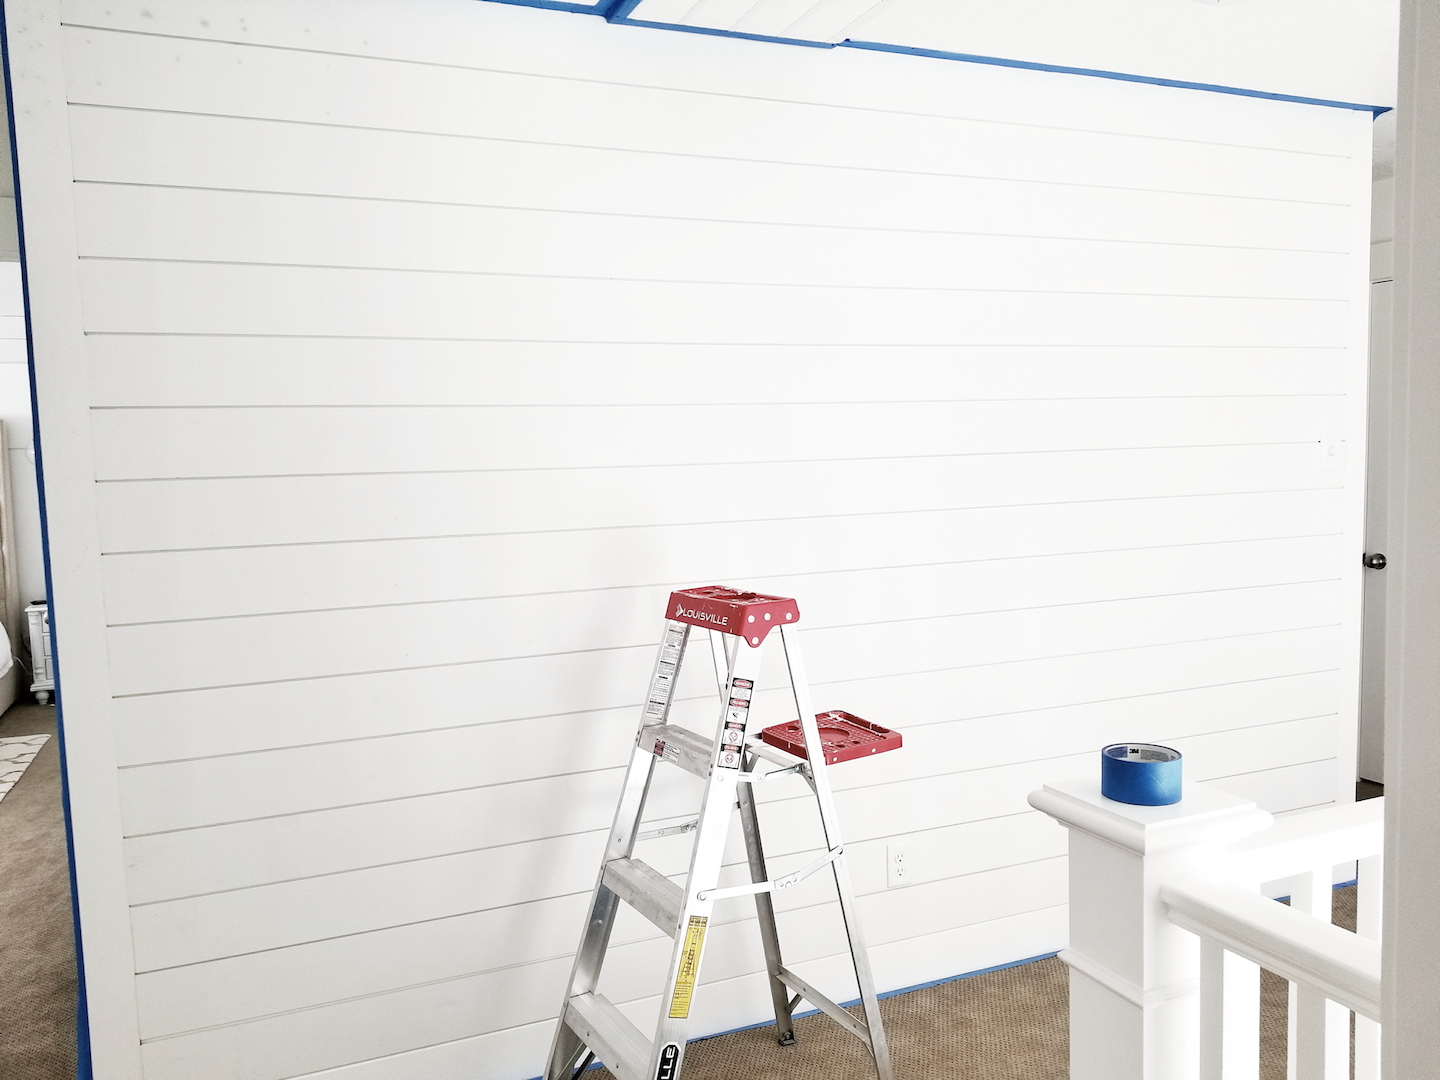
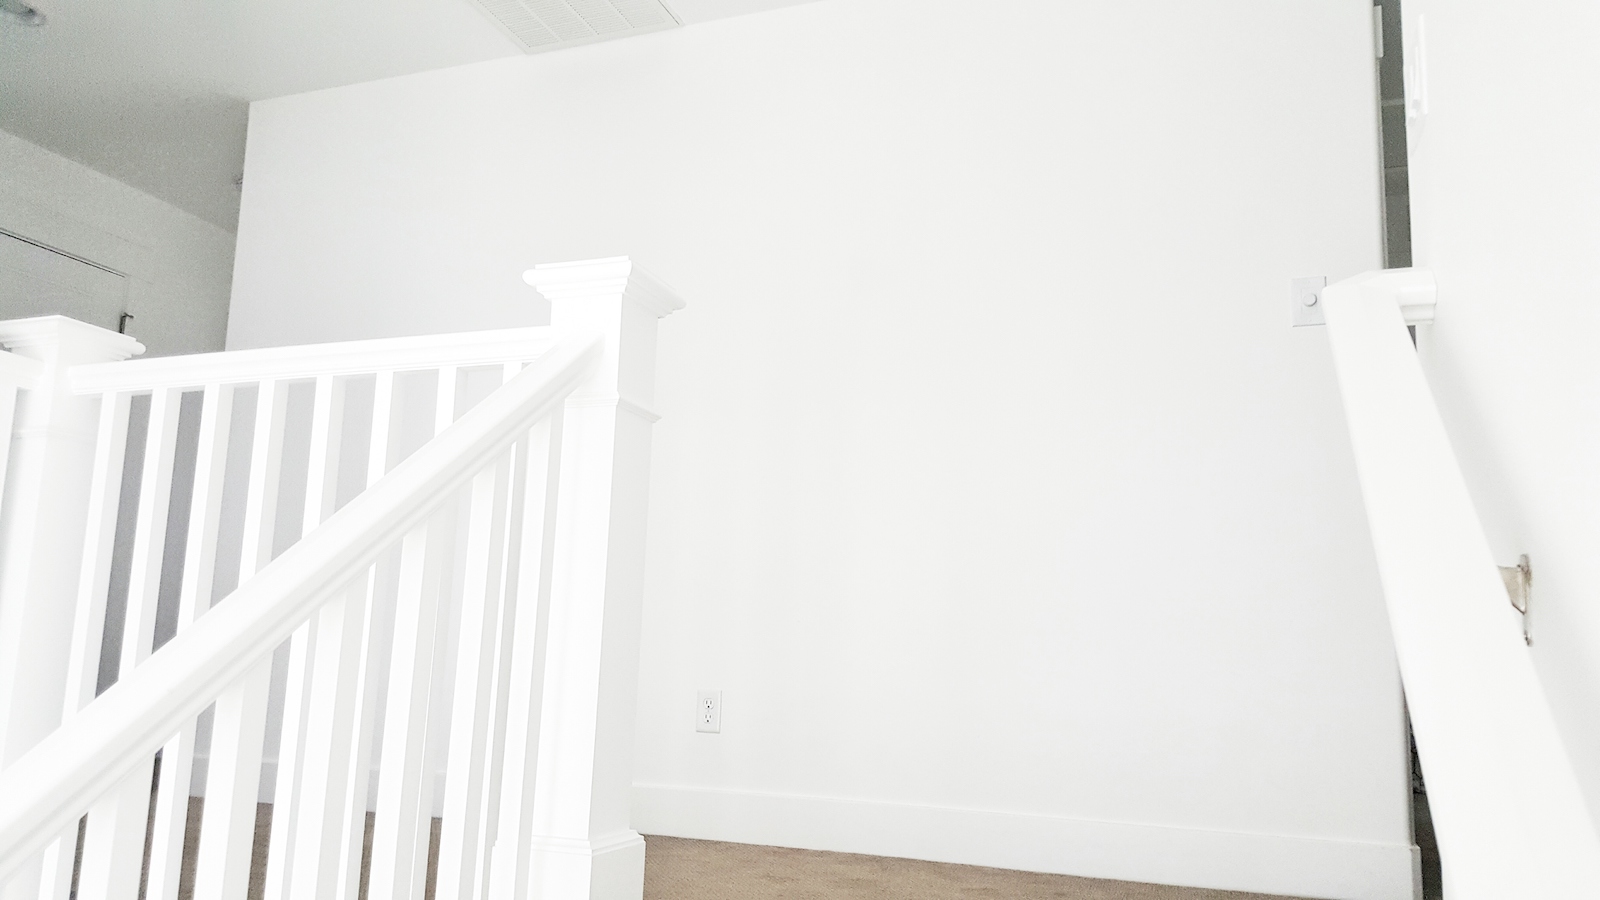
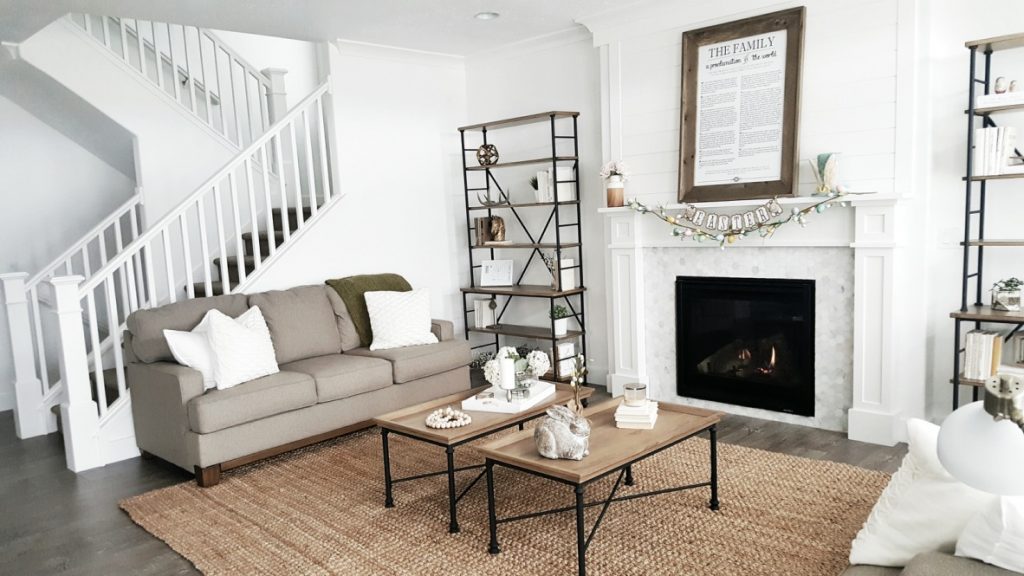
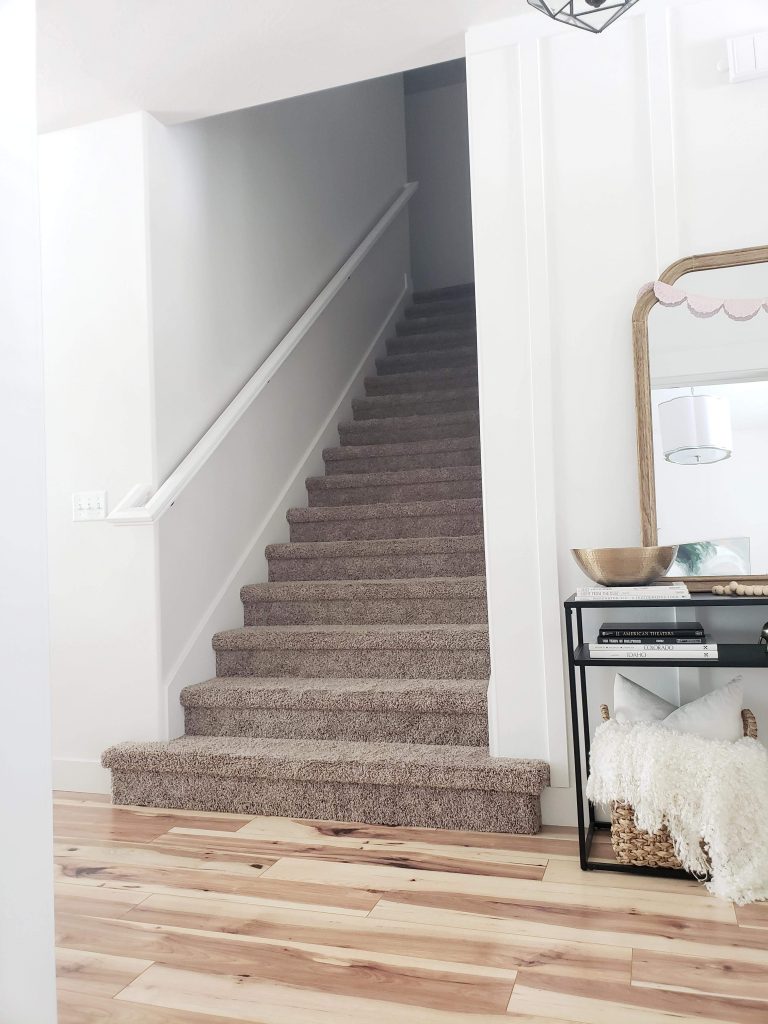
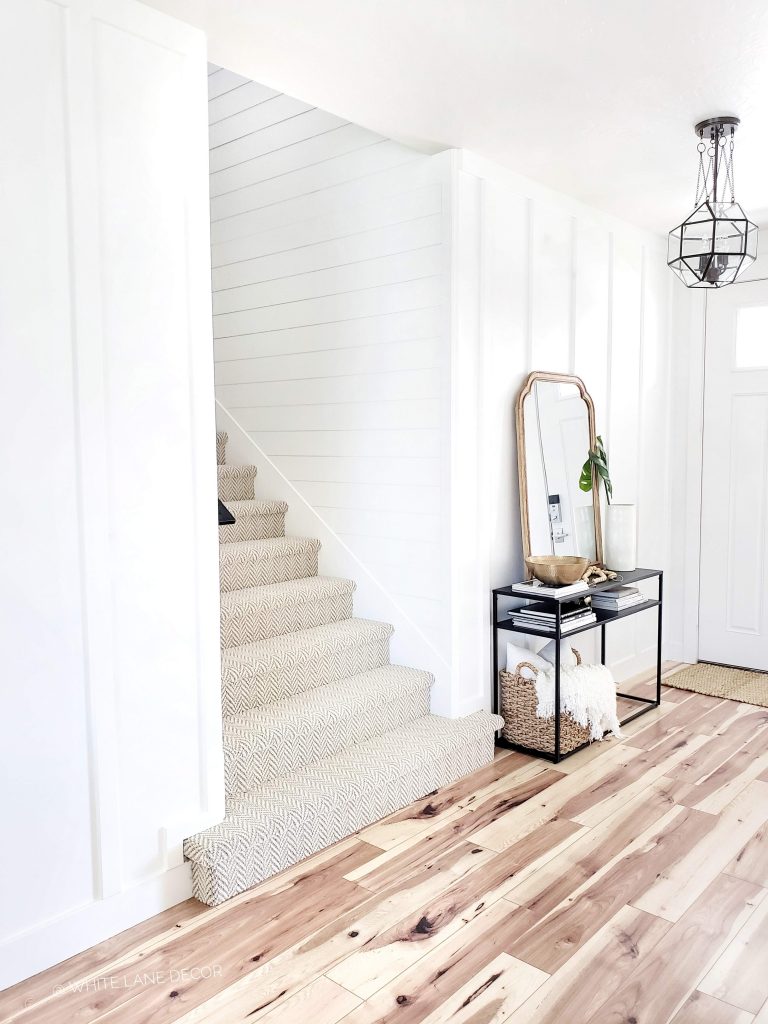
The stairwell is really just like the story “If You Give A Mouse A Cookie.” Once I started one project it led to another and here we are. I found the perfect solution to brighten up these walls and add dimension. When I found these amazing pre-finished shiplap boards from Timeline, there was not stopping this project.

I have always envisioned wrapping my stairwell in beautiful molding. However, it just seemed like a lot of work. Finding a molding to fit behind baseboards and trim is tricky. Then once you get it all up there is still all the painting to be done. Needless to say, I put this project off for a long time because of all the obstacles.

A look at the stairwell Before we started.

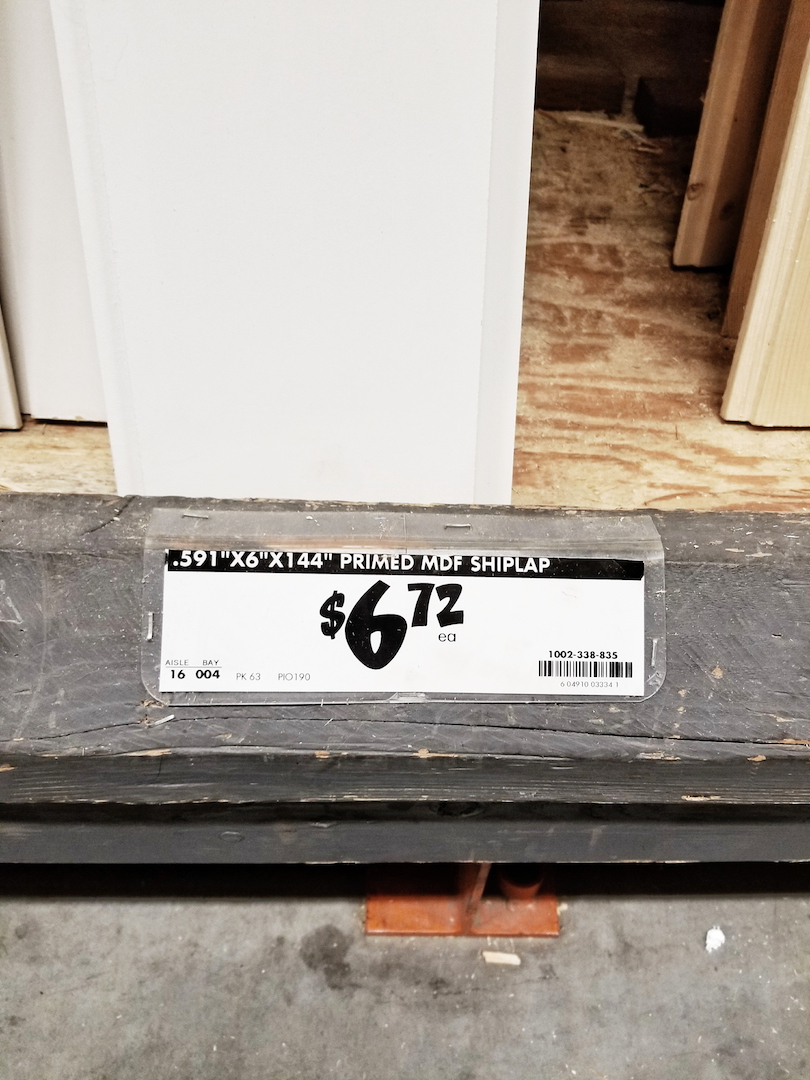
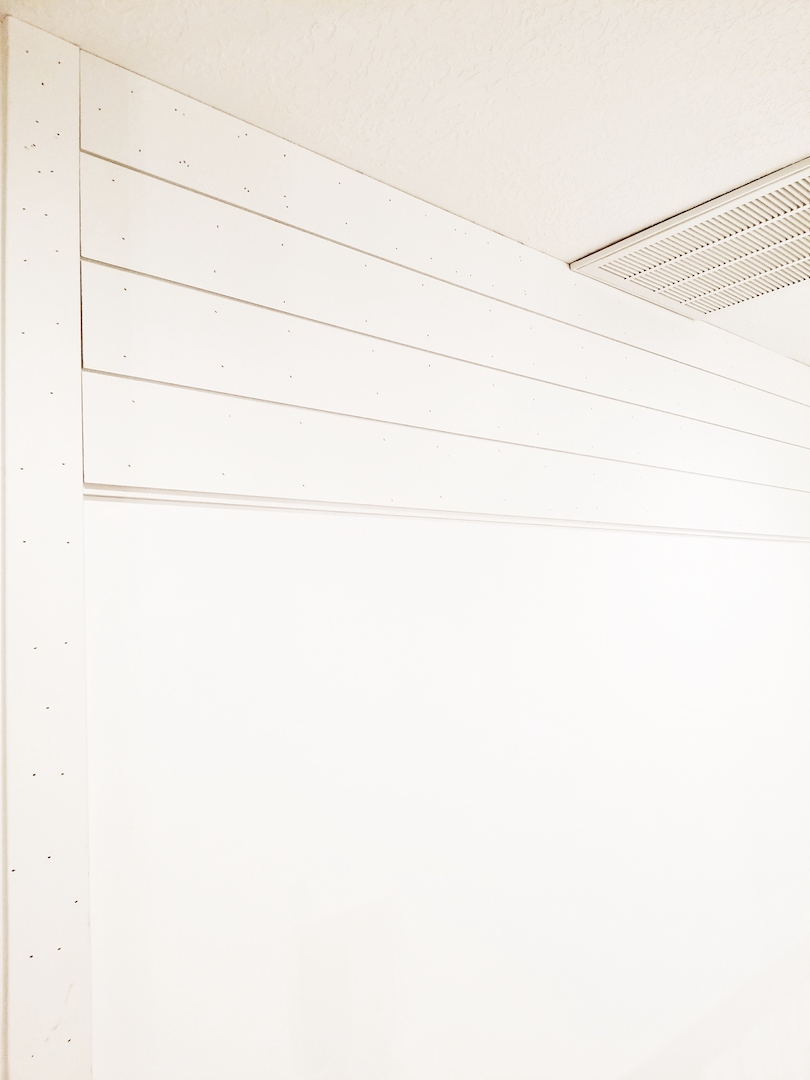
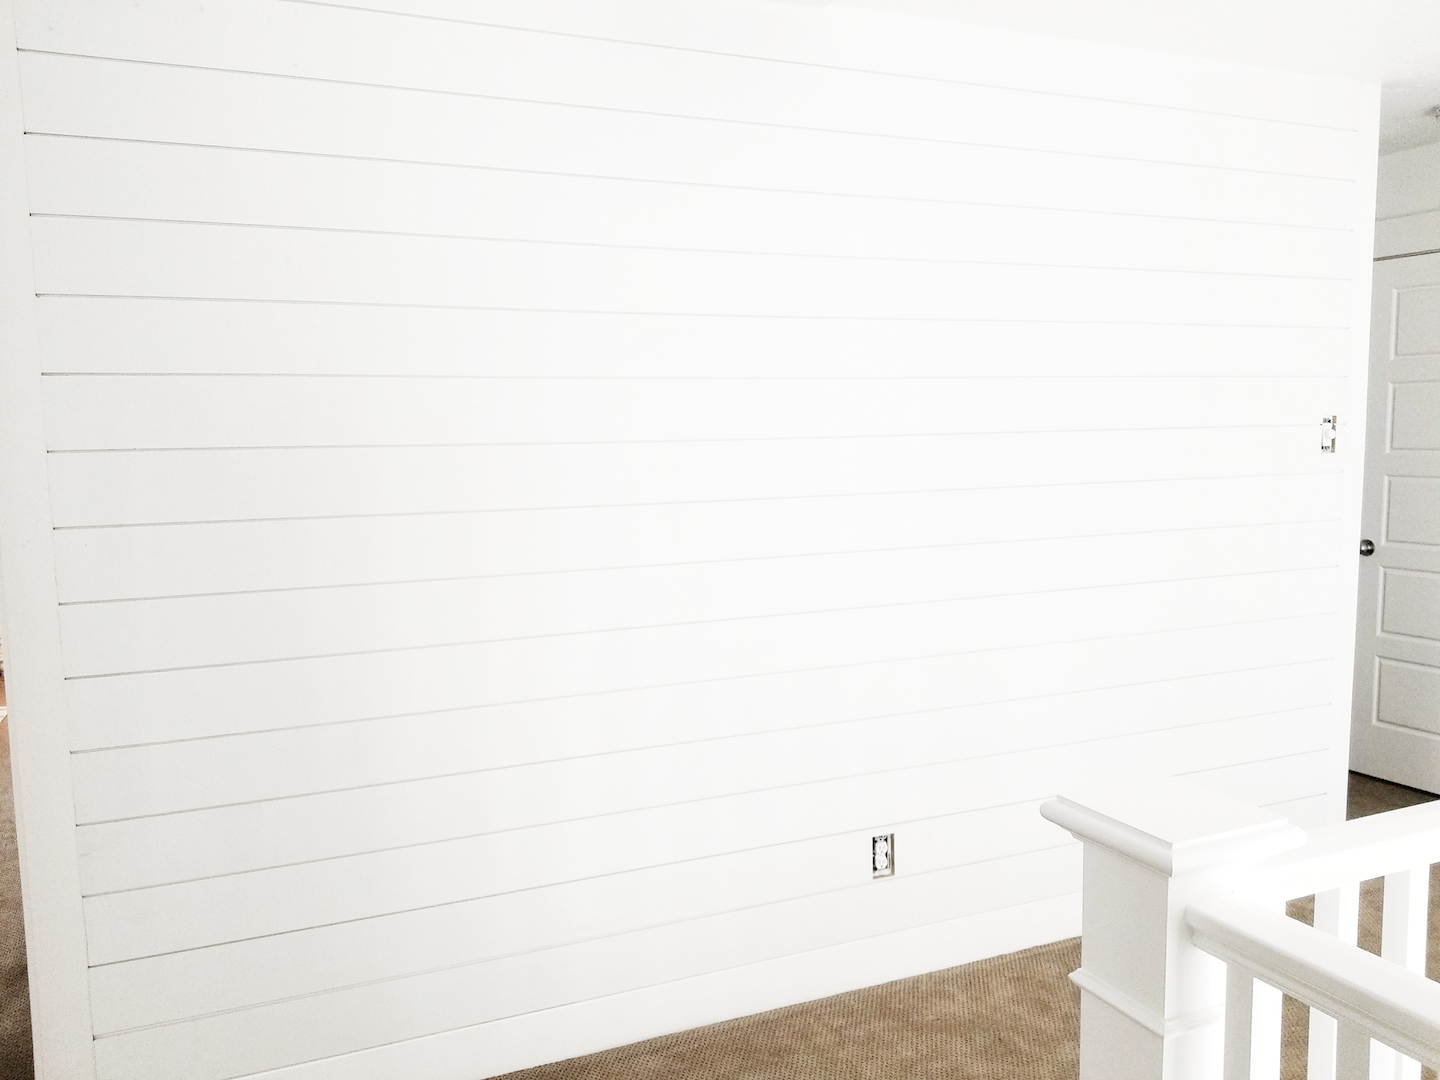
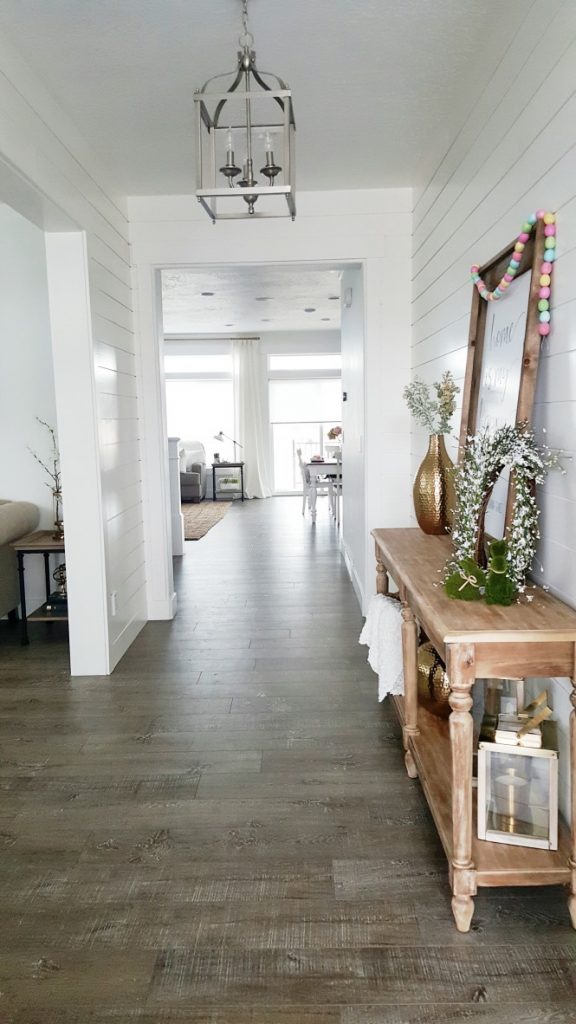
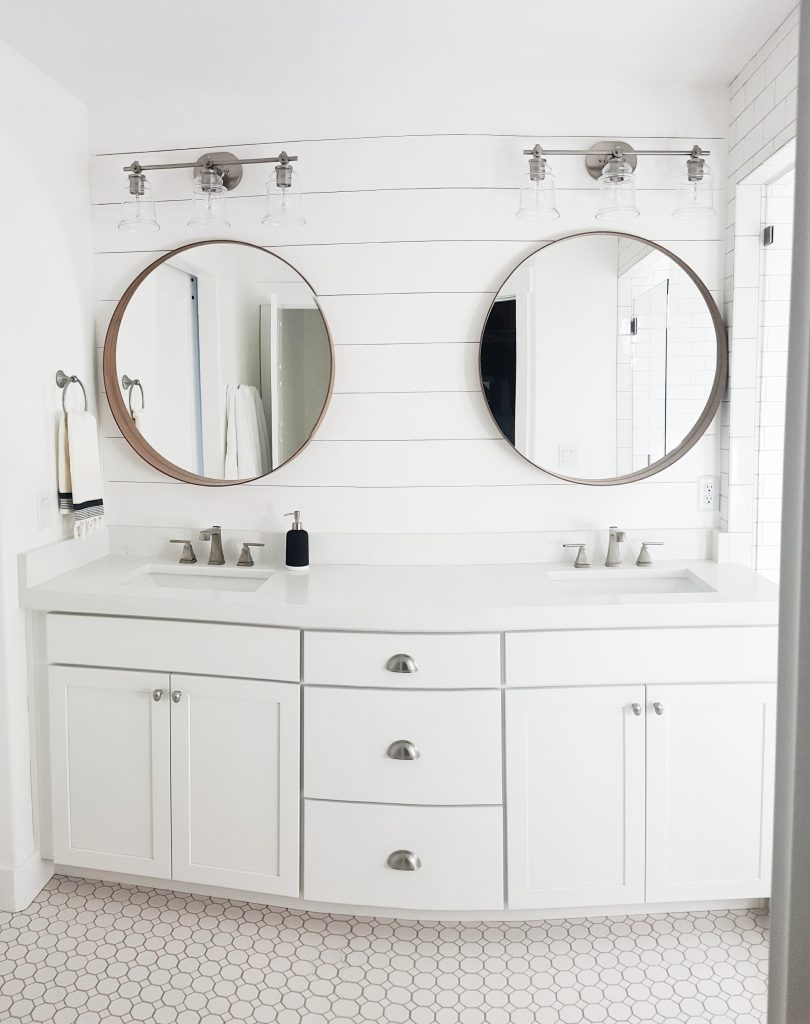
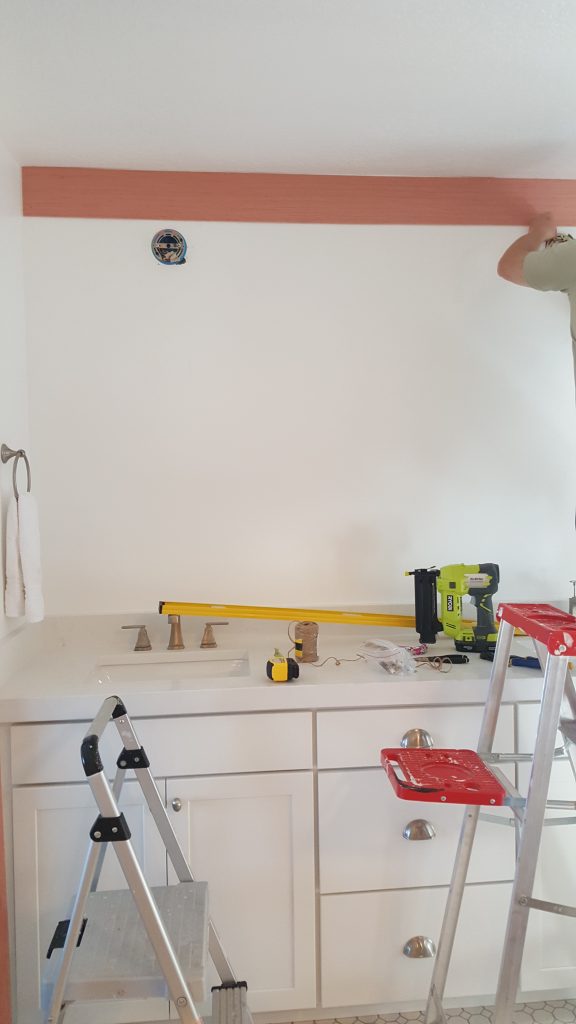
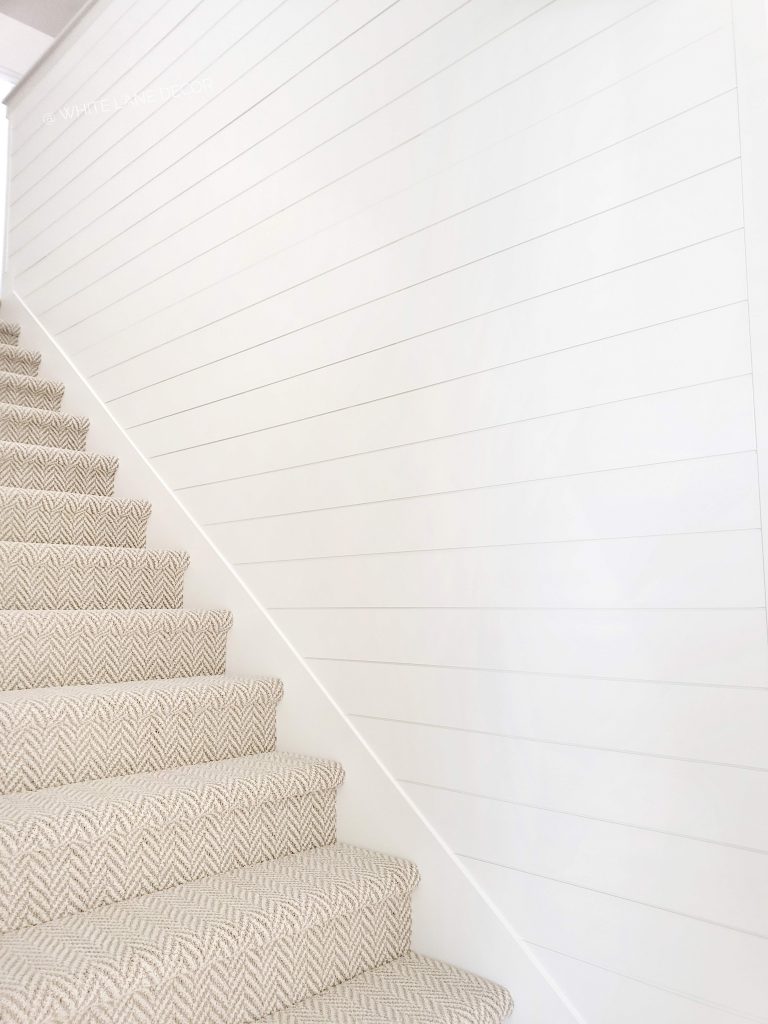
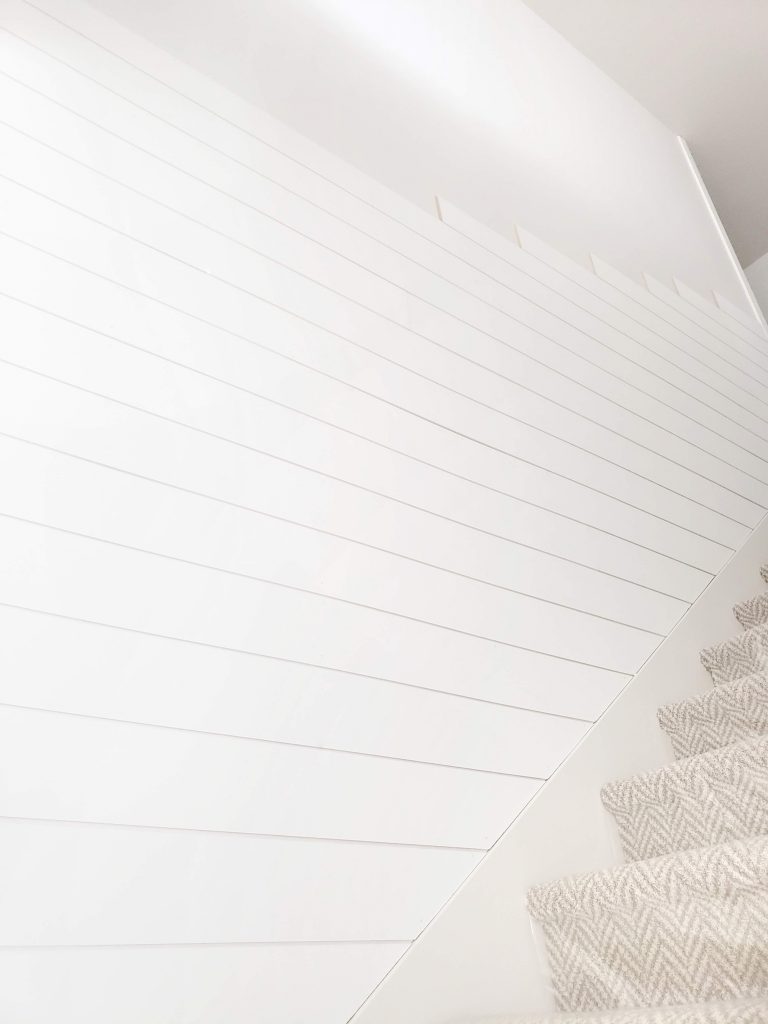
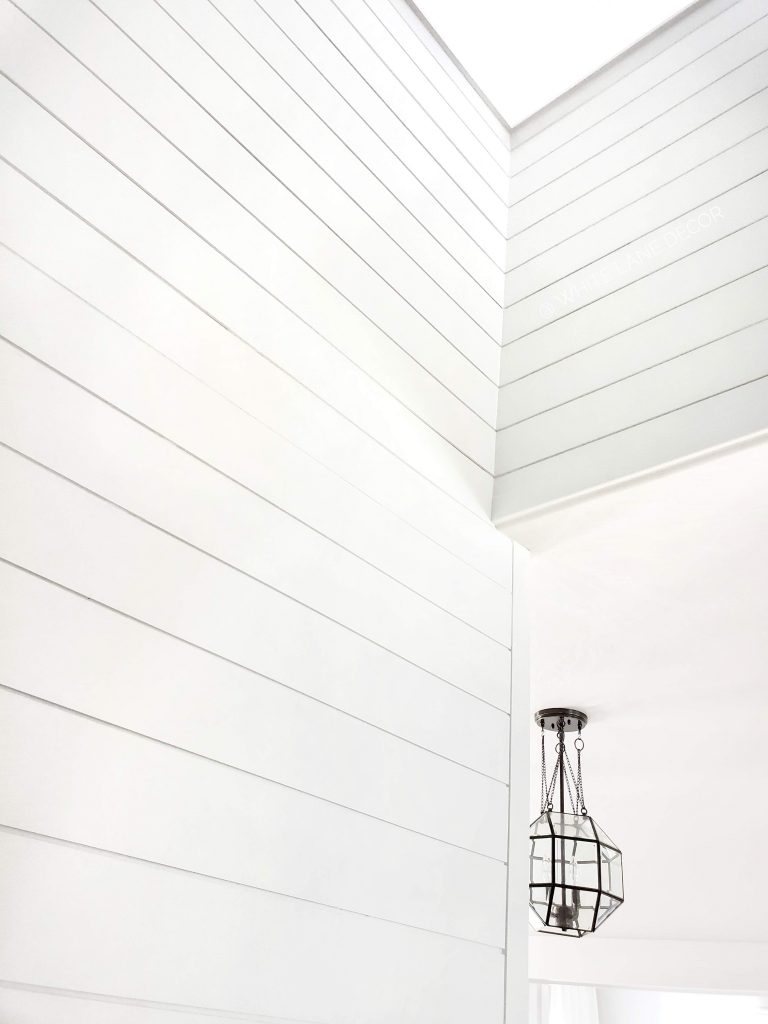
Well, that all change when I discovered Timeline Wood. They actually make shiplap that is thin enough to fit behind baseboards and window trim. It also comes with the classic nickel-gap spacing just like real shiplap! I was so excited about all of those features that my stairwell started to come to life.

Here is the best part of Timeline Shiplap: It comes PRE-FINISHED! That is right people. The shiplap is already painted in the color you choose. Timeline offers white, greige, black, green, and navy all ready to be installed. Once you put it up on the wall, you are done! That is worth its weight in gold right there. You just need to caulk, fill the nails holes and do touch up. A huge time saver to have the majority of the painting already done!

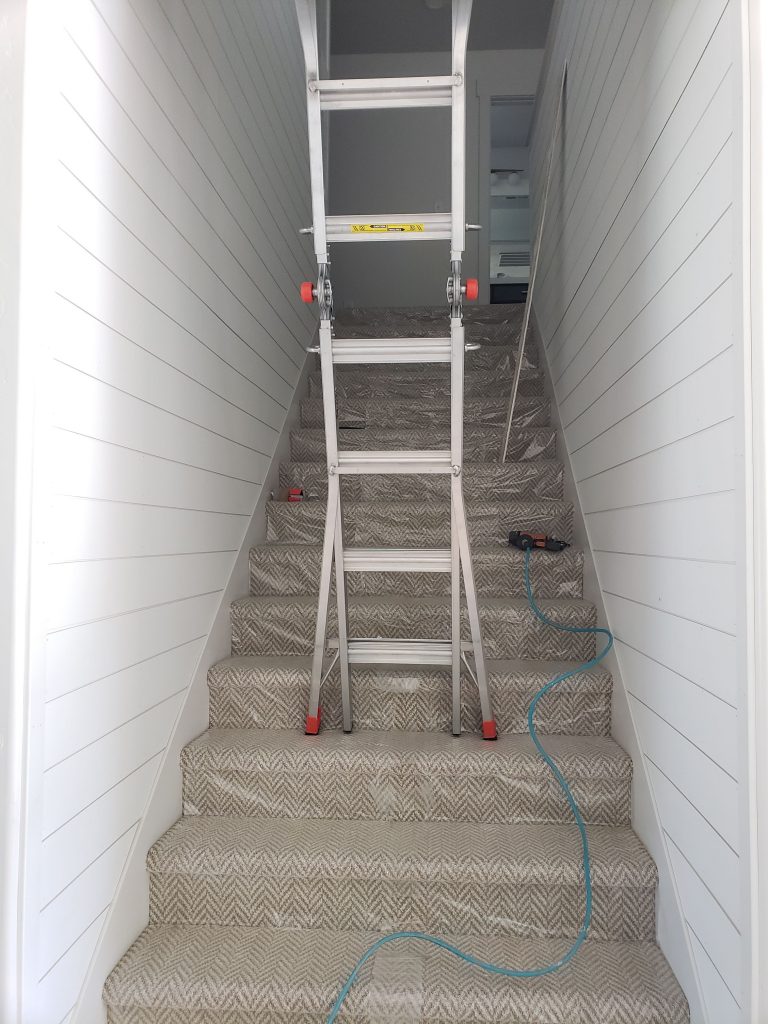
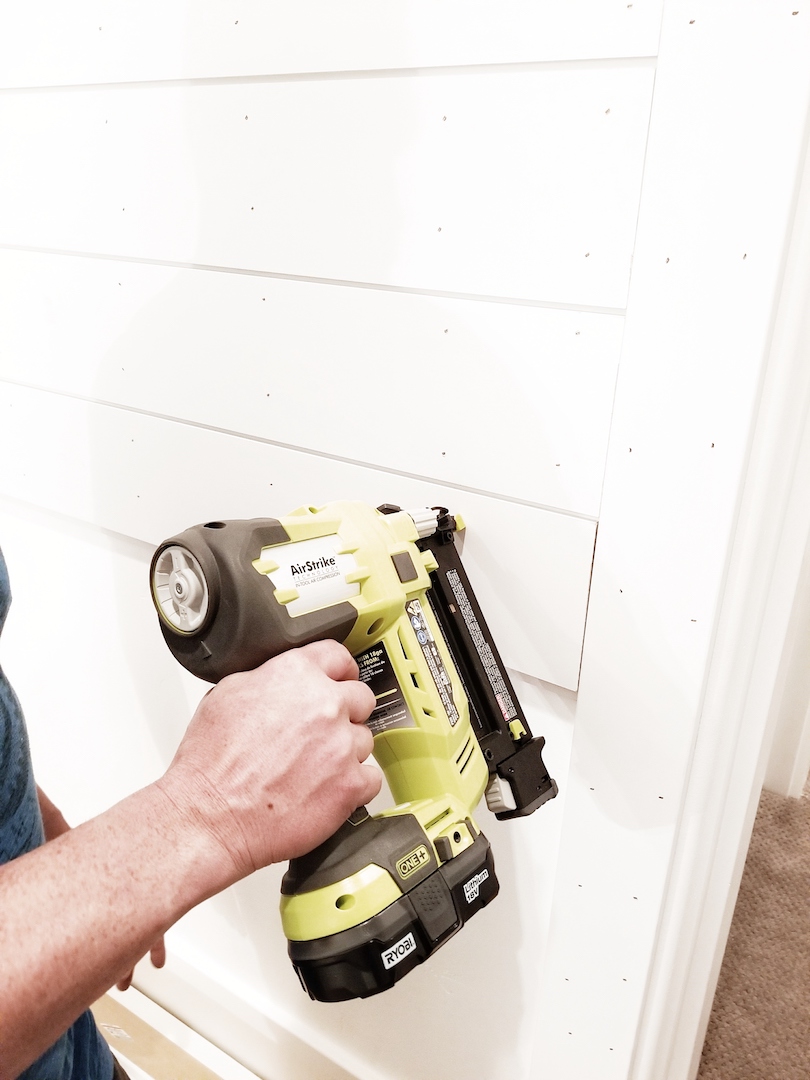
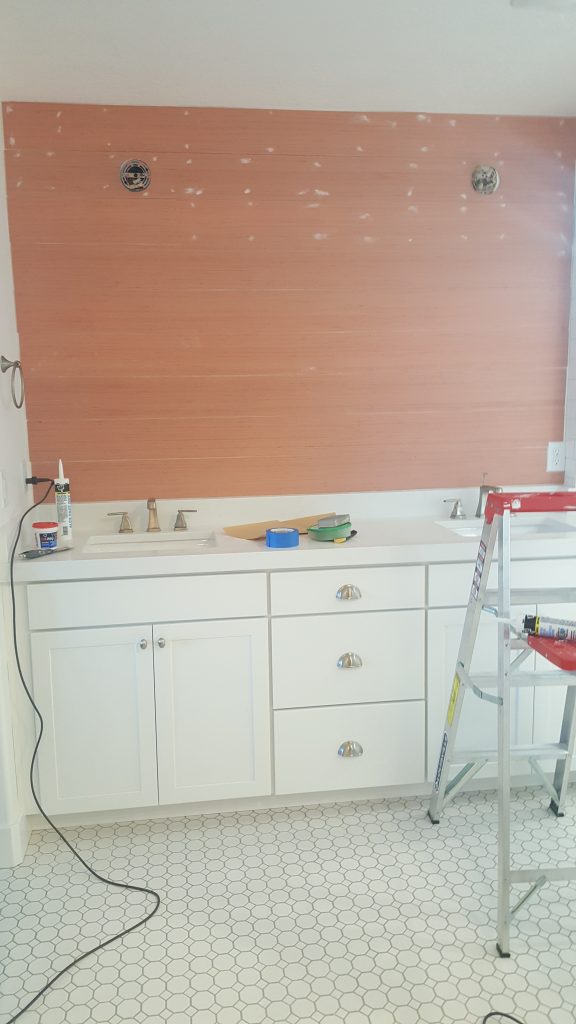
I was so thrilled about this amazing shiplap and got right to work on my stairwell. Mr. Whitelane got an unexpected work trip out of the country so I had to call in my friend Coby to help. He did our kitchen backsplash on the main floor and basement. Coby also does trim and finish work. He was amazing to step in and help us since Mr. Whitelane couldn’t be here.

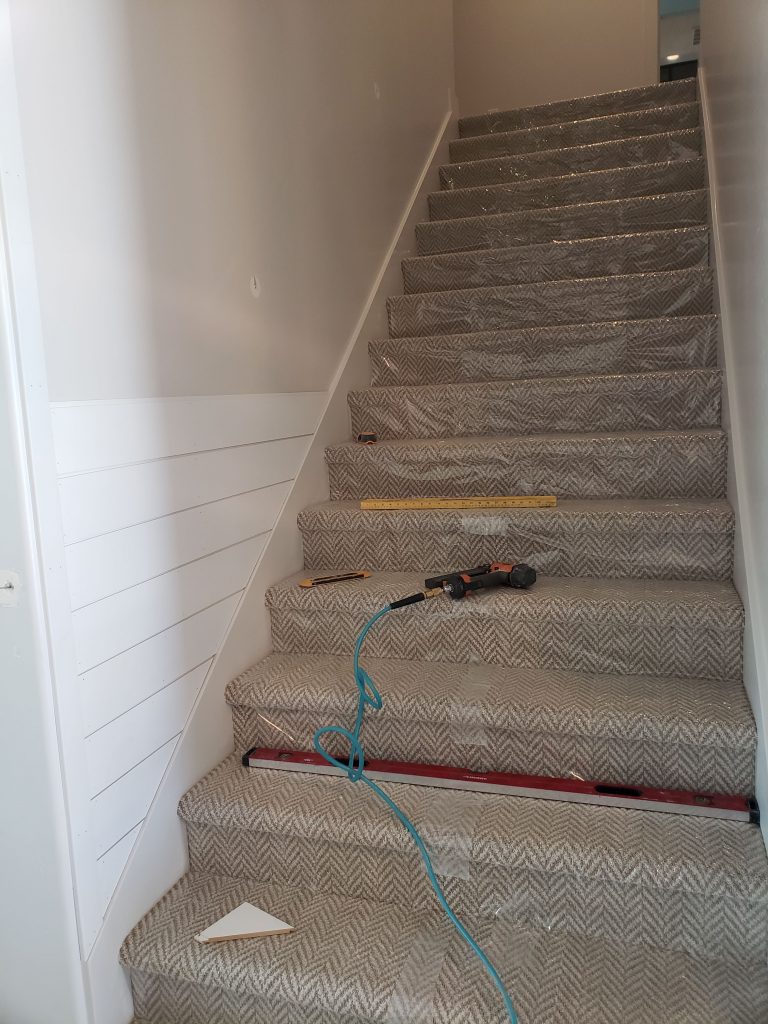
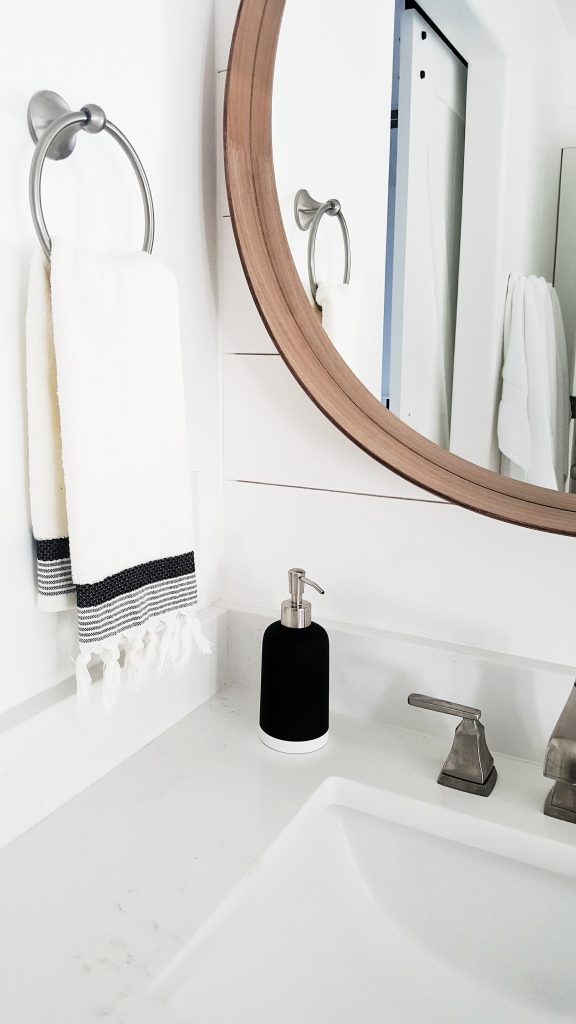
It was such a relief to not have another step to do after the boards were installed. The pre-spaced gap, the clean smooth finish, and thin non-warping MDF made this install super easy. A DIYers dream is everything this Timeline Shiplap is made of. Timeline is also giving you 10% off sitewide with code “WHITELANE10.”

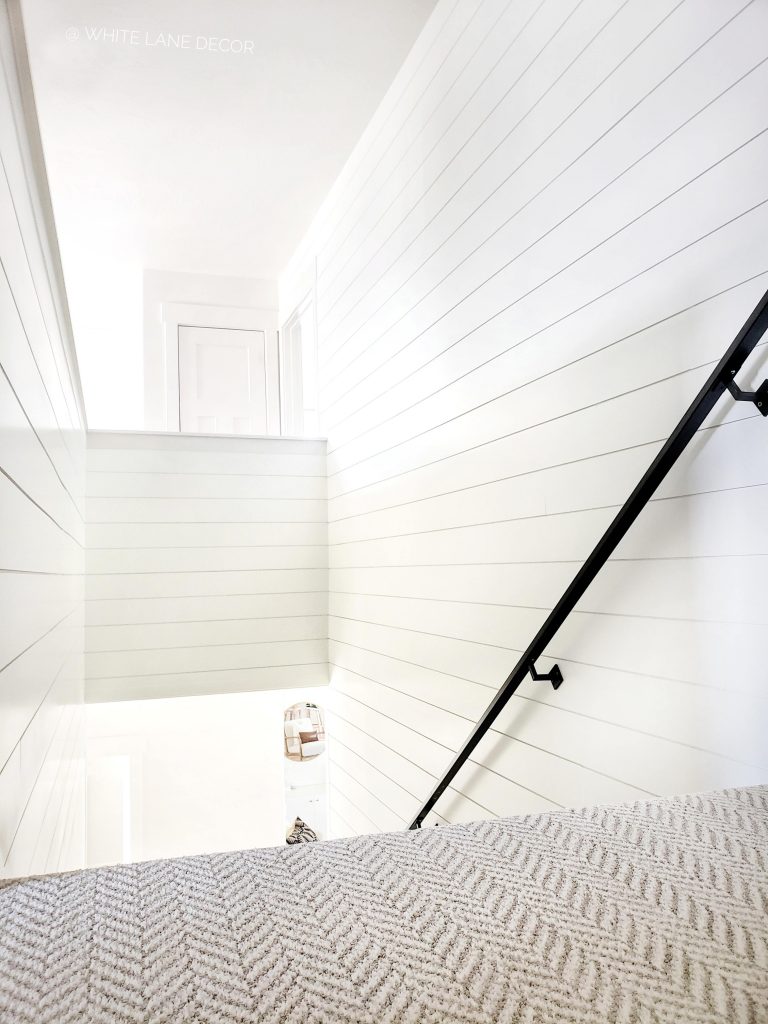
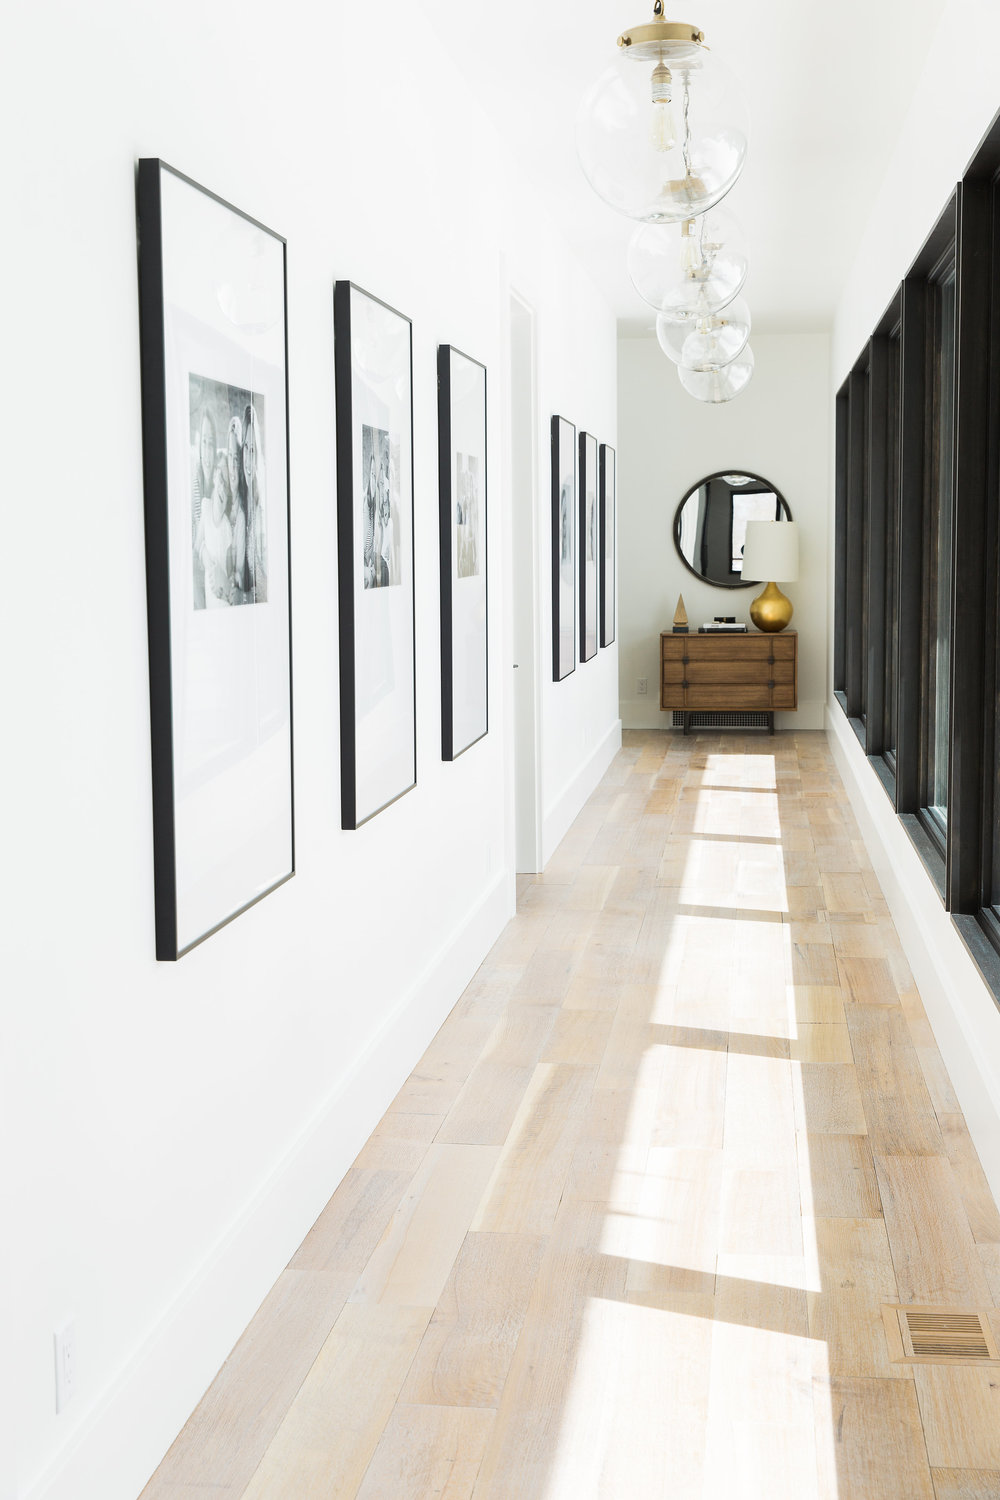
I kind of want to shiplap all of the things now. It is so simple and makes such a statement! I am thinking the black shiplap is next on my list of projects. 🙂 I just need to pick a wall.

DIY Shiplap Tutorial

The following post contains affiliate links. Read my full disclosure here.

We just finished the shiplap in the upstairs hallway. Mr. Whitelane and I usually do our shiplap by having underlayment ripped into six-inch strips. We used this type of shiplap above our bathroom vanity. However, I am going to let you in on a big secret. Mr. Whitelane found an even easier and better looking DIY way to shiplap. I almost hesitate to share because I want to finish up a few more shiplap walls before all the stores sell out. 🙂

I am totally joking. I wouldn’t do that…well, maybe. We went to Home Depot to get boards for the upstairs hallway. Mr. Whitelane had gone to find a worker for help getting wood down. I get a phone call a few minutes later from him telling me to come look at what he found. Mr. Whitelane told me he found primed shiplap boards. I reluctantly said they were probably just the cedar tongue and groove boards and wouldn’t work. He convinced me to walk over and find him.

I was giddy with excitement to behold what he found. HOME DEPOT now carried primed MDF shiplap boards. NO WAY! There were 12 foot and 8-foot shiplap boards. HALLELUJAH! This was going to look so much better and match our entry shiplap at a fraction of the cost. The boards in our entry were customed ordered from a wood mill. Way to go Mr. Whitelane, way to go! I was thinking its about time Home Depot carried shiplap. It is all the rage these days.

We quickly snatched up all the shiplap boards they had left and hit up another local Home Depot for a few more. We got home and got started. Since the wall is open on each end in the hallway, we used 3.5″ MDF casing on each end. Otherwise, there would be all the ends of shiplap showing. It wouldn’t be a finished look. We put those end caps up first. Then we added the shiplap boards starting at the ceiling.

The ceiling is never level and there will be bigger gaps in certain areas. This is what caulk and paint are for. We continued putting up the boards down the wall until we reached an outlet. We then used our jigsaw to cut out around that area. I give Mr. Whitelane all the props for that tedious job. His measurements were spot on with the square cuts for the outlets. Did I mention, we used our Ryobi Airstrike cordless nail gun? We were able to do this project while our kids slept at night. Literally a few feet away from their bedrooms. It was so much quieter than a compressor nail gun!

After we got all the boards up, I used caulk and spackle to fill all the gaps and holes. It sat that way for a good two weeks. I really was not sure about painting this beast wall. I knew spraying the wall would be best. Also, it would be more expensive to have someone come spray it (my paint sprayer is not made for indoors). That is also on the account that I could even find a decent painter that is not crazy busy right now. After looking at the wall unpainted for weeks, I decided to just go for it.

I used a foam roller and very small art paint brush. I used the small brush to get in all the open grooves and then smoothed it over with the foam roller. I will be honest, the first coat was a long nightmare. I wanted to quit halfway through. It didn’t look very good and it was soooo time-consuming. I actually did quit for about a week. I then decided to give it a second coat. It started looking way better. In fact, the second coat went way faster and smoother. I even did a third coat of paint the same day in less than 30 minutes. Each coat got easier and quicker. It was not as smooth of a finish as spraying. However, it was DONE! I plan on hanging three large frames across the wall. I don’t think you will notice all the little imperfections of my paint job once they are hung.

Sadly, we haven’t got family pictures done in two years! WHAT? I know it’s crazy. I haven’t hung the frames because I am waiting until the new baby arrives, to get updated family pictures. I will be sure to share the finished wall, with frames, when that all happens. I just wanted to share my top secret source for the best DIY shiplap. Who knew, Home Depot?

Summer…

I feel like the last two weeks of school are chaos. Every single activity you can think of is jam-packed into the last two weeks of school. WHY!? I guess you have to go out with a bang, right? Well, we are surviving and school is almost out! Somehow, I think that is when the real chaos will begins. 🙂

Amongst all the programs, dances, competitions, soccer games, and performances, the nursery is almost done. I have the full reveal coming up July 10th. I know it is a little bit of a wait BUT it is for a good reason. I am teaming up with some other cute blogger moms to bring you a handful of nursery reveals. That is right, baby room mania for your viewing pleasure. Get ready for some of the cutest rooms you have ever seen!

While you wait for all the baby cuteness, you can check out the Joyful Summer Home Tour starting May 31st. Myself along with eight other bloggers are letting you inside our homes to see our summer style.  You don’t want to miss this!

In the meantime (like there is any left), Mr. Whitelane and I have been designing our yard (phase 1) and finishing up a few projects. We got the hallway shiplap finished and decided not to stop there. We kept going in our master bedroom. We got a whopping two boards up before the landscape planning took over. Who knows? Maybe I am starting a new trend. The barely started, unfinished, shiplap wall look. It’s going to be a thing….you just wait and see. 🙂   I will have a full tutorial up about both shiplap walls soon. I just have to finish our master bedroom first. I also have a secret about my new favorite place to buy shiplap. It is so affordable and looks amazing!

Hopefully your last weeks before summer are not as crazy town as ours. I am so ready for the summer to be here. Off to another end of school activity, I go….

Hallway Trim Decisions

I have a big nice hallway at the top of stairs. Every time you walk up the stairs you see this nice long hallway or wall. It is just over 12 feet long and is begging for some sort of wall treatment. I mean, look at this big blank canvas. The possibilities are endless! I have narrowed down the options to just a few.

I love shiplap and I think it could look really cool here. Just picture some clean and crisp white shiplap with large black frames spaced across the wall. I found the image below, here. I think some black and white family photos inside a few large black frames will really pop against the shiplap. If we did shiplap, it would be the same as our entry shiplap. The planks are similar to tongue and groove and are about 7.5″ wide.

Then there is board and batten. Not just any board and batten, but square board and batten. I thought about evenly spaced squares across the wall like the first image below. I really want to hang large black frames across that wall as well. I am not sure if all the evenly spaced squares would look as good with frames over them. Then I came across the second image below. The longer spaced squares would fit a frame perfectly between each section. It is still a unique twist on your typical board and batten. Also, either of these board and batten options would be a lot easier to install than the shiplap.

The final option I am weighing is picture frame molding. I found the first image below here. I think large black frames would look great within the larger molding. This would still be relatively easier than shiplap. Truth be told, I have never installed picture frame molding. It could be a fun learning experience. I came across this idea in the second image below as well. I could add a fun wallpaper inside the picture frame molding. I am just worried I would get tired of the wallpaper over time. Picture frames make it easier to swap out pictures when an update is needed.

What do you think? I want to knock this project out before the baby comes (along with a few others). I need to make a decision quick. This will be a weekend warrior project (or a few weekends) with Mr. Whitelane. I am leaning towards the larger board and batten squares for ease of installation and time. However, Mr. Whitelane thinks we should do the shiplap like our entry. Decisions, decisions.

Joyful Spring Home Tour

The following post contains affiliate links and sponsored by Hayneedle. Read my full disclosure here.

Today I am joining in on the Joyful Spring home tour, sponsored by hayneedle.com, along with 14 other amazing bloggers. If you are coming from The Porch Light Cottage or Delightfully Noted, welcome! Be sure to follow the schedule at the bottom of the post to check out all the spring tours. Also, there is an awesome hayneedle.com giveaway at the bottom of this post.  I love blog hopping and you will not be disappointed by these talented ladies.

Spring officially starts in a week. Considering it snowed last week, I am beyond excited for it to start warming up! I always get excited to decorate for Spring. It means that we are finally getting past the cold and ready to start fresh. Don’t get me wrong, I love having all four seasons in Utah. It is so fun to experience each new season.

One of my favorite spots to decorate is my World Market Everett Table. Easter and Spring are when I venture out and add some color around the house. I picked up this egg garland and grass bunnies at Michael’s. The wreath was a Home Goods find. My husband refers to this as the hallway of shiplap. I just love the character that shiplap gives our entry.

I haven’t shown much of this front room, right off the entry. It has been a work in progress. We have our piano and a sofa in here. I am still loving this DIY framed botanical gallery to go above the sofa. The perfect rug for this room is still out there. I just need to find it and bring it home.

My living room, dining room, and kitchen are all open to each other. I love open concept spaces. It just feels like there is more room. I can also be a part of all the action going on in the other areas while cooking in the kitchen.

This adorable mad hatter hat, egg garland, and big bunny (on the coffee table) are from Michael’s.


This rolling pin was actually at the Target Dollar Spot for Valentine’s Day. I thought it carried over to Easter perfectly too.  My kids just love turning on this marquee bunny from Michael’s. The poor mini chicks have also taken quite the beating from my little ones. I don’t know if they will survive another Eater around here. 🙂


Ok, let me tell you about the best shopping experience ever, hayneedle.com. It is like Home Goods, T.J. Maxx, and Target all combined but better! Way cuter selection and the prices are AMAZING! The best part is that I get to do all my shopping while wearing my pajamas in bed. I don’t have to drag my kids in and out of a million stores to find one thing I am looking for. I had the hardest time trying to decide what I wanted to order for this spring tour. There may, or may not, be a whole cart full items still waiting to be purchased. 🙂 Hayneedle was so kind to send me this duvet set and bench for my master bedroom spring refresh. I have been searching for the perfect duvet for this bedroom since we moved in. I am in love with the look and feel of this duvet. It is like sleeping in luxury hotel bedding. Since the name is Luxury Hotel Microfiber Set, totally makes sense now!  Mr. Whitelane even thinks it feels super comfy.

A bench is a necessity in our bedroom. Mr. Whitelane wakes up way earlier than me. Every time he puts on his shoes, he sits on the end of the bed. I am a light sleeper and I would always wake up. Not anymore. This bench has saved me many minutes of sleep. I love the black metal base that ties into our barn door. Best of all, it was so easy to assemble and came right to my front door. It has also withstood the kid superhero test. Many jumps later, still going strong. It was my first time ordering with hayneedle.com and I am definitely hooked! Hayneedle is also giving away a $250 shopping spree to one of you! Click HERE to enter your email and follow @hayneedle on Instagram. Contest runs until March 20th. Good luck!

Don’t worry, the tour doesn’t stop here. Go check out these other awesome ladies in the schedule below. We have loved putting the Joyful Spring Home Tour together. It has been such fun showing you our spring decor and working with hayneedle.com. Tomorrow is the final day of the tour. So, don’t miss out! Make sure you visit all the blogs from earlier this week as well.

Tour Schedule

Monday March 13

Monday

Maison de Pax | Lemons to Lovelys | TIDBITS | Belle Amour Blog

Tuesday March 14

Tuesday

The Mountain View Cottage | Kim Power Style | Meaningful Spaces | My Vintage Porch

Wednesday March 15

Wednesday

The Porch Light Cottage | White Lane Decor | Delightfully Noted

March 16

Thursday

JorDecor | Farmhouse On Boone | A House With Books

Shiplap Vanity

The following post contains affiliate links.

I finally got the shiplap put up above our vanity and I am in L.O.V.E. I have been trying to get it done for about a month. We have only lived in our new house two months but the projects have been planned for a loooooong time! From the second we picked our floor plan, the project list started. This was really an easy weekend project that made a big impact. We did this same type of “shiplap” in our townhouse going to the basement. The method we use is way cheaper than traditional shiplap. I think it looks just as good too!

Processed with VSCO with s2 preset

Mr. Whitelane and I started out by going to Lowe’s to get some plywood underlayment board. It comes in 4’ by 8’ sheets for $14.48. Then we had Lowe’s cut the board into six-inch strips. They will do straight cuts for free. So, take advantage of that! I was able to get five stripes that were six inches. There was one more strip that came out of the sheet but it was a little less than six inches because of the saw blade. When you make cuts, you lose a little of your board each time due to the width of the blade. After I had my six-inch stripes, I had them cut the boards to the length I need to go across my vanity.

20160625_113649  20161004_102645

Now that we had our strips, we loaded them up and got to work. NOT! We went home, unloaded them to the garage, and that is where the boards sat for a month. Each weekend we had something come up and it did not get done. I finally got tired of looking at those boards. I decided that we would get it done this past weekend, no matter what! It is a miracle! It actually got done between our kid’s football and soccer games.

Before we started, I took a sander to the all the edges of the six-inch strips. The edges can be a little rough after they are cut. Just to be sure, I like to sand all around the boards to make it smooth. Mr. Whitelane got our little one down for a nap, while I quickly gave the boards a sanding. Now we were ready to nail them up. In most cases, your ceiling is not level. Make sure the first board you put at the top of your wall is level. There may be a gap between certain spots of the board and your ceiling. That’s okay because caulk will hide any gaps.

20161001_154241

After the first board is level, things go pretty quick. I used nickels to space between each board to give that small line. I love using my Ryobi Power Strike cordless nail gun. It is so simple and no cords get in the way. We used a jigsaw to cut around our electrical boxes and outlet. It is not perfect but caulk is a lifesaver!

20161001_154241

When we got all our boards up, I went back and filled the nail holes with spackle. I then used a lot of caulk to fill and smooth all my gaps. I used to hate caulking because of how messy it got. Mr. Whitelane then introduced me to the best invention ever. A caulk tool makes the perfect smooth lines with half the mess. I love how perfect and easy it is to use. You really need to try one for your next project. It’s a game changer!

20161001_180229

Now that everything was spackled and caulked, I let it dry overnight. I then used a foam roller to put on four coats of Sherwin Williams “High Reflective White.” Another great trick I like to use in between painting is to put your roller in a plastic bag in the fridge. Keeping the roller in the fridge stops the paint from drying out. You also don’t have to rinse it out each time. Just grab it out of the fridge and start painting again. When you are done with all your coats, you can trash it or rinse it out.

20161003_115018-01

I put back up my vanity lights and hung my mirrors. Another project marked off the list for this house! I also found the cutest hand towels and soap pump at Target.

Processed with VSCO with s2 preset

Processed with VSCO with s2 preset

The shiplap looks so good with the barn door we got hung!

Processed with VSCO with s2 preset