Stay Connected With The Latest Posts

  • This field is for validation purposes and should be left unchanged.

Stay Connected With The Latest Posts

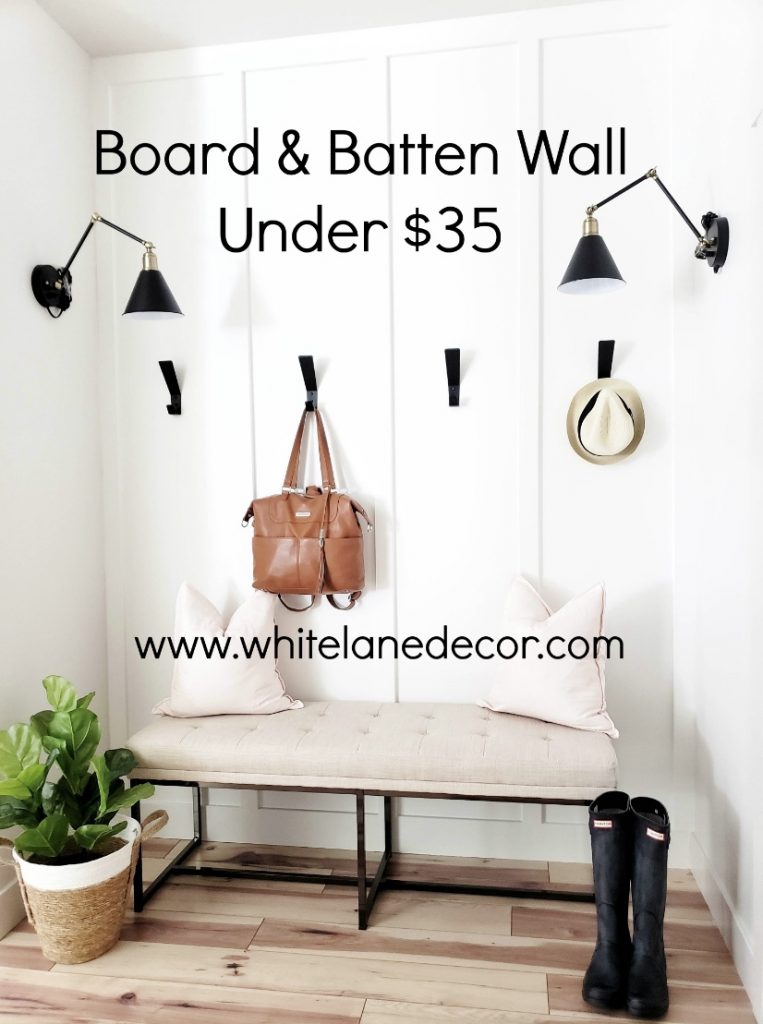
Easy Board & Batten Wall Under $35

The following post contains affiliate links. Read my full disclosure here.

I was trying to come up with a solution for our mudroom. There is the perfect little cubby for a built-in bench and lockers. We have done so much work and transformations to this house since we bought it. We are working on finishing up the basement and a few other projects. I wanted to create a cute inexpensive mudroom area. The budget for this space was tight! All of our money is going into the basement and other areas of the house.

Since we moved in, the plan for this space has been to build a built-in bench with storage lockers. Maybe even a hidden little printer cabinet that could pull out when needed. However, I knew that would not be in the budget right now and I wanted to give this area a quick makeover now.

I needed something that would work for now and that could also be added on to when the budget allowed. Those lockers and built-in bench were not going to make the cut this round. I had to get creative and come up with something functional and stylish until then.

My first thought was shiplap. Of course, who doesn’t love a good shiplap wall with some hooks and a bench in the mudroom? When I crunched the numbers it just didn’t make sense to put shiplap here. That would blow my whole budget for the entire space. I decided the most cost-effective trim work for this little cubby would be floor to ceiling board and batten.
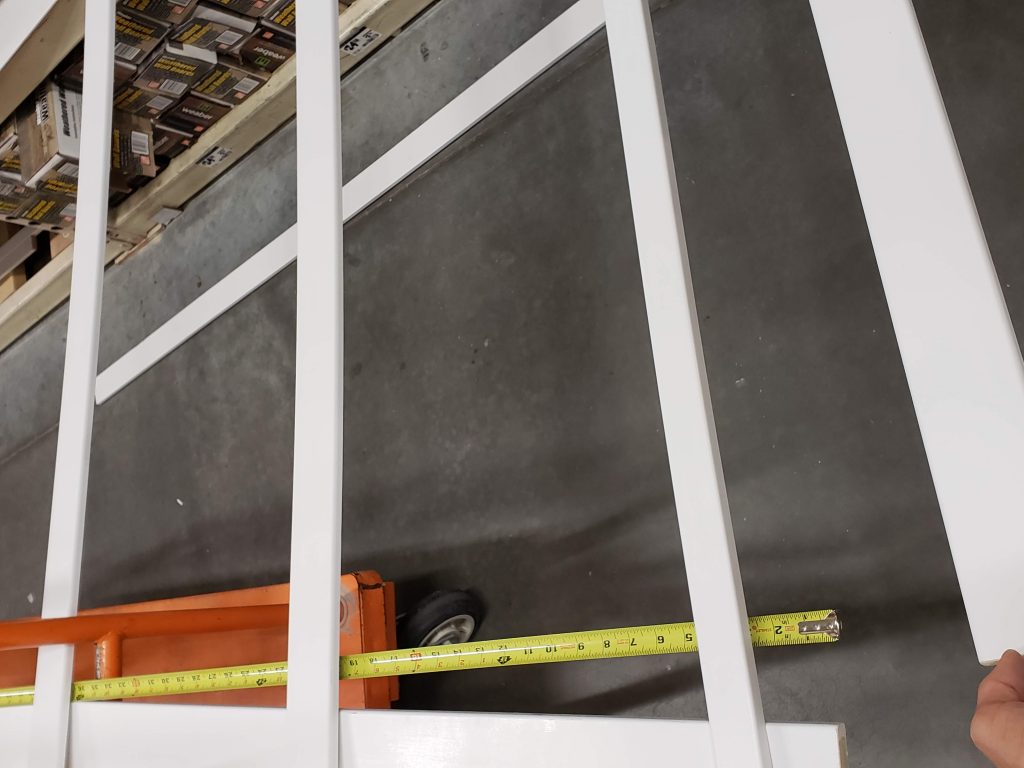
Lay out the boards at Home Depot to decide on the style.
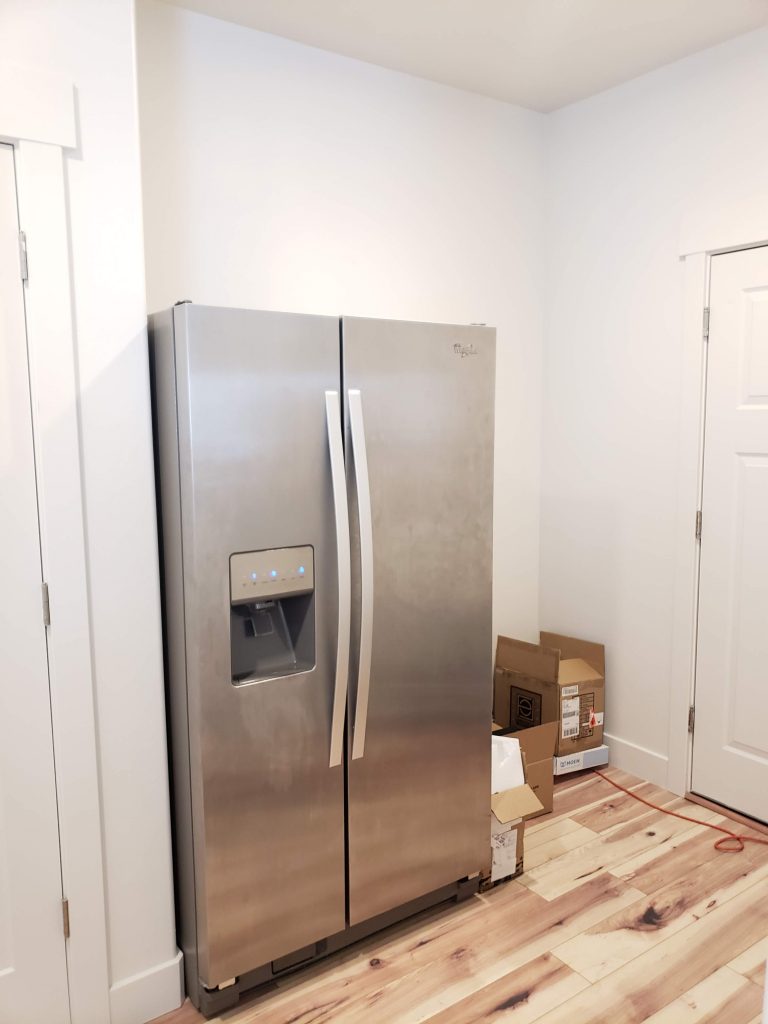
The mudroom before the update.

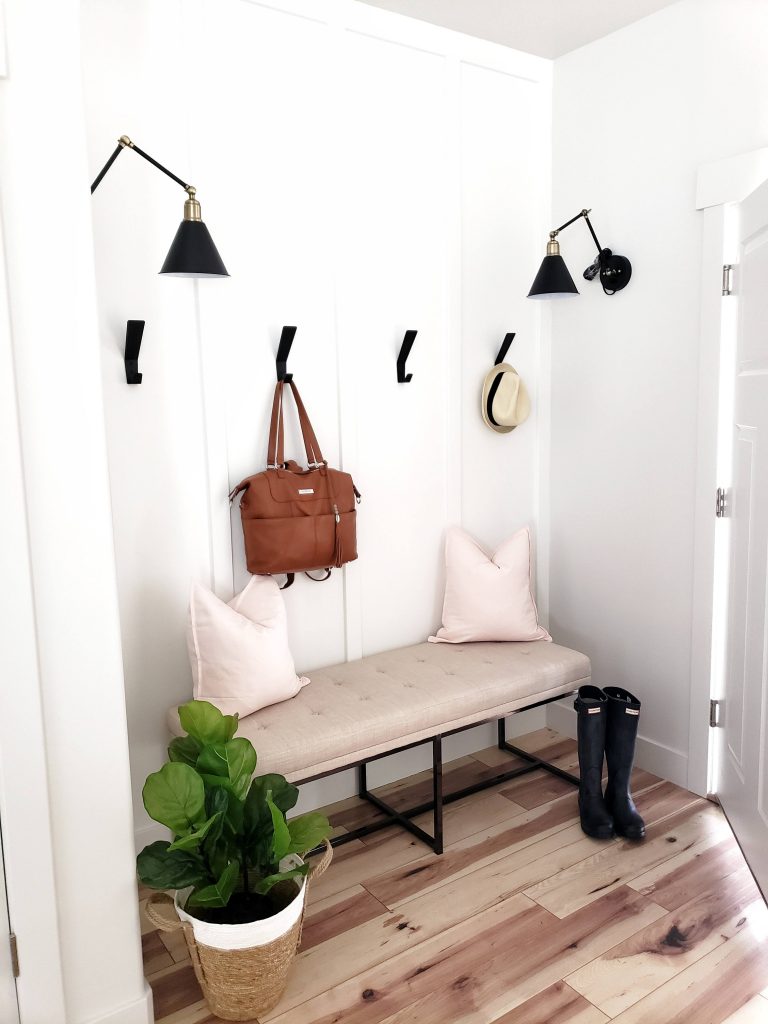
As soon as I had the wall trim picked the rest of the area just came together. I had a bench in our master bedroom that fit this little cubby perfectly. It is not the built-in bench I wanted but it will be a good placeholder until we get around to building the custom one. I also found some modern black hooks at Target for less than $6. I did splurge (for my tiny budget in this room) on these two wall sconces. I shopped my house for the rest of the accessories and pillows to pull it all together.
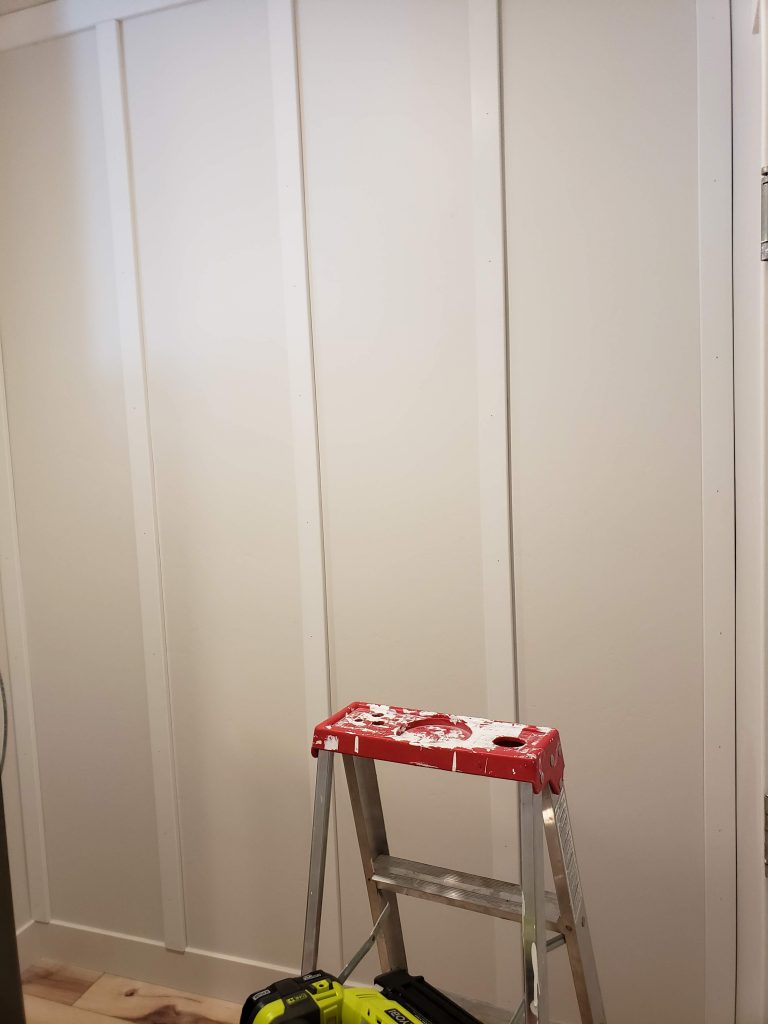
The boards are up and ready for caulk & paint.

The great thing about this board and batten is that we can continue it around the rest of the mudroom and add a built-in bench right in front of it later. I was able to get all the MDF wood trim for this 80″ wall for about $35. I had the caulk, nail gun, and paint already on hand to finish everything else.

Ok, the steps you have been waiting for:

*I used a 1×3.5 MDF primed board across the top horizontally and nailed that in first. Home Depot will do all of your cuts for free. Measure the area you want to trim out and how many boards of each size you will need. When you go buy your boards you can get them cut too.

*Next, I used 5 1x 2.5 MDF primed boards across the wall vertically. I nailed up each end piece first. I knew I wanted a board to finish on each vertical end. I took the wall space I had left and evenly spaced the other 3 boards to create 4 equal spaces across the wall.

*Caulk the trim and fill the nail holes. I love using this tool to caulk. It makes things so much easier.

*Tape off the area and Paint. I used a foam roller and Sherwin Williams “Pure White.” It took 3 coats.

This is one of the easiest and least expensive ways to add character and dimension to a room. Not a bad looking wall for only $35. It is a great temporary fix until we get around to making what we really want for our mudroom. I see more floor to ceiling board and batten going in our house soon. 🙂


Nursery Reveal

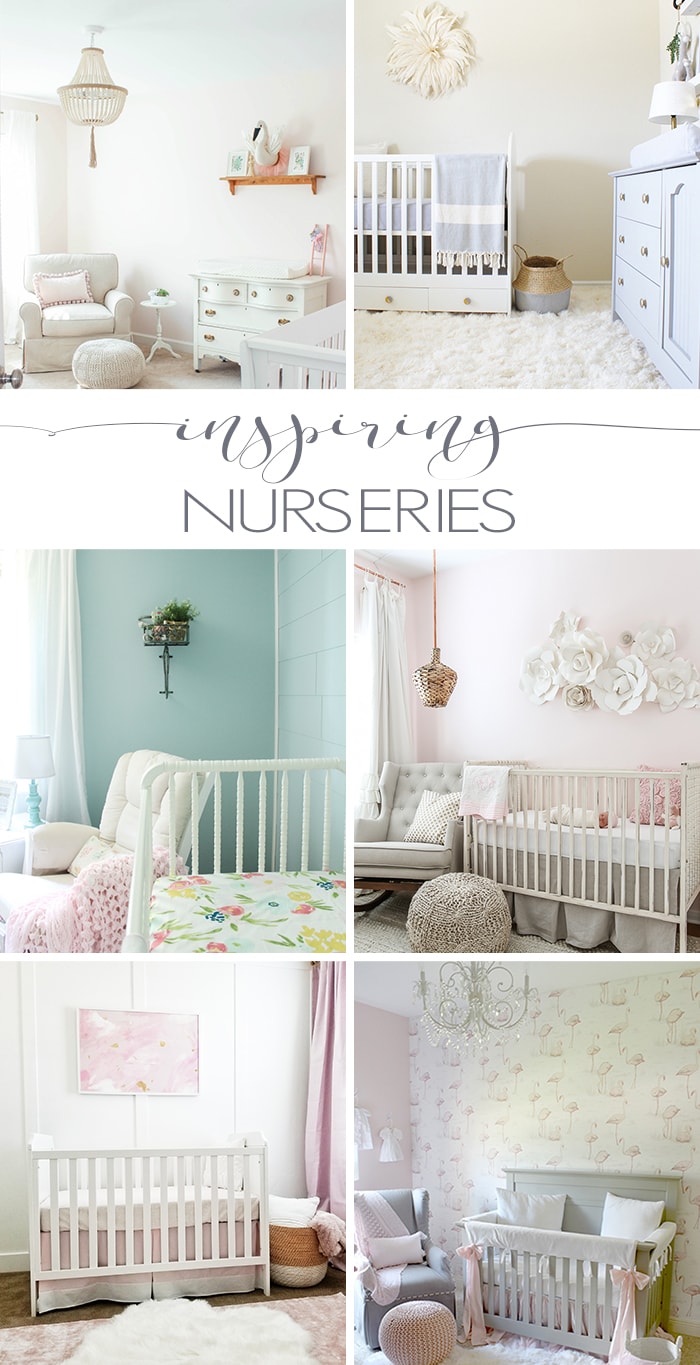
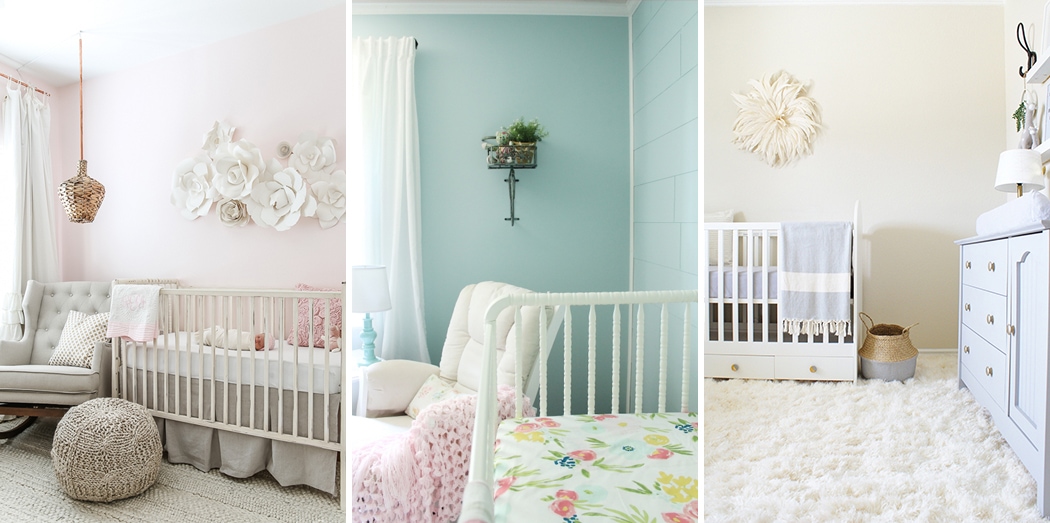
Looking for nursery decorating ideas? Don't miss these inspiring nurseries, full of diy projects, incredible nursery sources, and beautiful nursery decor ideas.

The following post contains affiliate links. Read my full disclosure here.

The time has finally come to show you the nursery. I feel like it has been a long time in the making. Just over a week ago we welcomed a baby girl to our family. It has been a whirlwind of a week and a roller coaster of emotions. Mr. Whitelane and I couldn’t be happier to have this bundle of joy here with her other siblings. It is so fun watching her become part of our little family.

I have partnered with a few other blogger mommies to show you an amazing group of nursery reveals. There are some girl reveals and a boy reveal that you won’t want to miss. Be sure to follow the links at the bottom of this post to check out all the cuteness!

Pink has always been a favorite of mine. Even though my other little girl’s room has a lot of pink, I couldn’t resist having pink in the nursery as well. My older girl’s room is shabby chic and a lot more vintage feel. In order to give the nursery its own style, I went a little more modern. Although they both have pink, the styles are completely different.

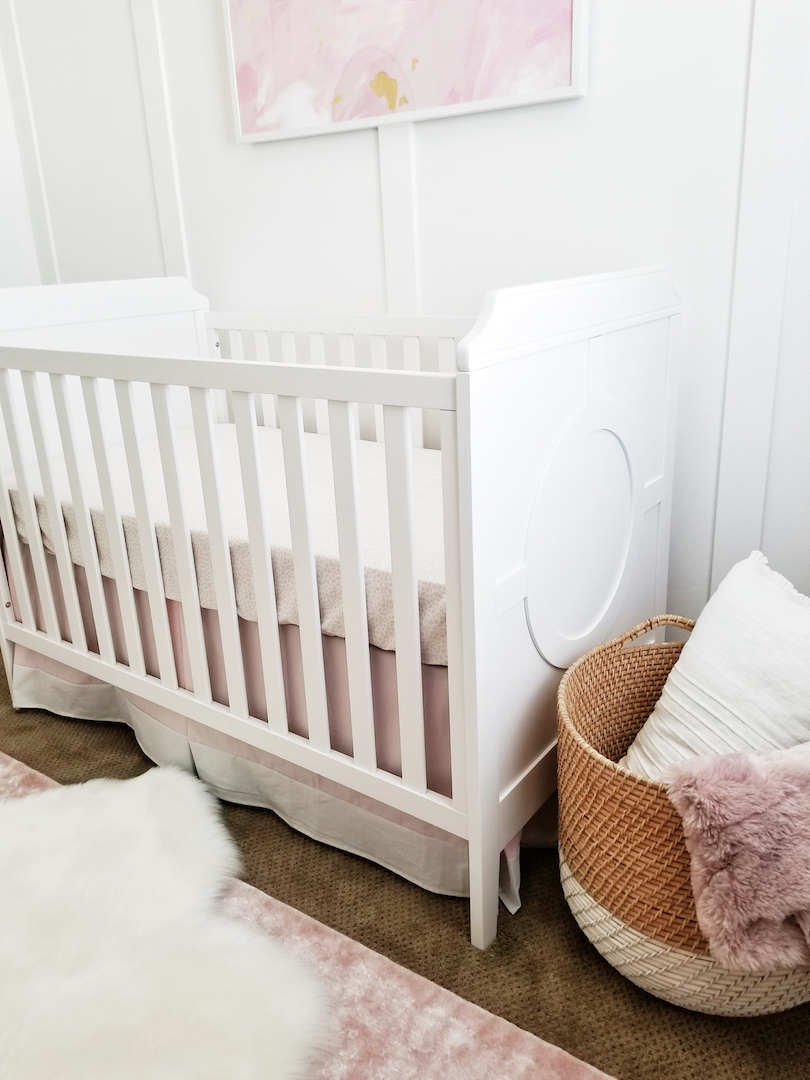
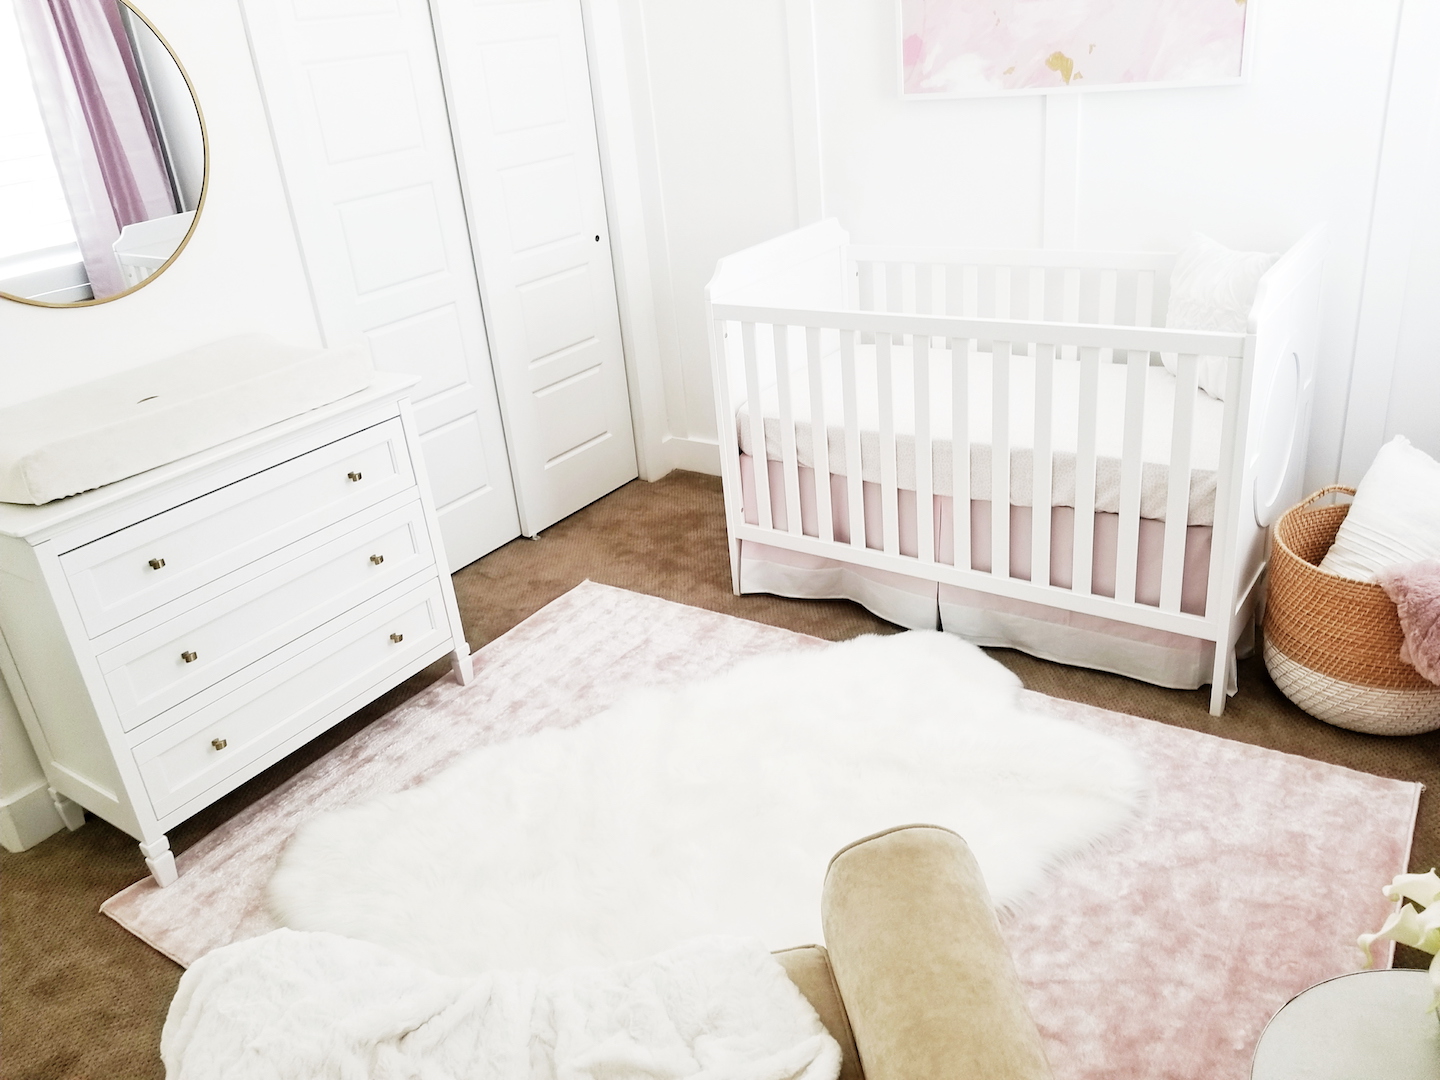
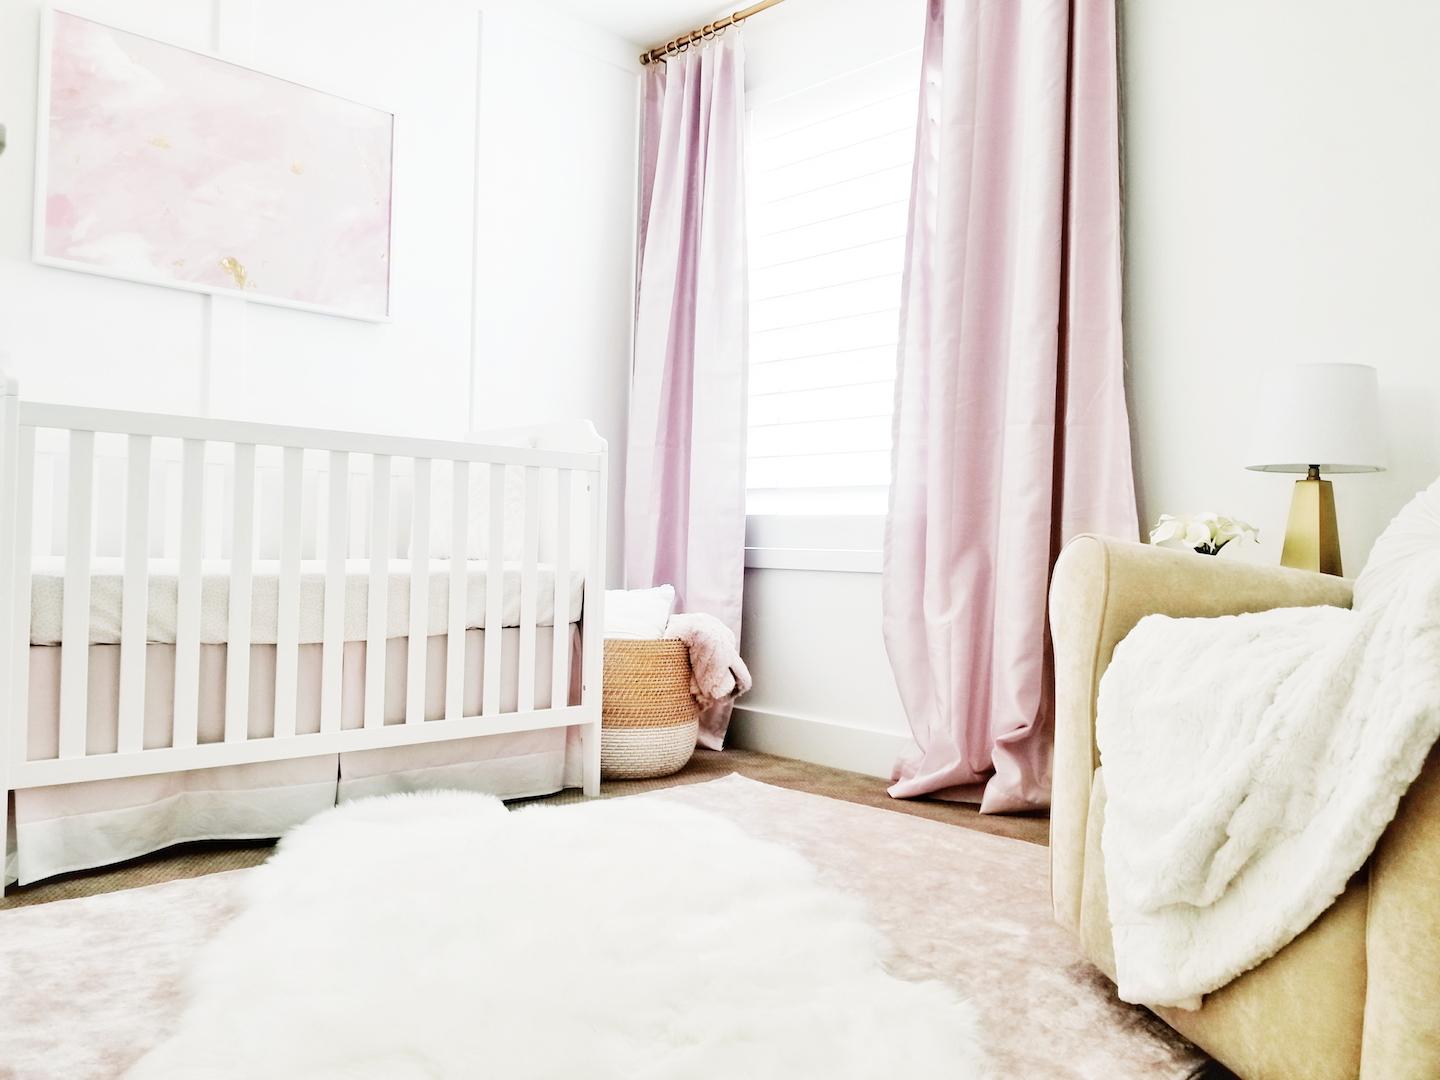
I centered the room around the crib. When I found this crib, I knew it was the one. I love the simple clean lines with the side details. It is a 3-in-1 convertible crib that will last a while. The crib comes in multiple colors and the price was amazing too! After I found the crib, I knew the wall behind it needed some sort of trim. I decided to stick with a simple clean look by doing vertical boards. You can read more about the wall here. I found the cute basket and blanket at T.J. Maxx. The crib bedding was an easy decision. My mother-in-law usually makes my kid’s crib bedding. It is phenomenal when she is done! However, I came across Carousel Designs when they were having a sale. The prices were too good to be true. You can design your own custom bedding and see it in a virtual nursery. It is really fun and they send you free fabric swatches. I found the perfect shade of pink in a simple design that I really liked. I decided to buy the crib bedding this time around and I was pleasantly surprised.

The dresser is also simple. I needed it to fit in the room on this small wall. I ended up changing out the white knobs for some brass ones. It made the mirror above the dresser and other brass accents pop.  I was able to use a few things from my other little girl’s nursery. The changing pad and cover were hand-me-downs. Luckily they were a neutral color that fit in perfectly.

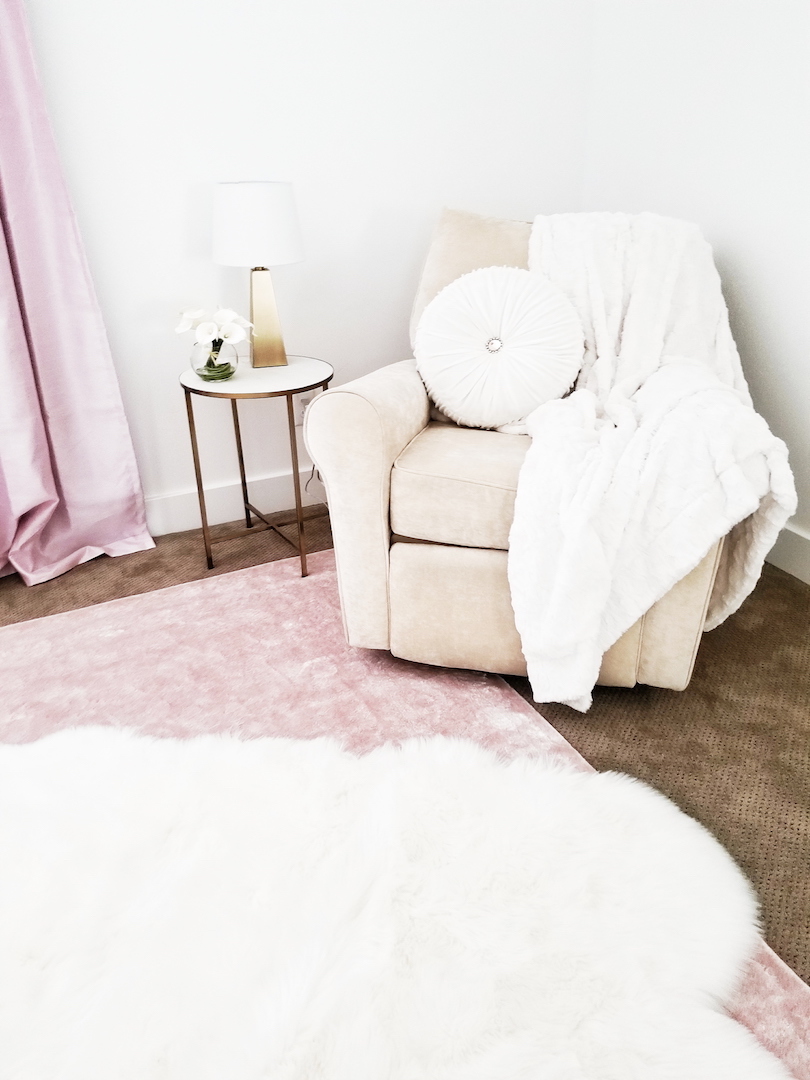
I was little concerned about getting the rocking chair out of my toddler girl’s room. We eased her into the idea of sharing the chair with the new baby. She eventually was ready to get it out of her room and let the baby have the chair. Again, I love getting major pieces in neutral colors. You can always reuse them in other areas. Let the small decor be your color that can be easily swapped. Stick to neutrality for big furniture pieces. I found the brass and marble side table on clearance at Target. It was a steal of a deal and fit perfectly in the room. SCORE! It looks all clean and cute in the picture. Trust me, it is currently cluttered with baby bottles and all kinds of baby necessities. I love this brass lamp I also fount at Target. All you have to do is touch it to turn it off or on. It is so convenient when you are holding a baby. I don’t have to try to find a button or switch to turn, just touch any part of the base of the lamp.

The pink rug was a Wal-Mart find. When it arrived I was so happy it was the right color pink to match everything else. The white fur rug came from Ross. I love the look of layered rugs. This soft fluffy one is like walking on marshmallows. Perfect for the nursery. I am sure you remember my DIY abstract art  from a previous post. I wasn’t in love with it when I first got it hung above the crib. It is growing on me. I think I will keep it in here.

Nap time is just about over and the baby needs some more cuddles. Hope you have enjoyed this girly nursery reveal. Be sure to hop on over and see all the other nurseries at the links below. So much baby nursery goodness for you to be inspired.

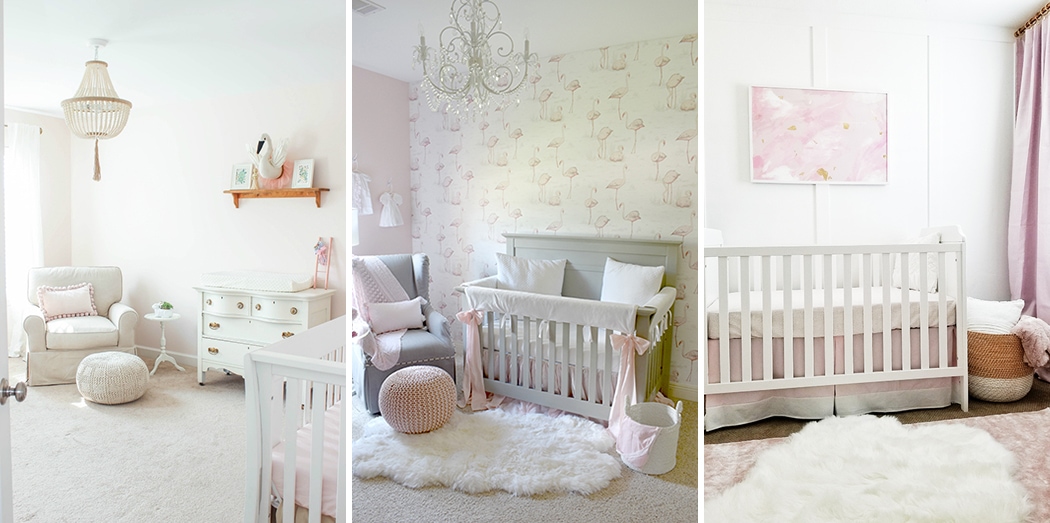
Delightfully Noted | Lemons to Lovelys | White Lane Decor

Maison de Pax | A Blue Nest | A House With Books

Hallway Trim Decisions

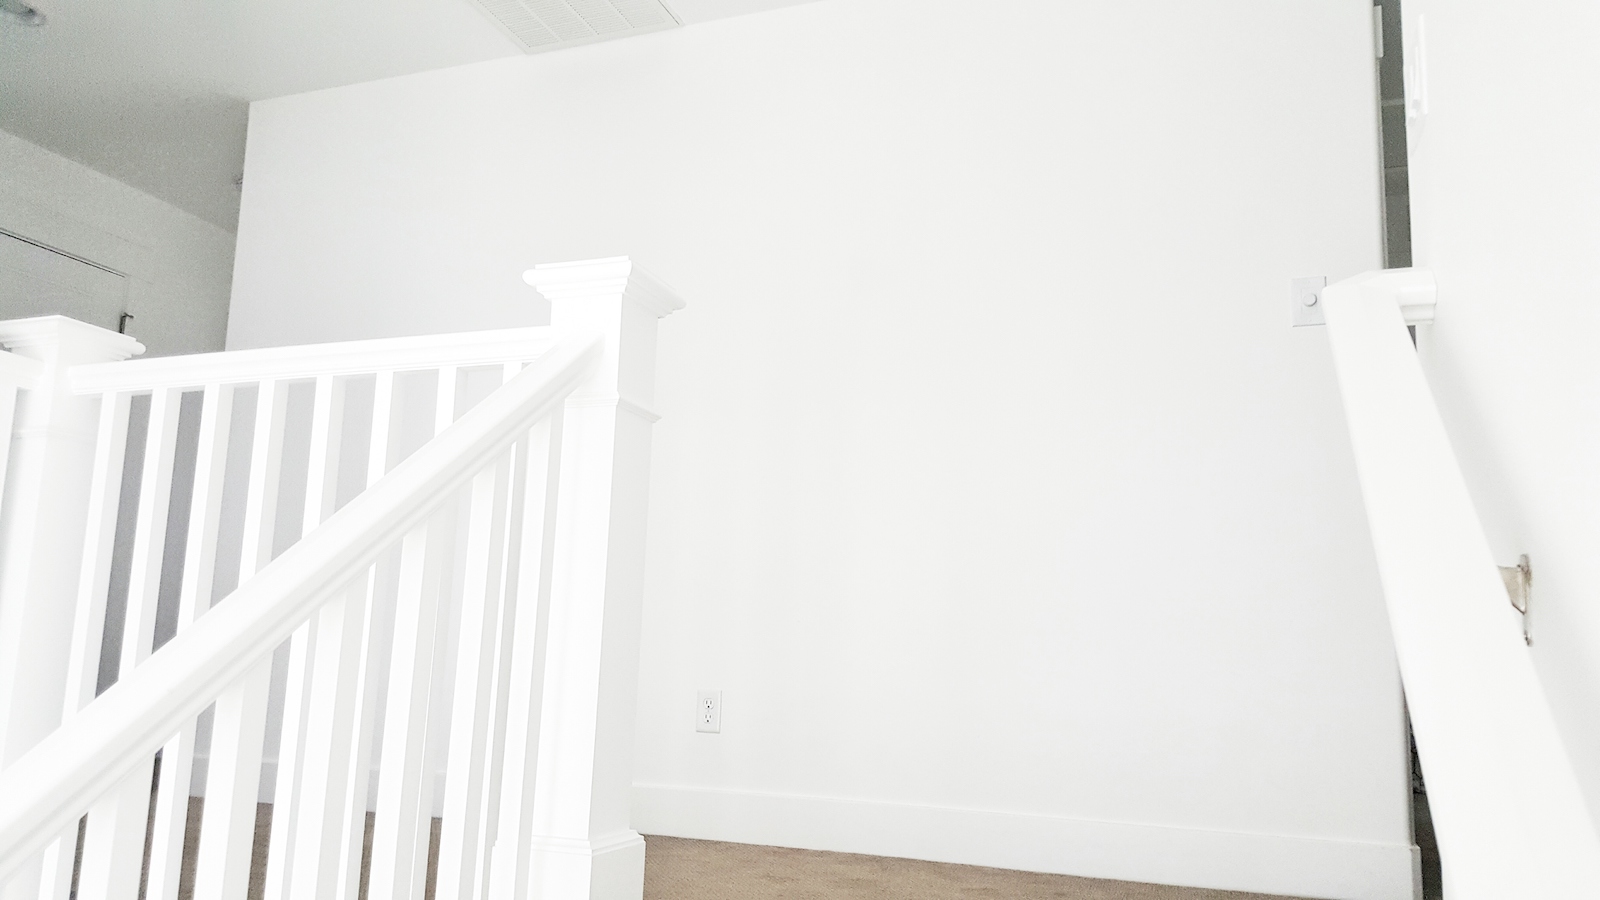
I have a big nice hallway at the top of stairs. Every time you walk up the stairs you see this nice long hallway or wall. It is just over 12 feet long and is begging for some sort of wall treatment. I mean, look at this big blank canvas. The possibilities are endless! I have narrowed down the options to just a few.

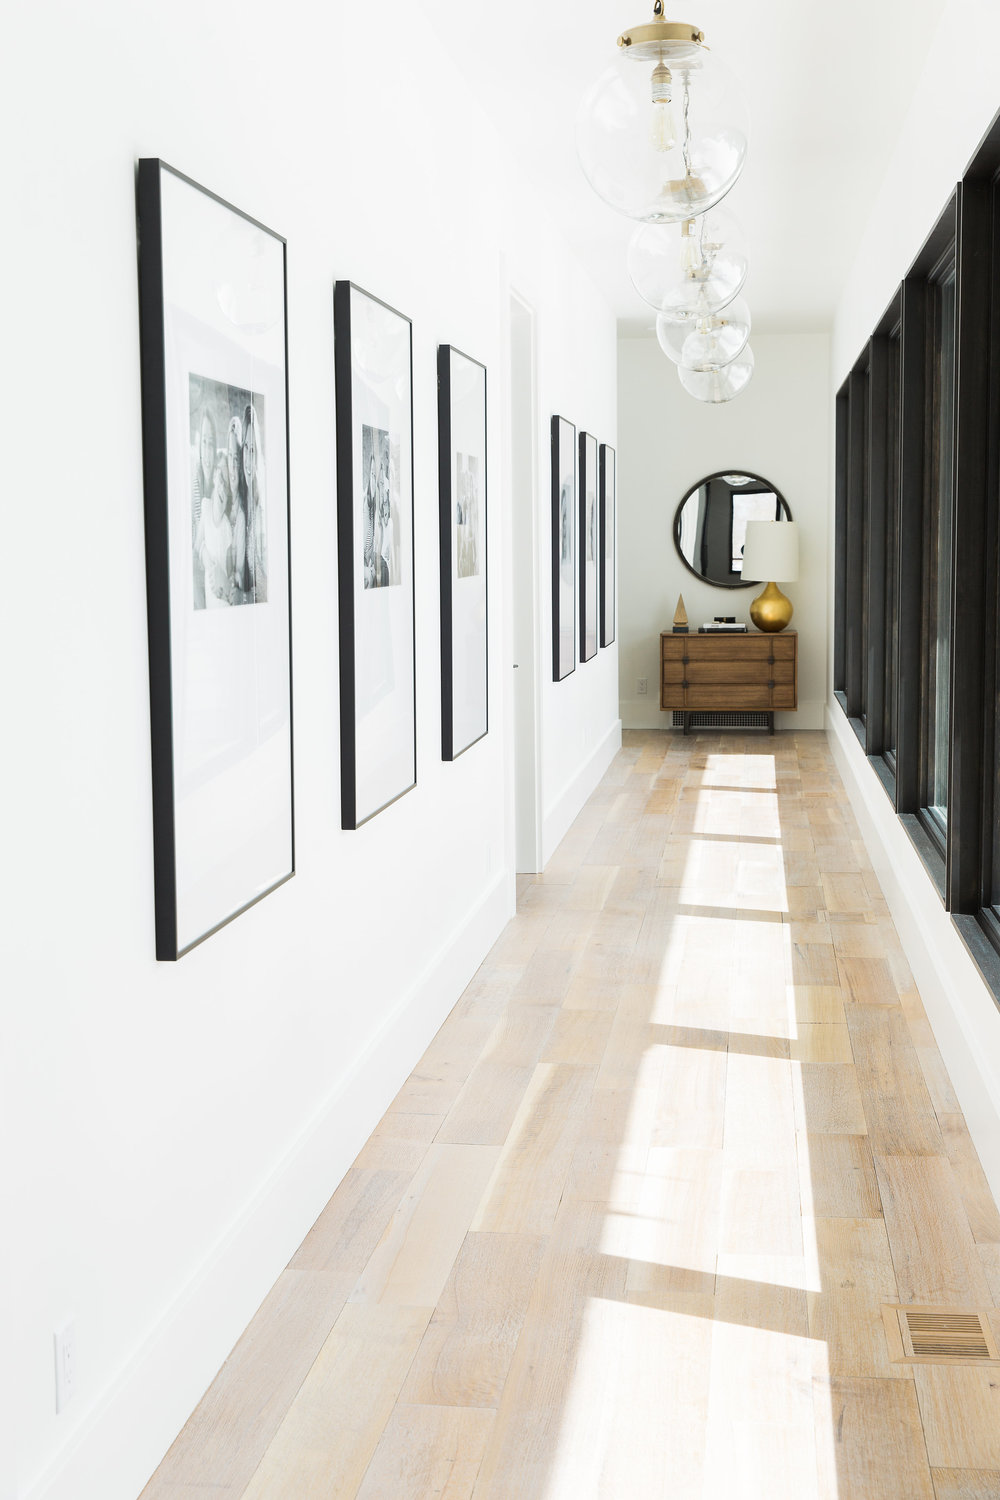
I love shiplap and I think it could look really cool here. Just picture some clean and crisp white shiplap with large black frames spaced across the wall. I found the image below, here. I think some black and white family photos inside a few large black frames will really pop against the shiplap. If we did shiplap, it would be the same as our entry shiplap. The planks are similar to tongue and groove and are about 7.5″ wide.

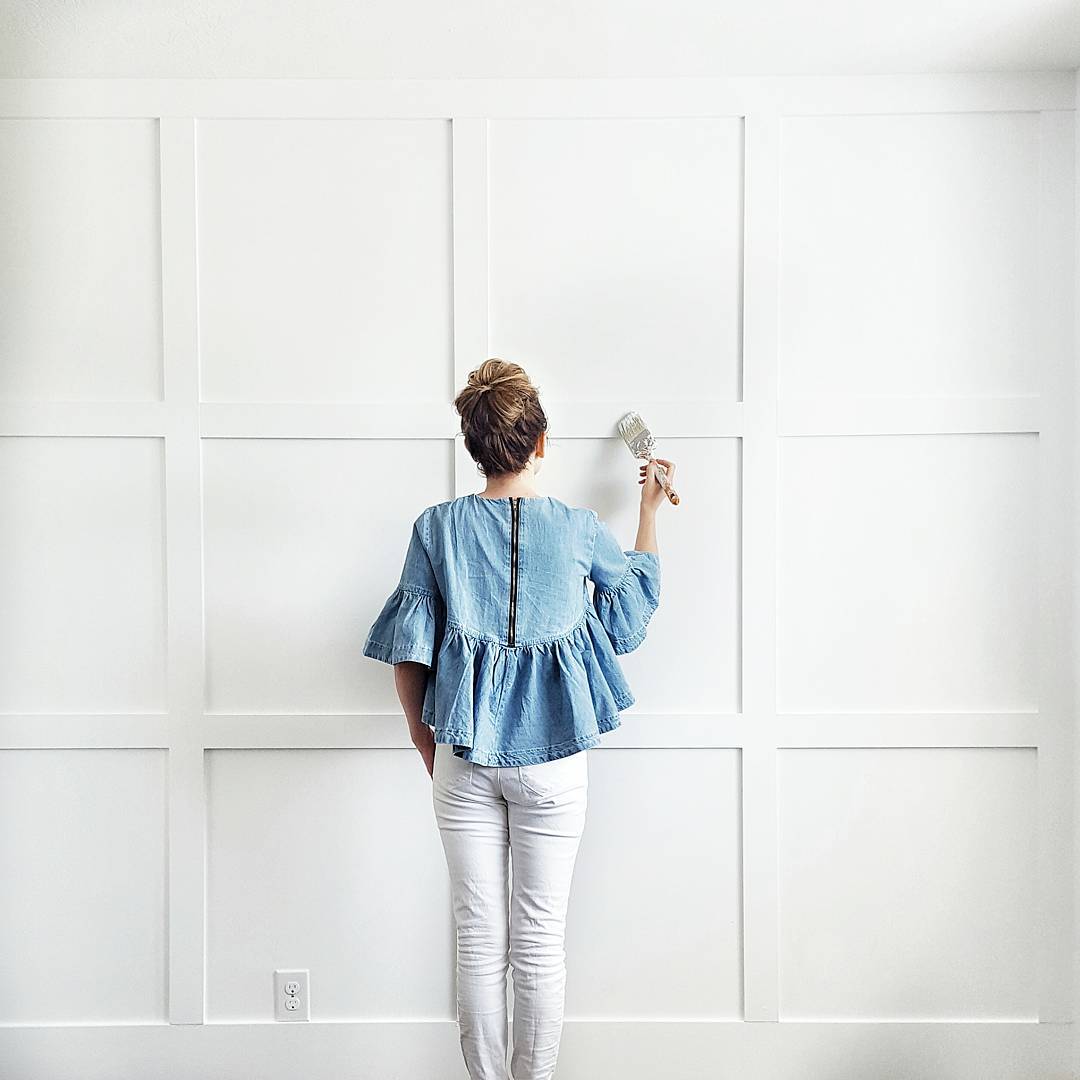
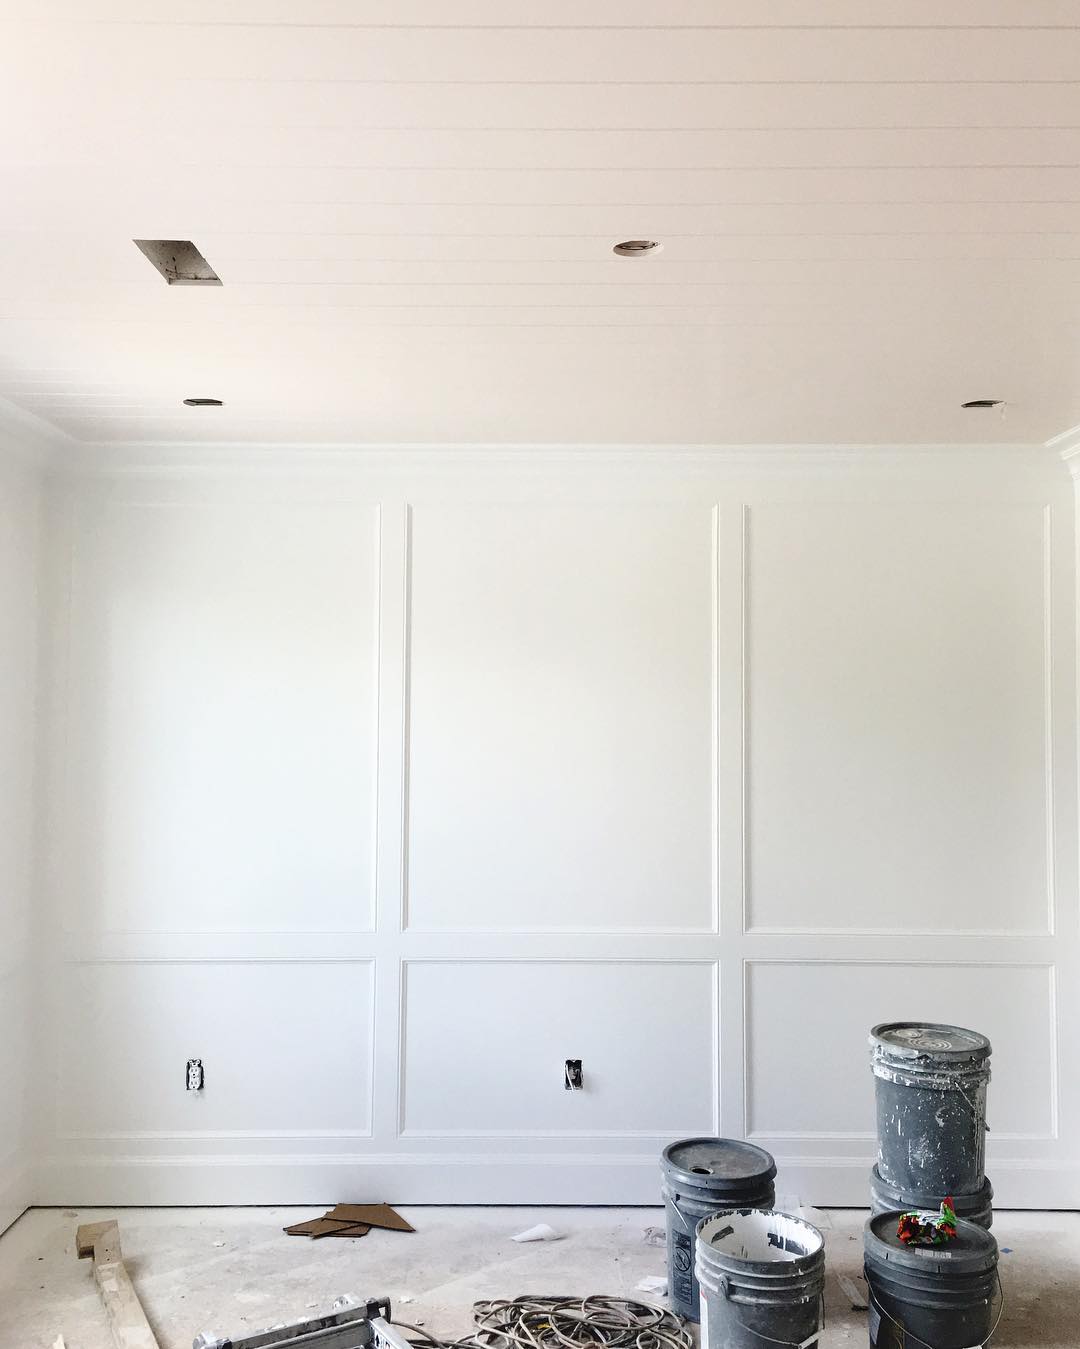
Then there is board and batten. Not just any board and batten, but square board and batten. I thought about evenly spaced squares across the wall like the first image below. I really want to hang large black frames across that wall as well. I am not sure if all the evenly spaced squares would look as good with frames over them. Then I came across the second image below. The longer spaced squares would fit a frame perfectly between each section. It is still a unique twist on your typical board and batten. Also, either of these board and batten options would be a lot easier to install than the shiplap.

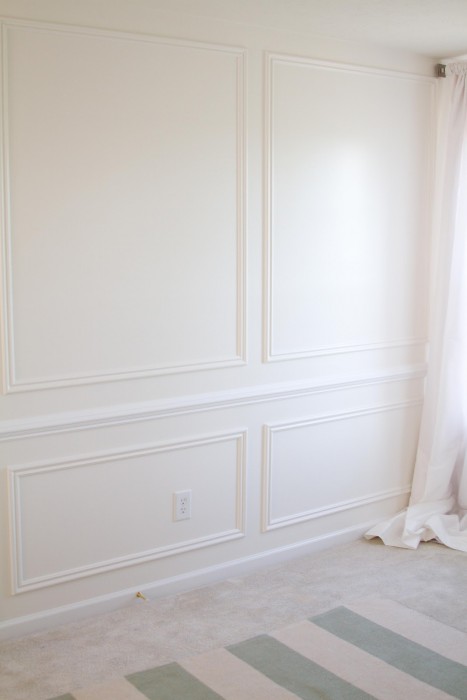
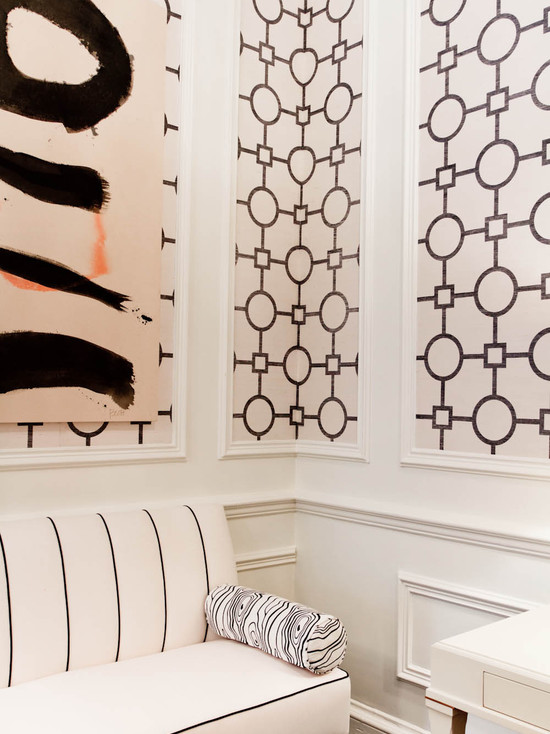
The final option I am weighing is picture frame molding. I found the first image below here. I think large black frames would look great within the larger molding. This would still be relatively easier than shiplap. Truth be told, I have never installed picture frame molding. It could be a fun learning experience. I came across this idea in the second image below as well. I could add a fun wallpaper inside the picture frame molding. I am just worried I would get tired of the wallpaper over time. Picture frames make it easier to swap out pictures when an update is needed.

What do you think? I want to knock this project out before the baby comes (along with a few others). I need to make a decision quick. This will be a weekend warrior project (or a few weekends) with Mr. Whitelane. I am leaning towards the larger board and batten squares for ease of installation and time. However, Mr. Whitelane thinks we should do the shiplap like our entry. Decisions, decisions.

Nursery Progress

The following post contains affiliate links. Read my full disclosure here.

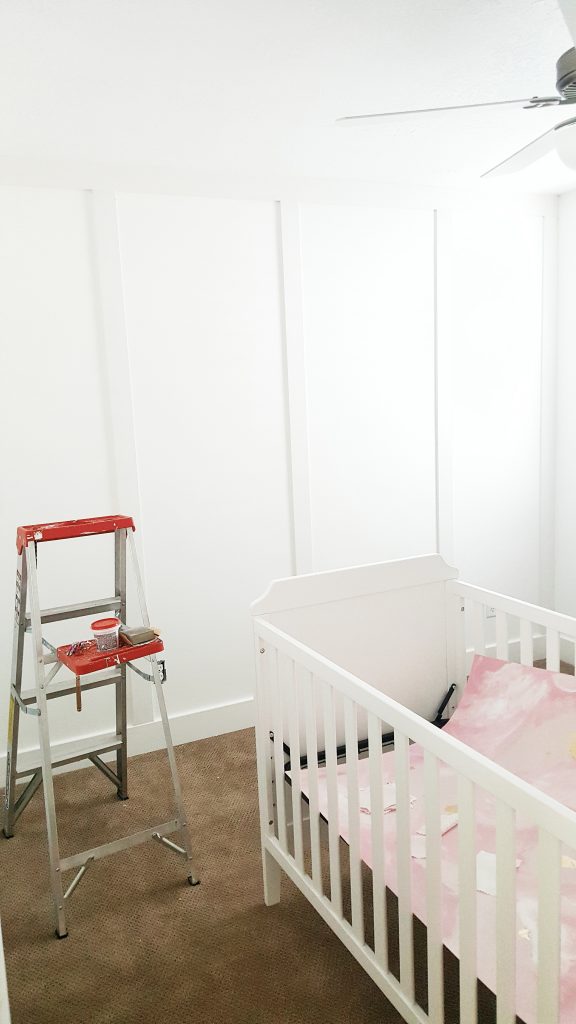
I am in full nesting mode around here. I just want to get projects done and the house looking good. We have started to get ideas and things rolling in this baby girl nursery. I knew I wanted some kind of trim work on the wall. We actually had a Saturday that allowed us the time to get to Home Depot. We got the wood cut and off we went home to get started.

If you follow along on Instagram, then you know what happened to my cell phone. My phone decided to die without warning and I lost everything that was on it. I know it is partly my fault for not backing it up regularly. Trust me, I learned a hard lesson. I had some really cool before photos of the room on that phone. So, just imagine a boring wall with no trim. 🙂  I really wanted to do squares of board and batten. I found this picture by Melissa Sabra on Pinterest. However, when I started laying out all of our boards, it seemed too busy for the smaller sized room.

Mr. Whitelane and I decided to keep it simple and just install vertical planks. We used primed MDF board in 4″ width for our top header piece. All the vertical boards are 3.5″ primed MDF board that meet up to the existing baseboard. We measured out all of our wall before going to Home Depot. They did all these straight cuts for us free of charge. We did have to do some tweaking on a few vertical planks with our jigsaw when we got home. Ceilings are never perfectly level. Due to this, some of the vertical boards were too long. We just shaved some off with our jigsaw. I love our Ryobi Airstrike cordless nail gun. We were able to have the boards up in no time. They sat nailed up for a few days before I decided to get busy caulking and filling all the nail holes.

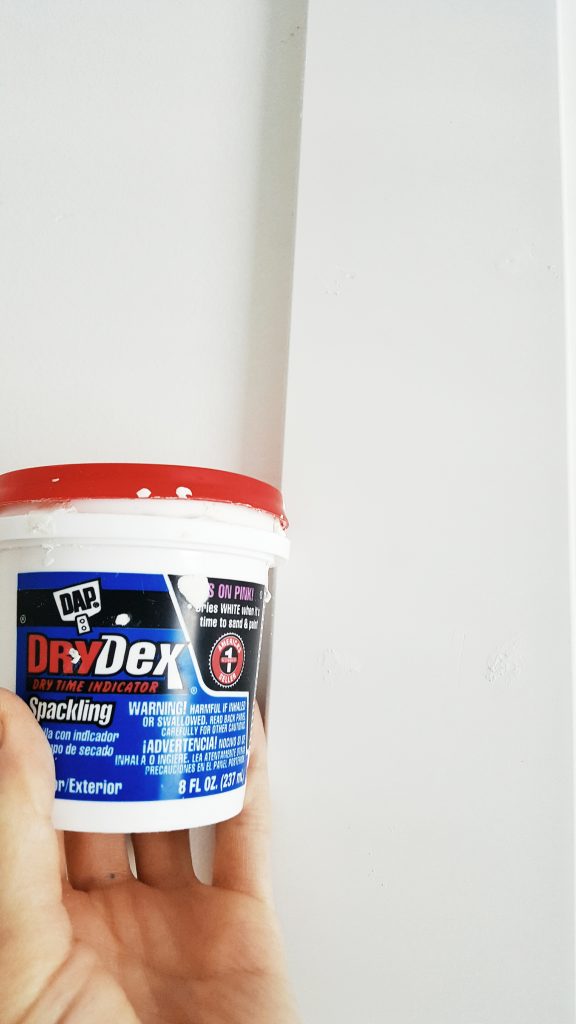
I like Alex Fast Dry Caulk for my projects. It goes on and drys in 20 to 30 minutes. Now the secret to the perfect caulk lines in this little tool. When Mr. Whitelane introduced me to this, it changed my DIY life. I caulked trim work in an entire basement with this tool. It sort of becomes therapeutic. This tool created perfect lines and makes the process so much quicker. After I applied the caulk, I then used Dry Dex Spackle to fill all the nail holes. After everything was dry, I came back to sand the nail hole spackling smooth. I used 220 grit sandpaper wrapped around a sanding block. It makes the sand paper easier to hold and gives more control. 

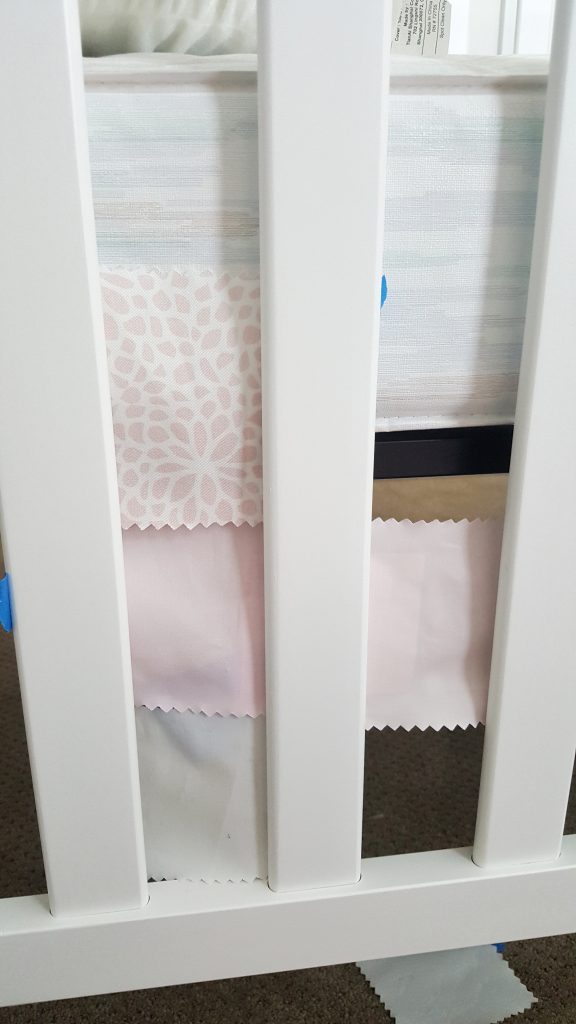
Now all that is left to do is paint. I said this was nursery progress, not a reveal. 🙂  Baby steps in this room for now. I hope to have it painted and more progress to share soon. I am currently stuck on the bedding fabrics too. So many shades of pink!