DIY Abstract Art
The following post contains affiliate links. Read my full disclosure here.
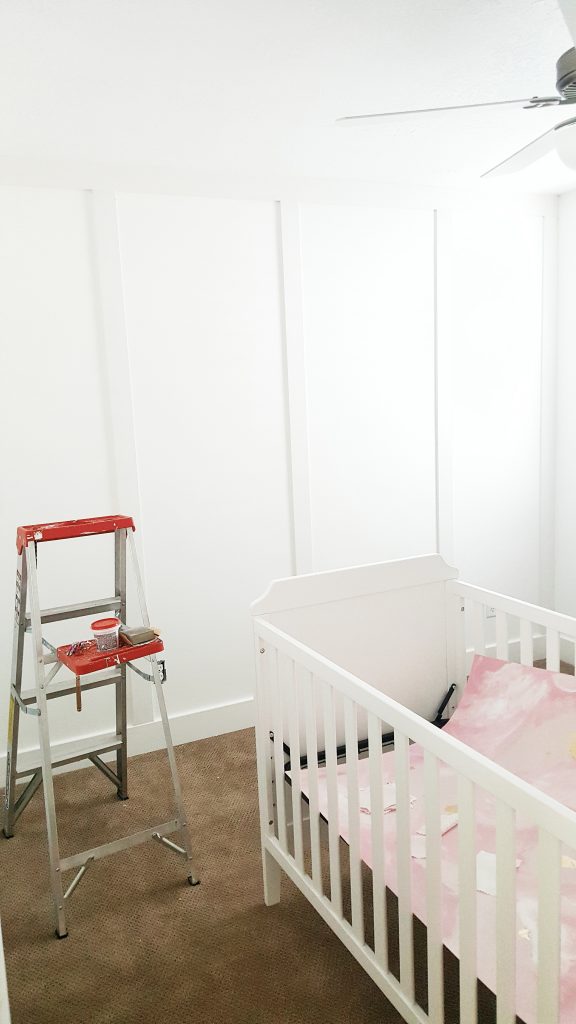
I have been working on projects for the nursery little by little. We just got the trim work I talked about in the previous post, painted this weekend. That wall is a simple beauty. I wanted something to hang on there just above the crib. Everything I looked at was very pricey and not exactly what I was looking for. I finally decided to try my hand at abstract art. If I can do it, anybody can! I am not exaggerating that by any means. My artistic ability is zero. Even my handwriting resembles a preschool work of art. When I finished this piece, I just had to share.
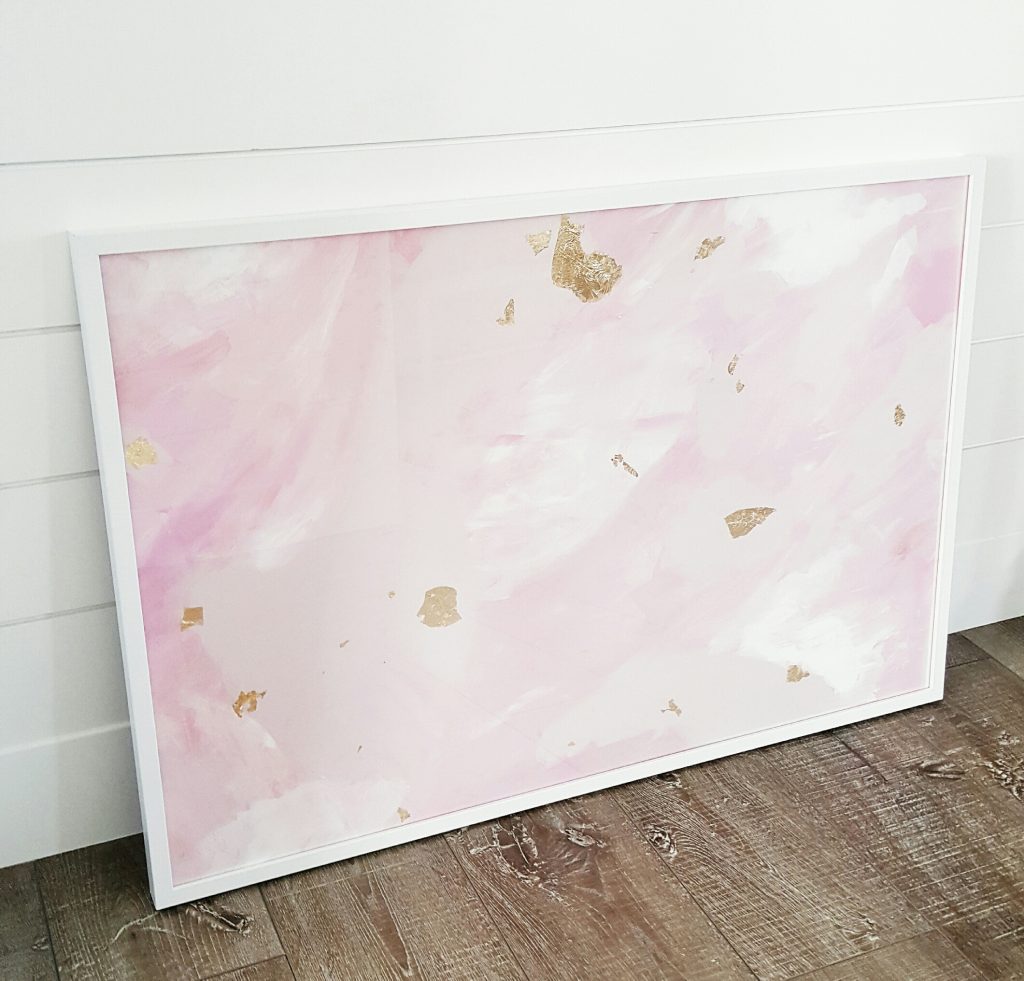
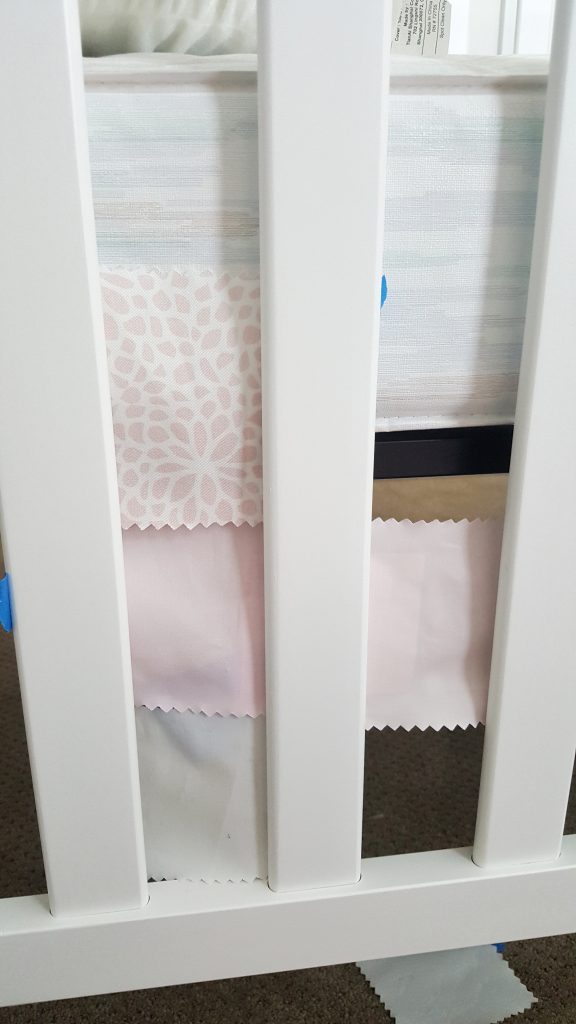
I needed the art to be large and around 24″x36″. I also wanted the piece to be framed which meant canvas was out of the picture. I went to Hobby Lobby to see what I could find. I came across this large cardboard poster for $6.99. It was different than regular poster board because it didn’t have a sheen on either side. Both sides of the board were a flat cardboard paper feel. Brass is another color I wanted to incorporate to the nursery. I grabbed some gold leaf paper too, in hopes to add some flecks into my art. I used a 40% off coupon and went straight home to give it a try. I had some flat acrylic paint on hand in various colors. I really only wanted white and shades of pink. I also had a set of paint brushes in various sizes. I had no idea if any of them were the “right” type to use. I decided to use what I had and just go for it.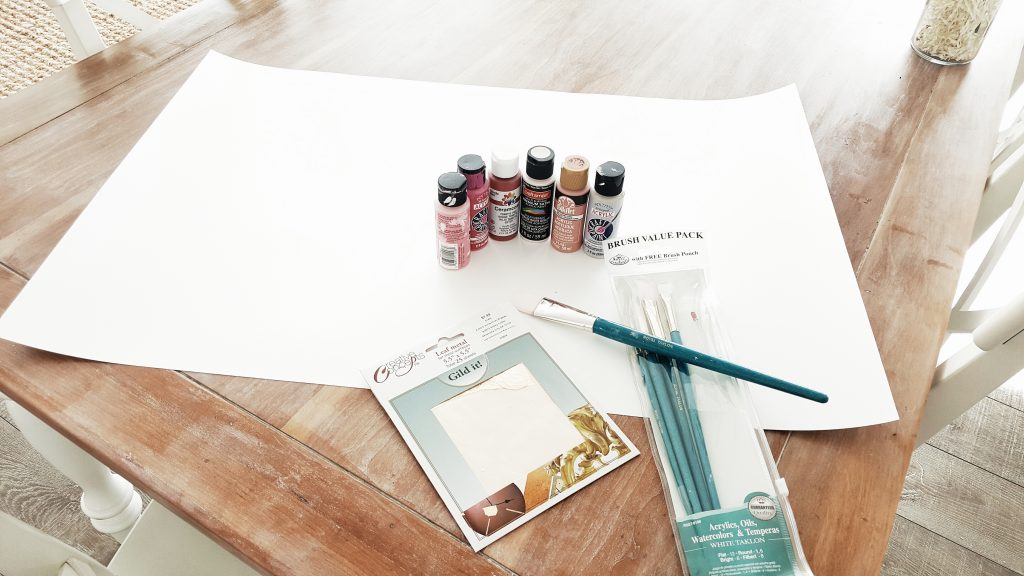
I started by dropping blobs of paint spaced a few inches apart onto my cardboard sheet. I used white, light pink, pink, and really all shades of light pink. I even took some red and lightened it with some white to make my own pink. Once I had a bunch of blobs spaced out across my board, I took my brush and spread the paint out. I did not mix them all together. I let them meet up with each other without running into the other color. I added more blobs where it needed in various colors. There really is no science. Just get creative. Don’t worry if your board seems to get saturated and bubble in spots. It will dry fine and it will only add texture to the backdrop. I let my first round dry and came back later to give it another look. I added a few more touch ups where I thought it could use some color. You can not mess it up because it is supposed to be abstract. I then took my gold leaf paper and some glue to add touches of gold. I broke off small random sizes of gold leaf. I put my glue stick on the poster in a small area where I wanted the gold and then pressed it down. I probably could have kept adding and tweaking, but you really just have to step back and call it good at some point.
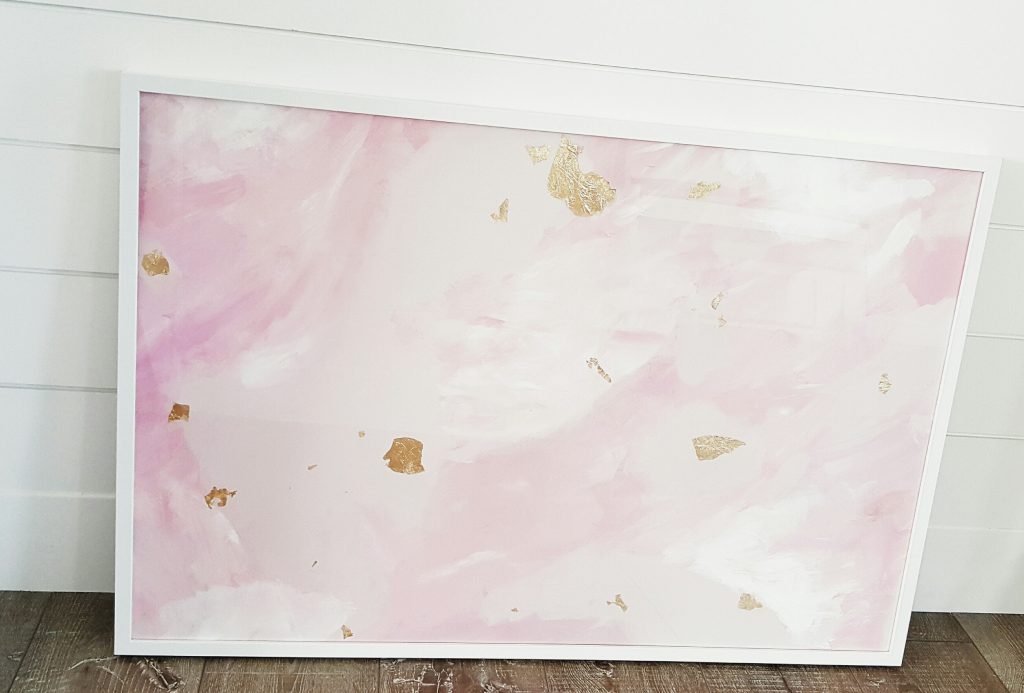
The tricky part is finding a decent affordable frame at a 24″x36″ size. IKEA to the rescue with a frame in white and black for $17.99. I may even paint the frame a brassy gold eventually. I will decide as the nursery comes together. I took my DIY abstract art and put it in the white frame for now. I think it turned out decent considering my art skills and the price.