The following post contains affiliate links. Read my full disclosure here.
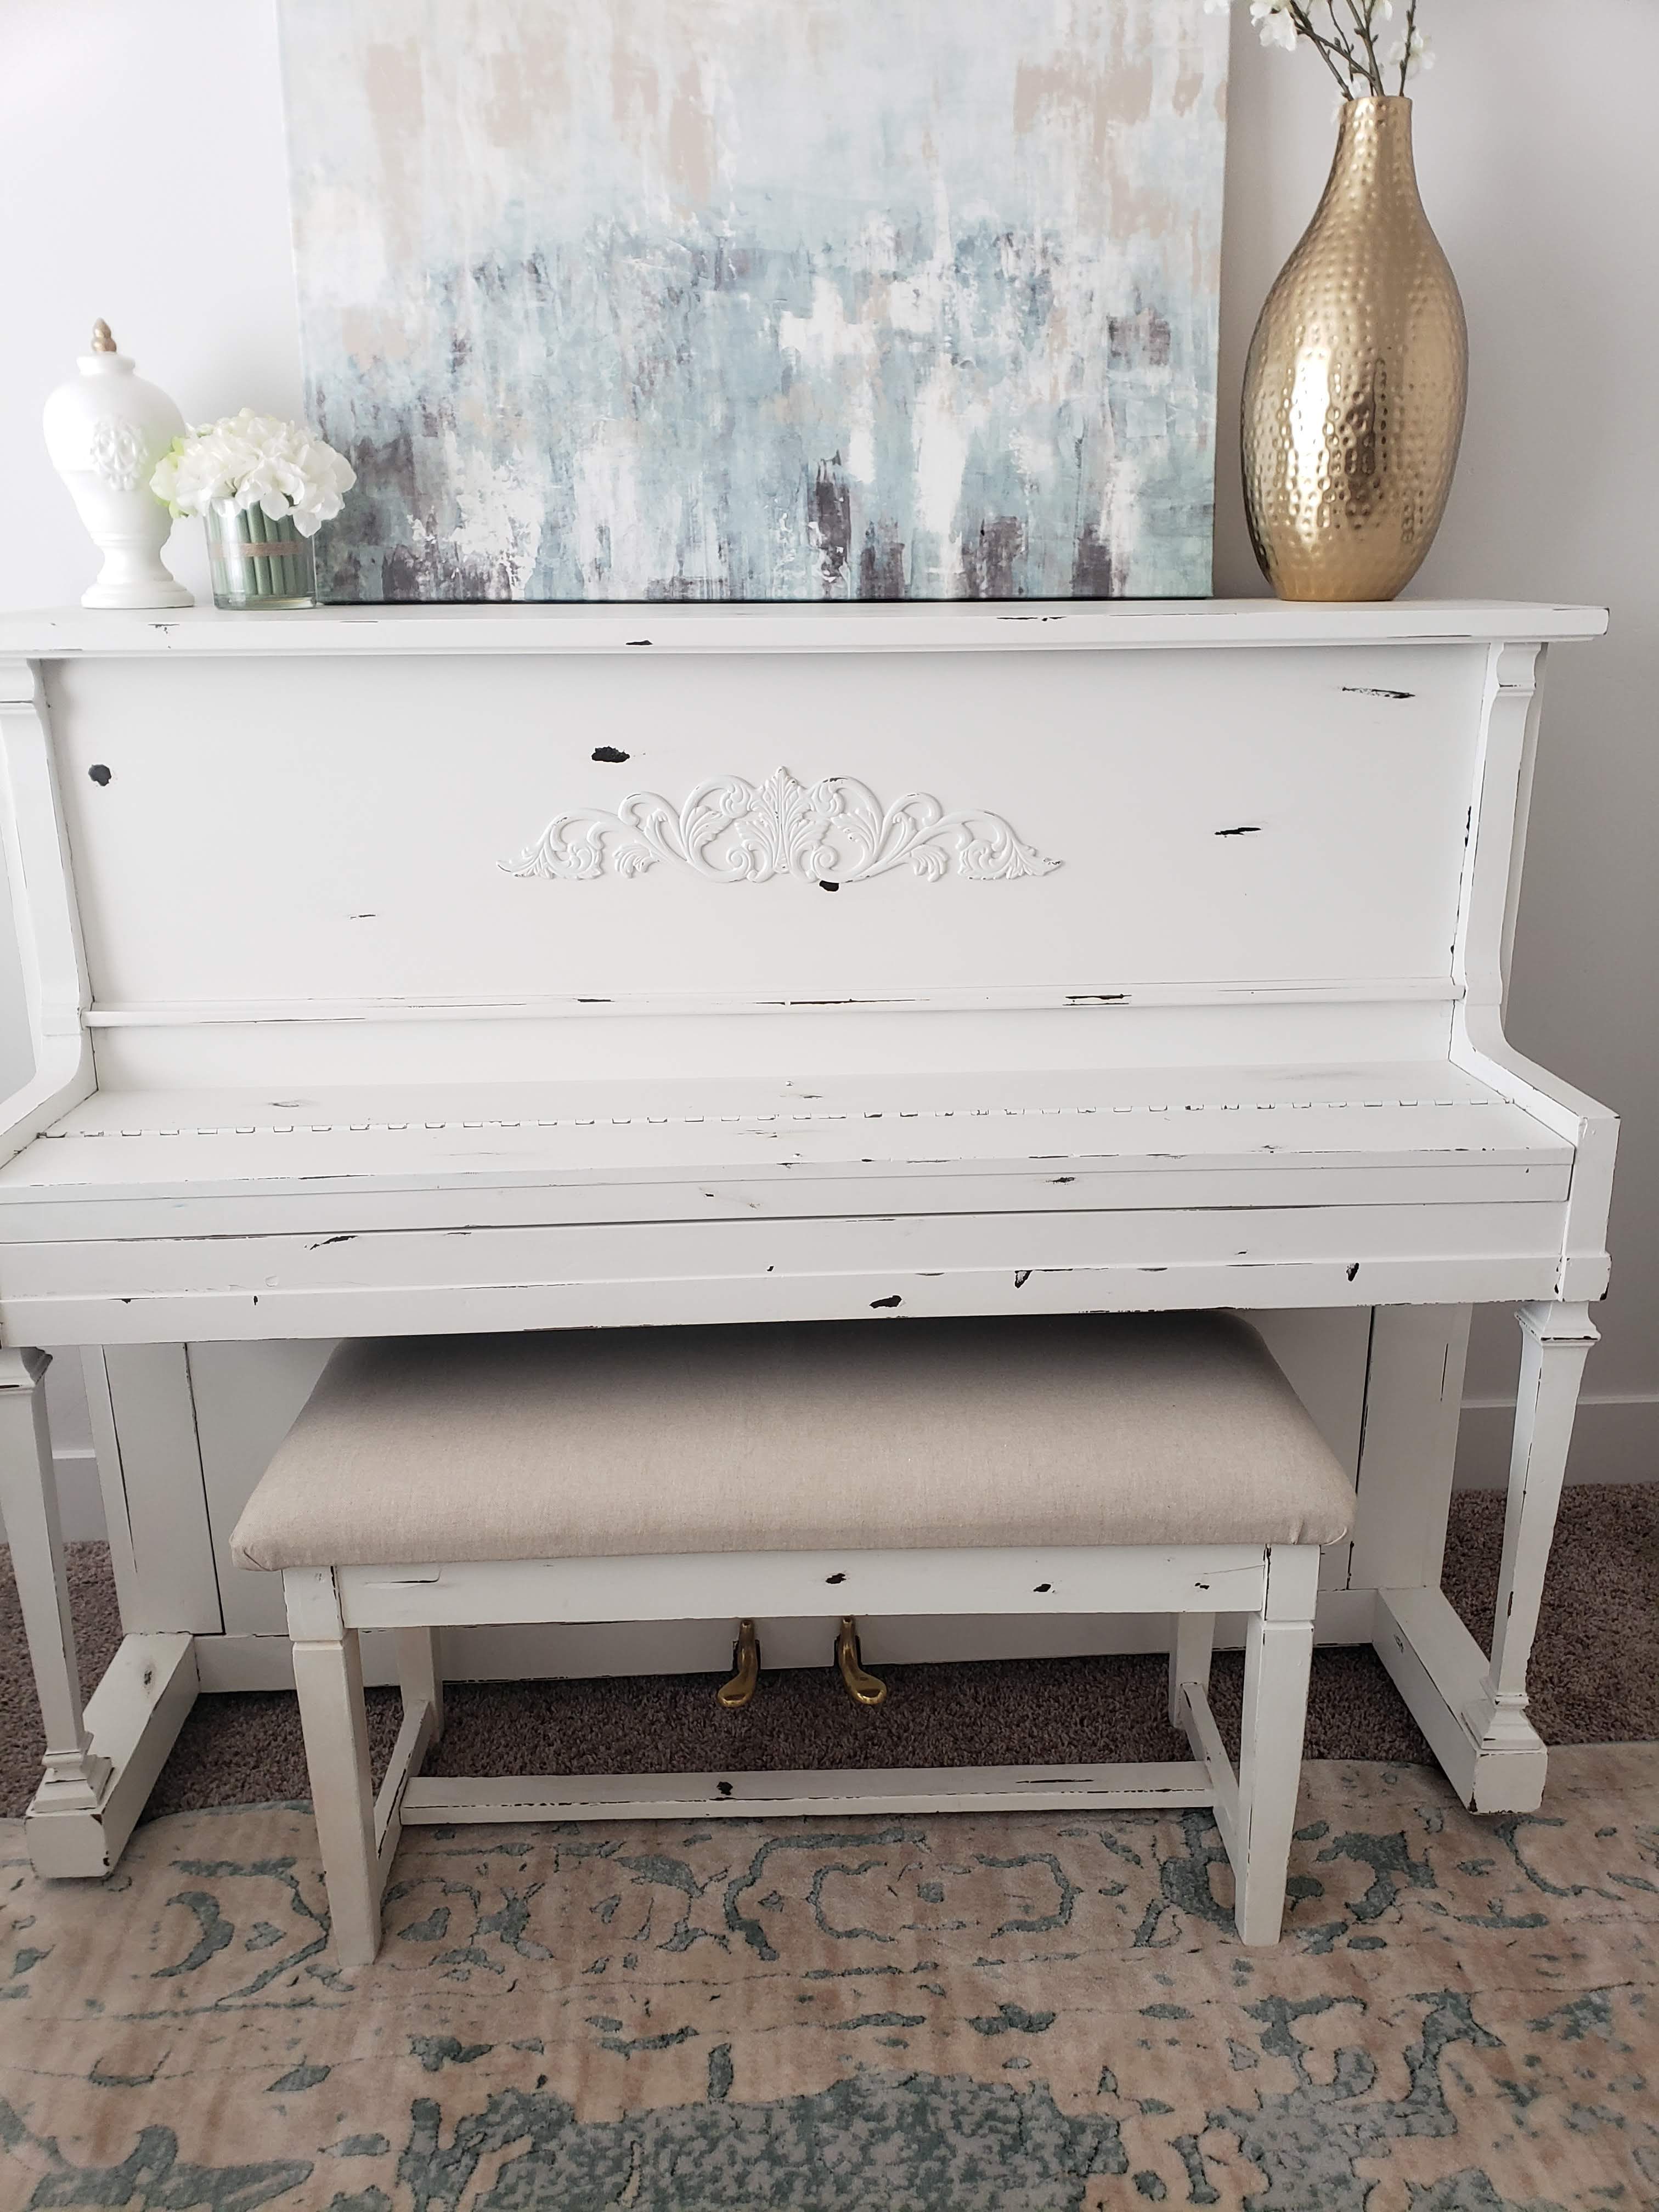
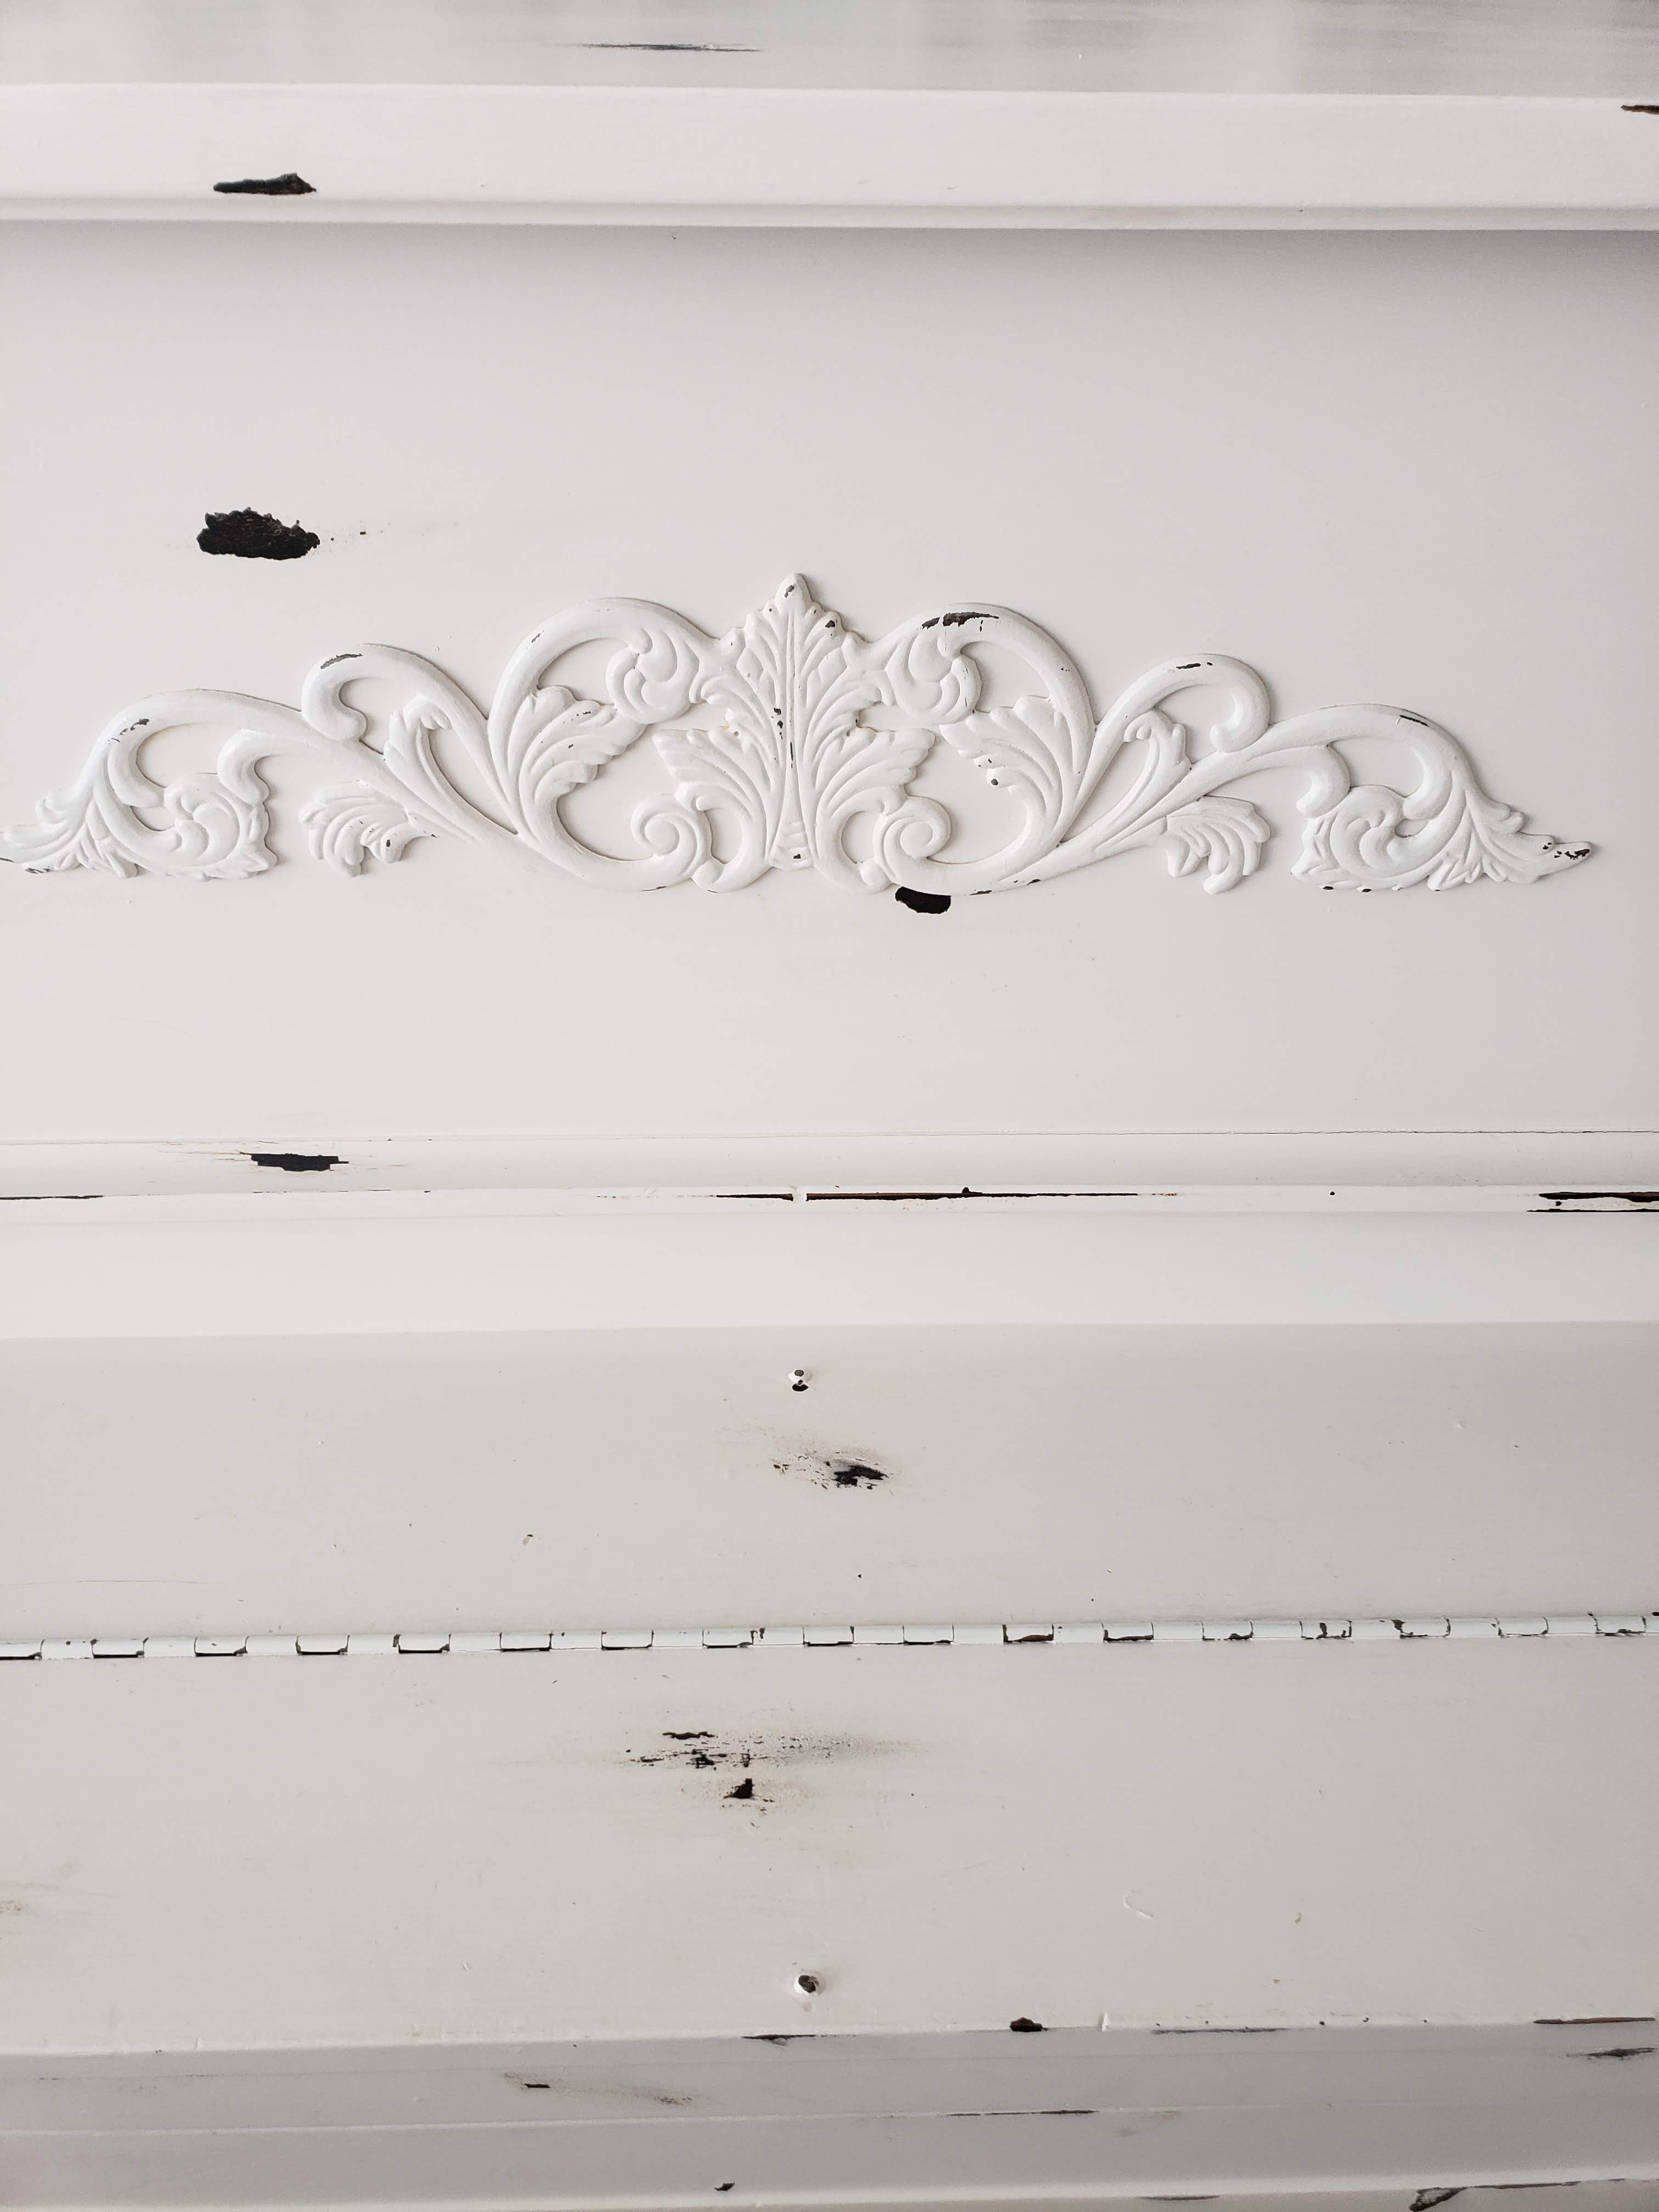
So I painted my piano…..AGAIN! I know it’s still white but what can I say? I love neutral things and this was no exception. I figured I still wanted it to be light and bright. I really tried to choose another color. I thought about other colors like pink, navy, black, and a few more. Ultimately, I landed back on white. This time a clean and modern white. No distressing or decals. Don’t get me wrong, it looked cute before I started. It was just time for a change. You can find the post on the first time painted this beauty here.
Ok, first the first thing I did was pop this decal off I had wood glued on the first time I updated the piano. Next, I took my painters tool ( or putty knife) to scrap over the distressed spots. This just helped get rid of any chipped paint. Once all that was wiped off, I filled all the distressed brown spots with spackle and let it dry.
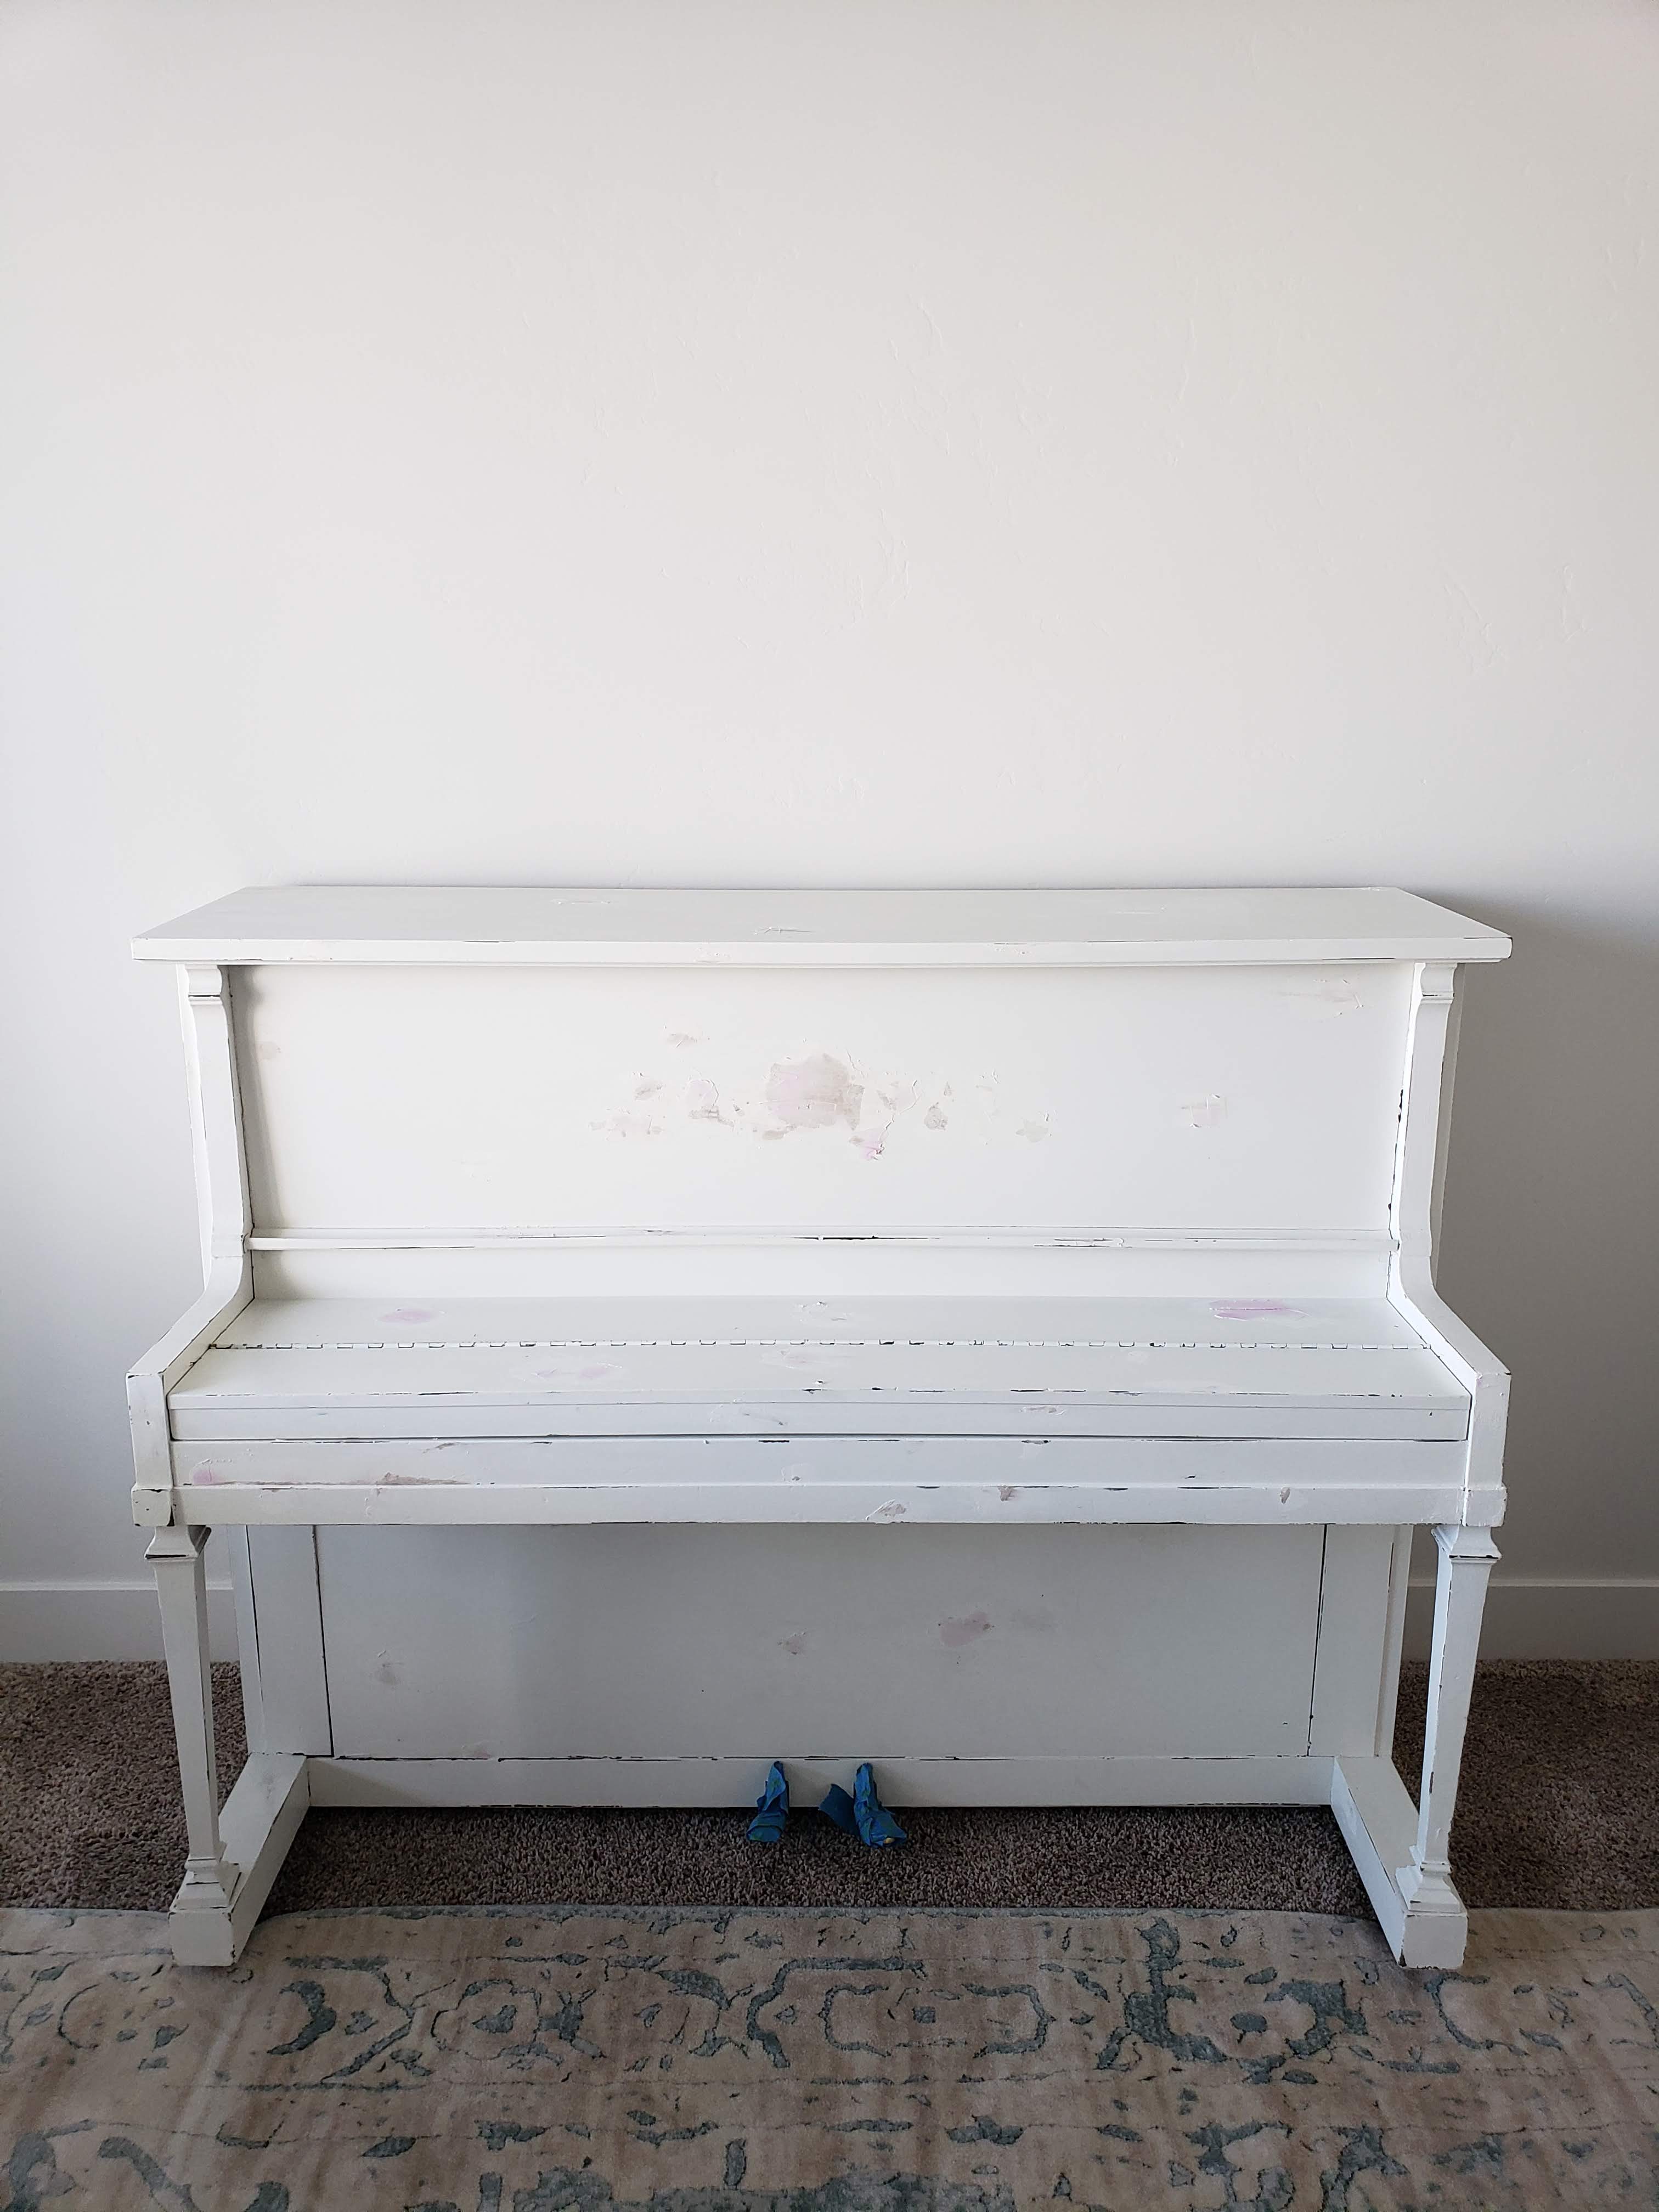
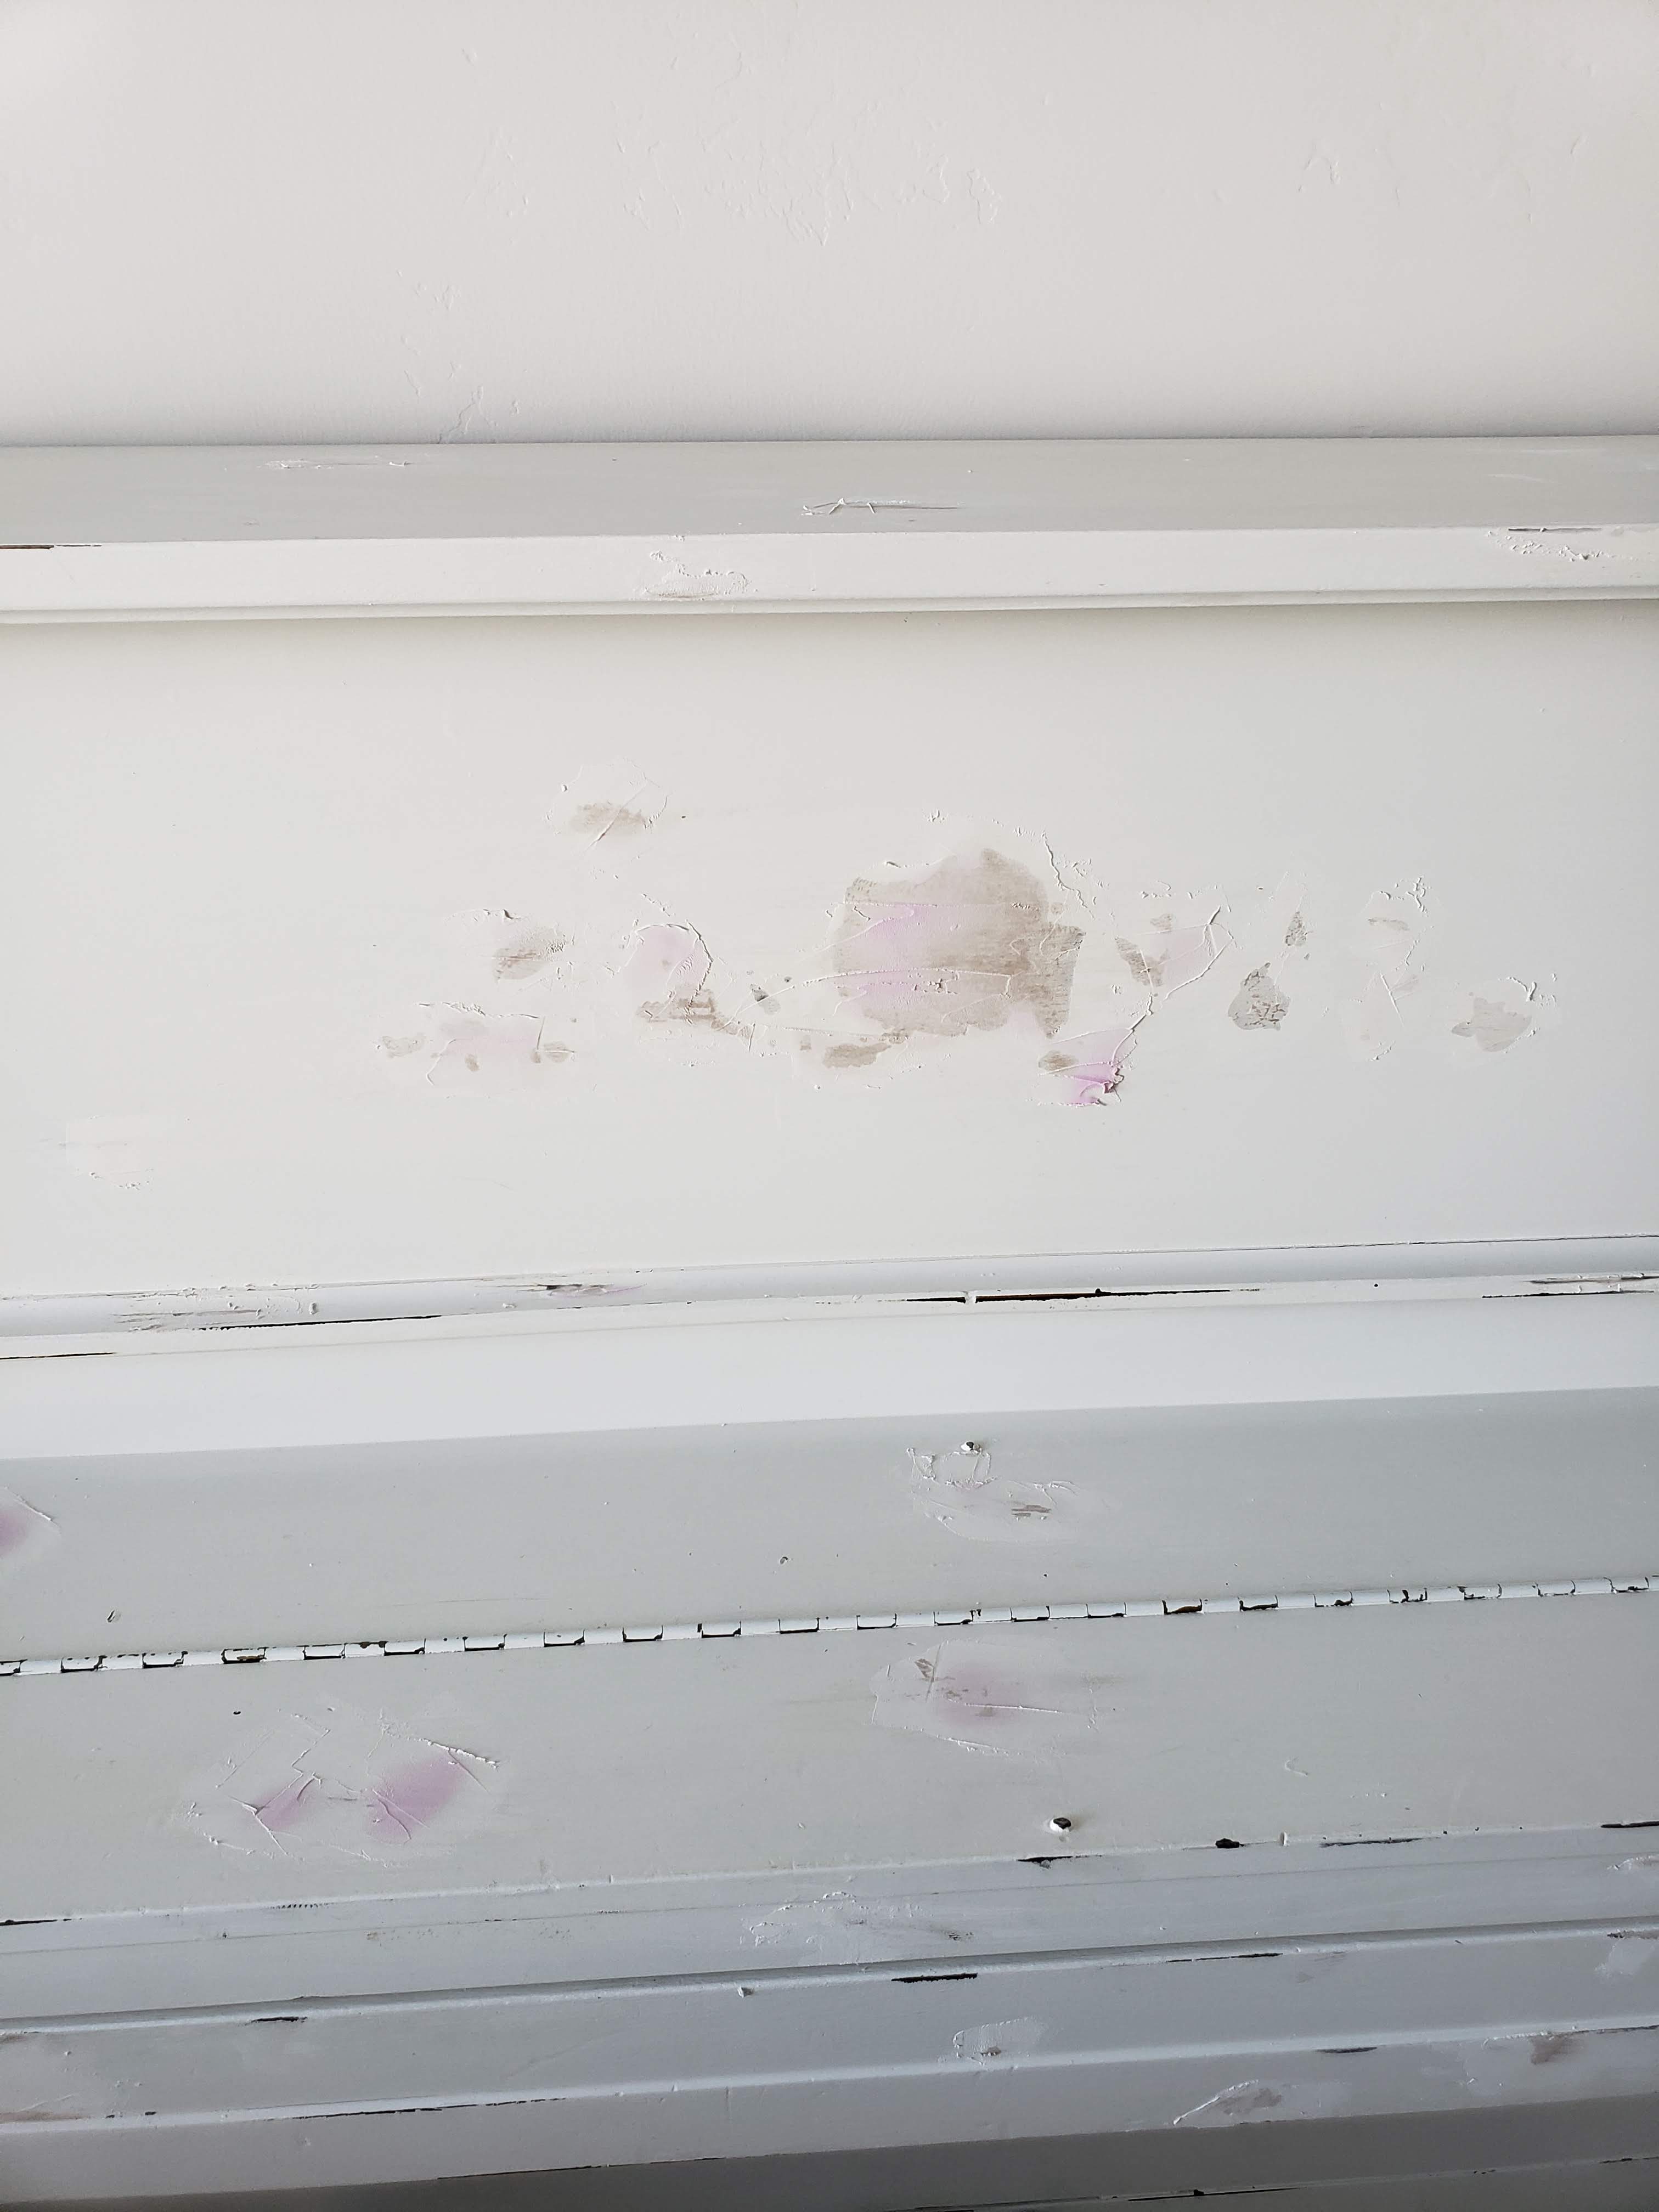
After it dried I got to sanding all the spots smooth. It doesn’t have to be perfect. I have an electric sander but I ended up just using a sanding block and elbow grease. Some major arm muscle later I was ready to wipe it all clean from the dust. I used a little vacuum too. I taped the pedals and keys off with painters tape. Now comes the fun part. The first time I painted the piano I made my own chalk paint. This time I used some I had on hand from Chip & Joanna. Remember when they sent me that amazing package of their new chalk paint? Well, I put it to good use again.
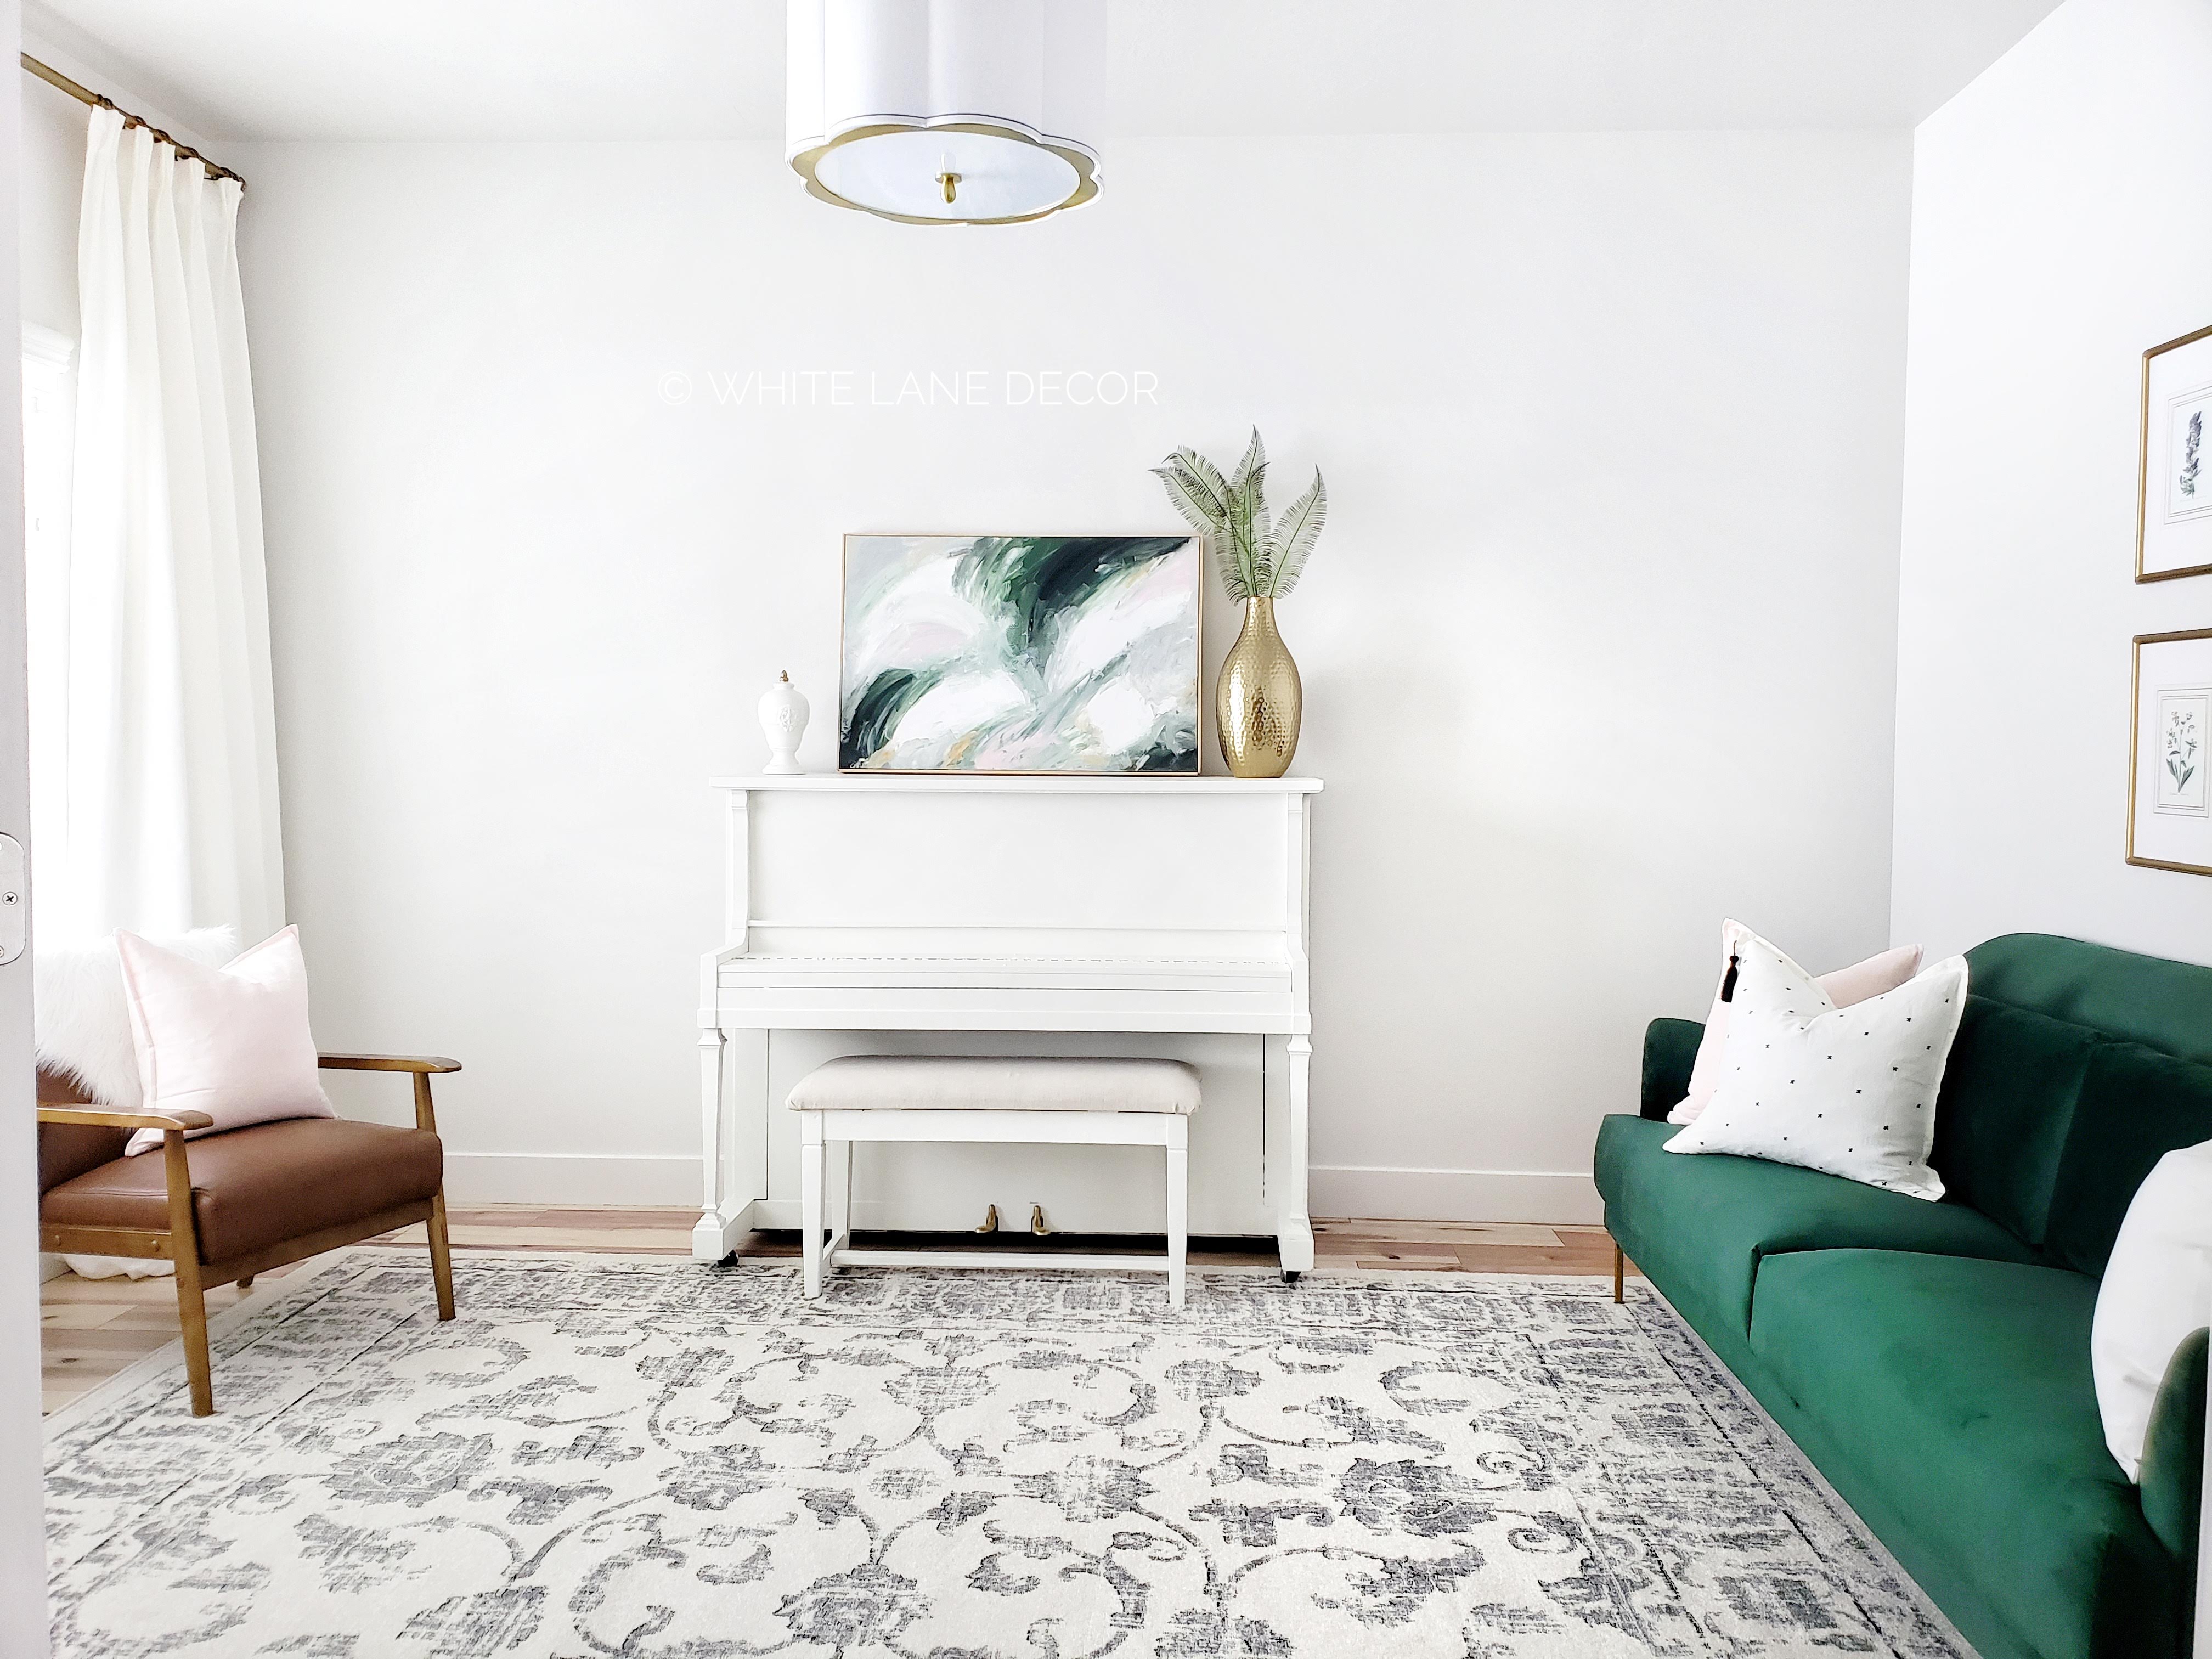
The color is called “Shiplap” and it took two coats. This chalk paint has great coverage and low odor. I let the piano dry for 24 hours and started putting everything back together. I like to use what I got. I decided the abstract art canvas didn’t work with this room anymore. I got a little artsy and gave it a new look with new colors. Who knew I was so artistic? 😉 Sometimes I surprise myself, considering I have the handwriting of a kindergartner. I also put a $5 wood frame around it to finish it off. I used the same DIY frame method here.
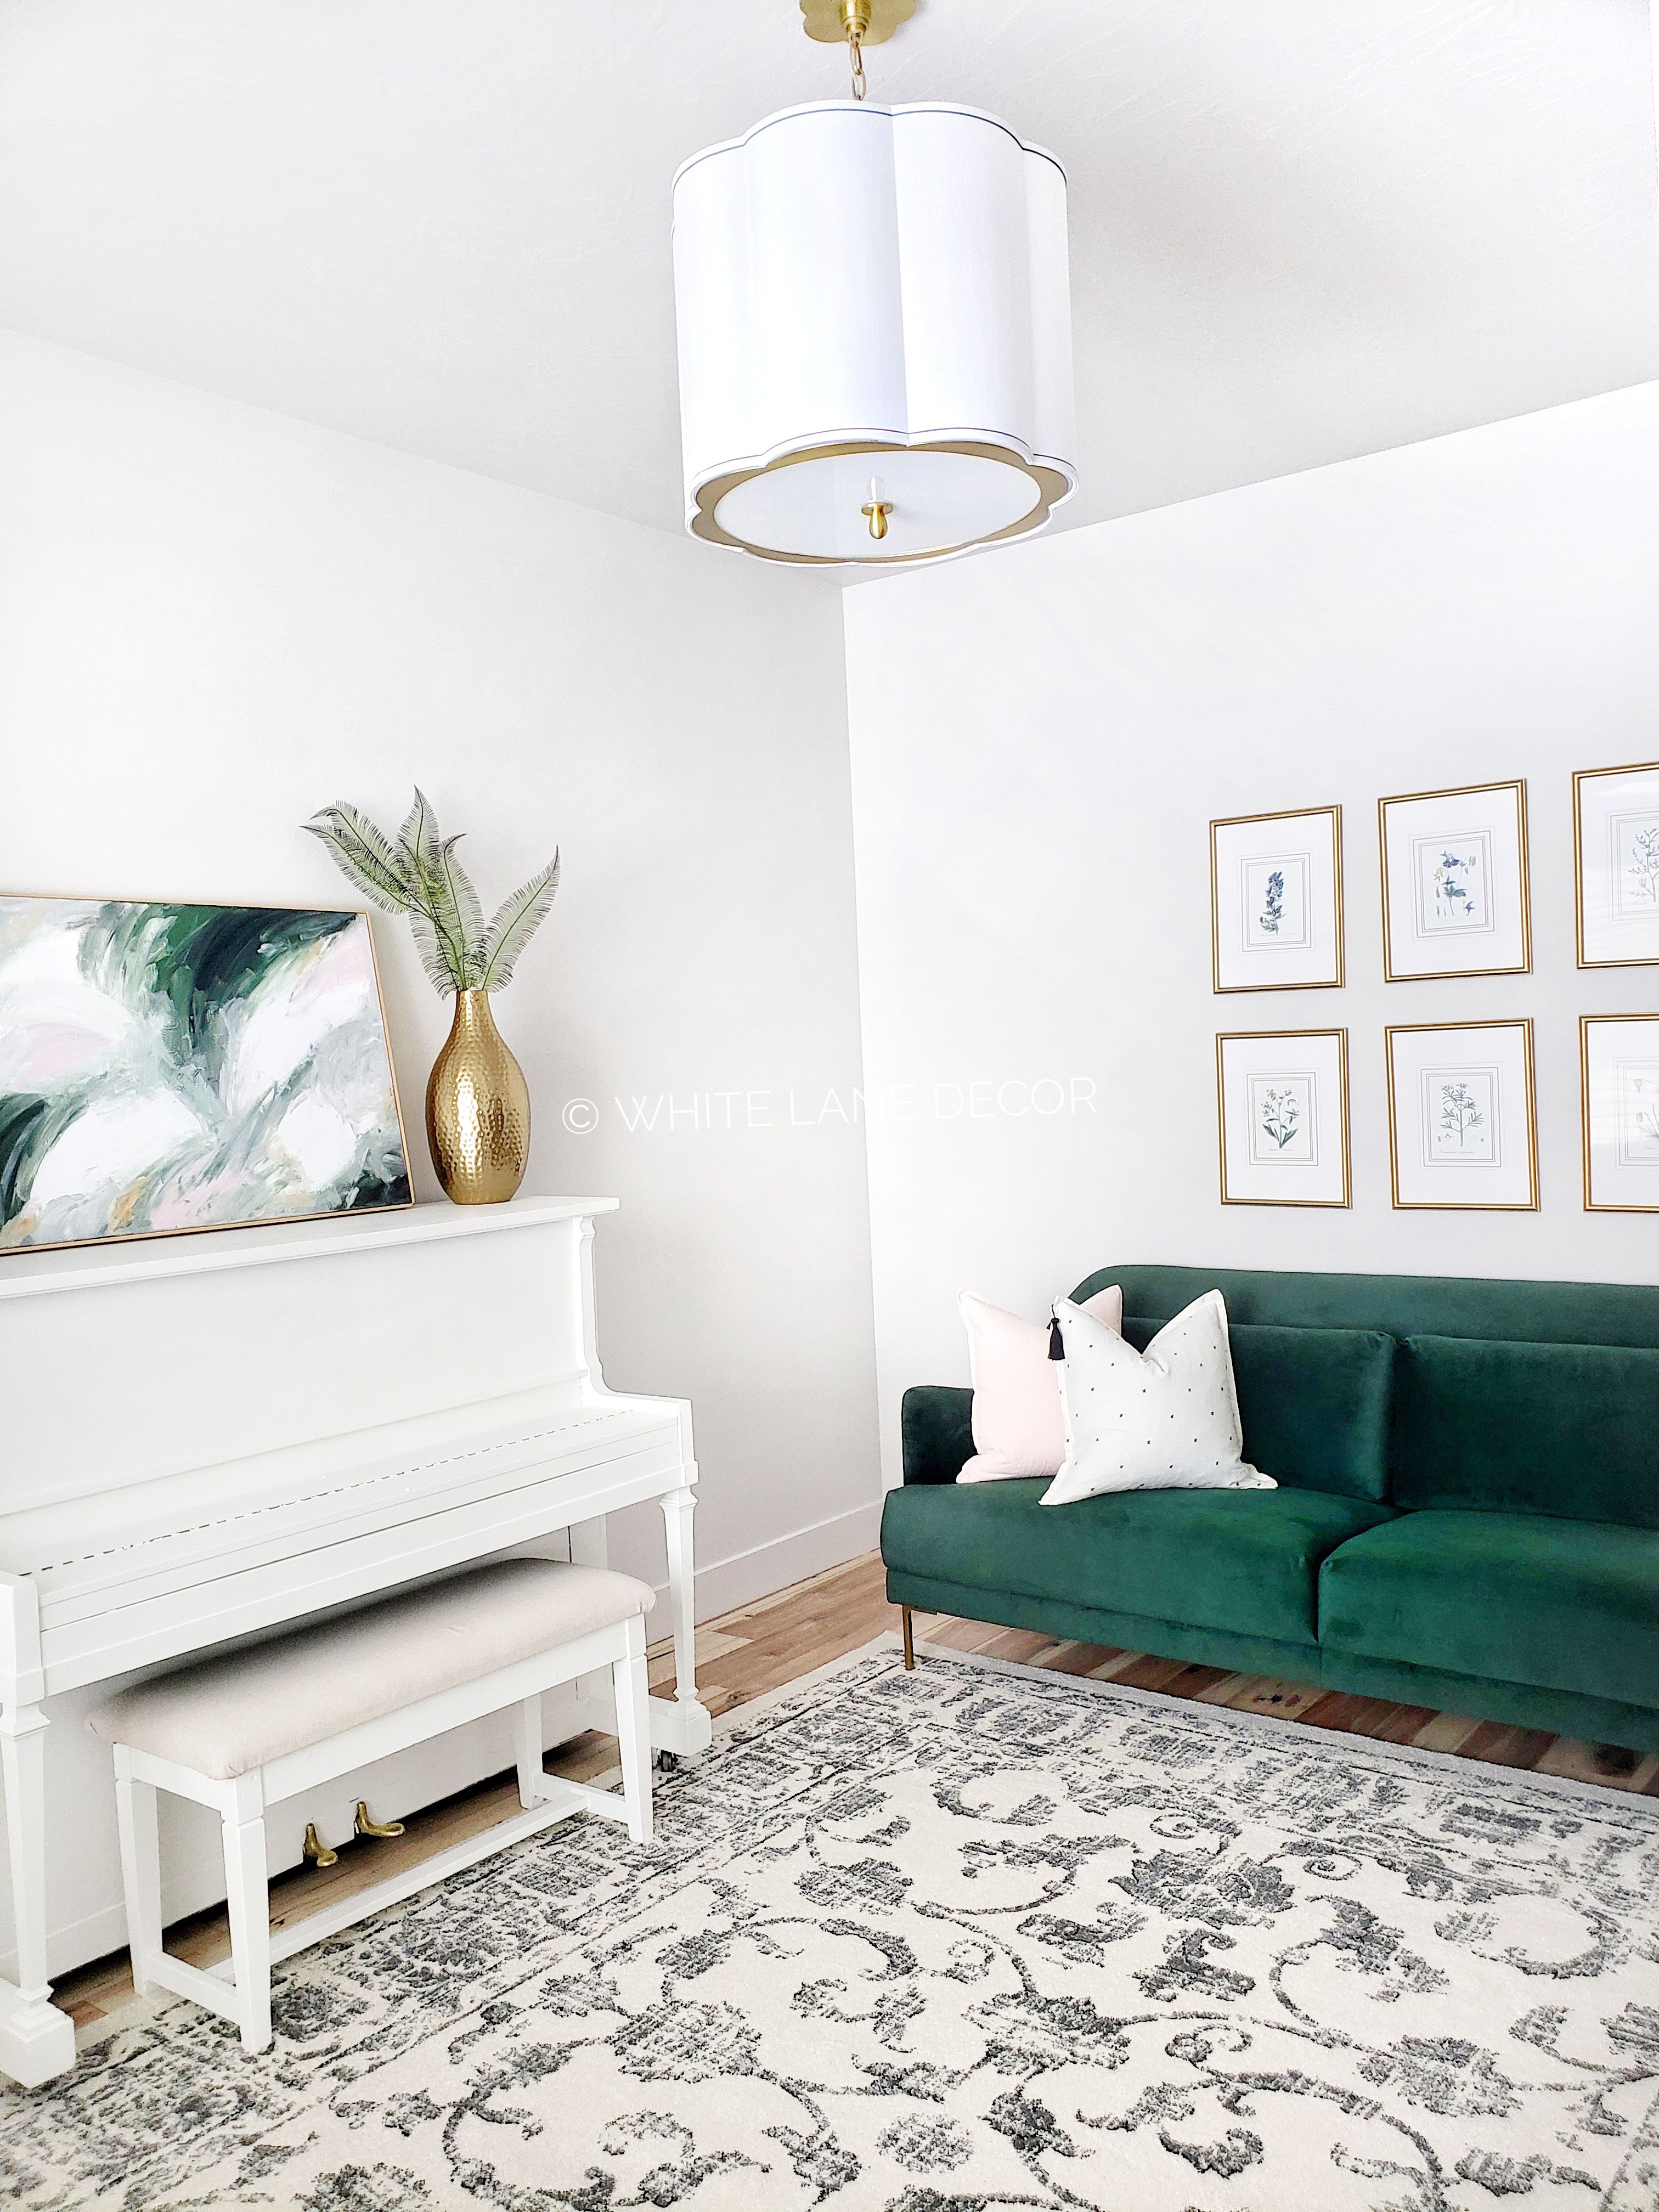
A different rug from Home Dynamix really helped bring the room together. This sitting chair is a great affordable piece and comes in three colors. We played musical lights and took the light from the dining room and put it in here. The scalloped flush mount light that was in here got moved to the pantry (reveal coming soon). Okay and this green sofa. I am a little obsessed. So, what started as just painting my piano turned into a little room update. If you give a mouse a cookie…..well you know what happens. 🙂
This looks great. I like touch of green in the room brings the best and yet doesn’t overpower that beautiful rug. Another Katey design win.