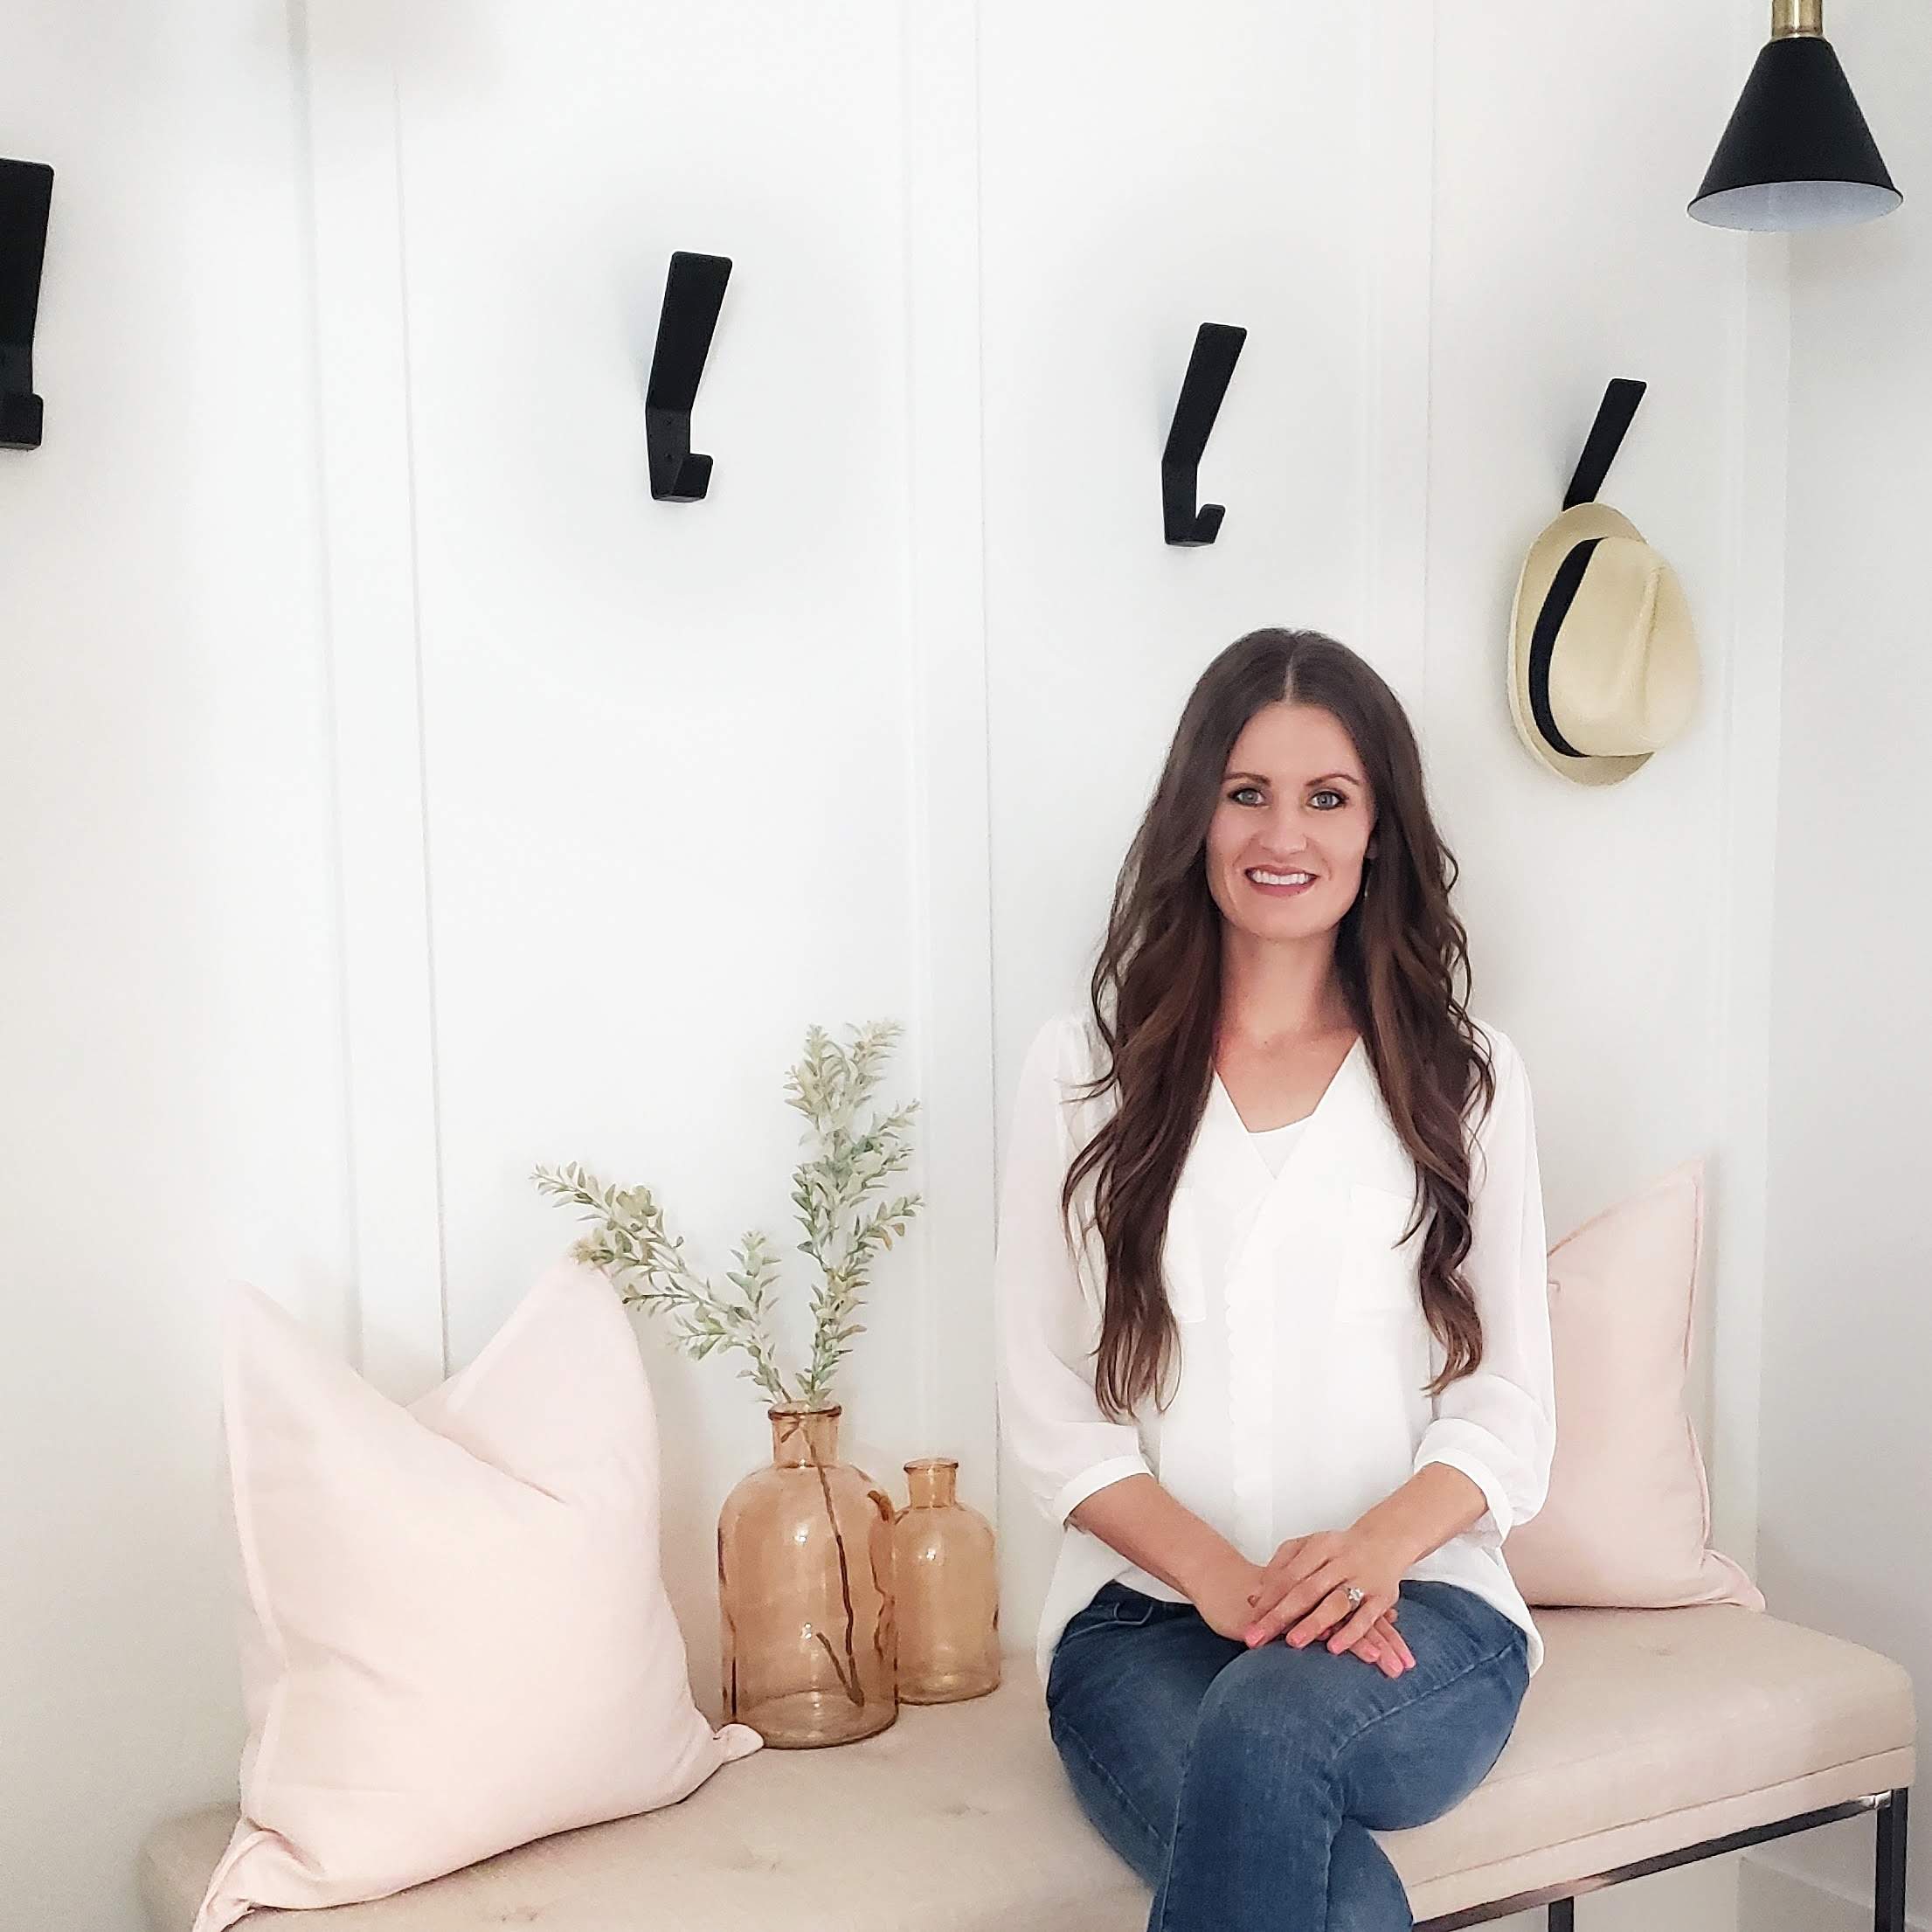
Stay Connected With The Latest Posts

  • This field is for validation purposes and should be left unchanged.

Stay Connected With The Latest Posts

Kate

Hi there, I’m Kate. Welcome to White Lane Decor. Thanks for stopping by. I love neutral, bright, and airy spaces. I’m always looking for new ways to turn our house into a home. Have a look around and find inspiration for your next project.

Disclosure

Some of my blog posts, ads, and banners contain "affiliate links." This means if you click on the link and purchase the item, I will receive an affiliate compensation. However, I only recommend products or services I use personally and truly feel you will enjoy too! I am disclosing this in accordance with the Federal Trade Commission's 16 CFR, Part 255: "Guides Concerning the Use of Endorsements and Testimonials in Advertising.” White Lane Decor is a participant in the Amazon Services LLC Associates Program, an affiliate advertising program designed to provide a means for sites to earn advertising fees by advertising and linking to amazon.com.

Shop My Home

DIY Corbel Shelves

Ballard Designs. Heard of them? Well, they are kind of a big deal…..and so are their prices. They had some amazing bracket shelves that were perfect for the dining room in our townhouse. Only, problem is, they were like super expensive. So I started to look at Etsy, Target, and a few other places that might have some similar. I found some but they were all floating shelves. I really liked the brackets or corbels on the bottom. I know it is dumb that I wanted to buy them when I could have just made them right? Well, sometimes I get overwhelmed with all the projects on the to-do list. That’s when I just want to go out and buy it so I can check something off and be done. But checking off this project meant big bucks so I was forced to make them…..sort of. 😉

Well, I didn’t have a miter saw to build the shelves from scratch. So I had to get creative. I was at Home Depot and found some floating shelves that I really liked (image below is from the Home Depot website of the shelf I picked). I still thought they needed the corbels to finish them off. That’s when it hit me! I would just buy the floating shelves and add some corbels to them. DUH! I still had to do a little work but it would be quick and easy.1-9-15-09-am

I chose a 24-inch shelf and a 36-inch shelf in white. I then headed over to the wooden corbels. There is a section of a bunch of unfinished corbels in Home Depot. I couldn’t fin one that I like so I went to Lowes. I found the one I liked at Lowes in the picture below (picture of corbel is from Lowes website). I needed four of them (two for each shelf). They also have them online and that’s where I borrowed this picture from. I also picked up some wood fill and wood glue (pictures from the Home Depot website).


3-9-15-09-am

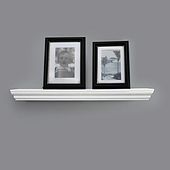
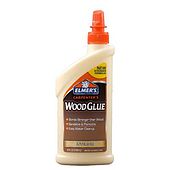
As you can see in the corbel picture they had holes where you would normally attach something. I wasn’t going to use these holes to attach the corbels so I used the wood fill to fill them. After the filler had dried I sanded the areas smooth. Now comes the fun part. I flipped my floating shelves main surface down and got my wood glue. I placed the wood glue on the top of the corbel and laid it on the bottom side of the shelf. I just kind of eyeballed how far apart I wanted them. I did this on each floating shelf. I left them with the corbels in place, where I wanted them to dry overnight. The next morning I came downstairs to my “want to be” Ballard Designs shelves. Only, problem was, my shelves were white and my corbels were unfinished wood.

I thought about taping off just the corbels and painting them since my shelves were already white. Then I would have to worry about the whites matching. So that’s right, I painted the already perfectly painted white shelves. It was the only way to make sure it all was the same color. I used my trusty Kilz primer first. Then I took my Krylon glossy white and spray painted the shelves. They turned out just like I wanted. It was less than $100 for the whole project. That is way cheaper than what I would have spent at Ballard Designs. The best part is that it was a super lazy, do it yourself project. It was practically already done for me. I just put it all together and slapped some spray paint on them. I know they could have been made for a lot cheaper from scratch too. I work with what I got, though. Some day I will have a miter saw and then nothing will be holding me back. Watch out! But seriously I got to get one of those by the time we move into the new house. And that’s a wrap….now you can go make your own “Ballard Designs” shelves.

P.S. here is a pic of my shelves when that one time I tried using colors other than white to decorate for fall….

Kate

Hi there, I’m Kate. Welcome to White Lane Decor. Thanks for stopping by. I love neutral, bright, and airy spaces. I’m always looking for new ways to turn our house into a home. Have a look around and find inspiration for your next project.

Disclosure

Some of my blog posts, ads, and banners contain "affiliate links." This means if you click on the link and purchase the item, I will receive an affiliate compensation. However, I only recommend products or services I use personally and truly feel you will enjoy too! I am disclosing this in accordance with the Federal Trade Commission's 16 CFR, Part 255: "Guides Concerning the Use of Endorsements and Testimonials in Advertising.” White Lane Decor is a participant in the Amazon Services LLC Associates Program, an affiliate advertising program designed to provide a means for sites to earn advertising fees by advertising and linking to amazon.com.

Shop My Home