
Kate
Hi there, I’m Kate. Welcome to White Lane Decor. Thanks for stopping by. I love neutral, bright, and airy spaces. I’m always looking for new ways to turn our house into a home. Have a look around and find inspiration for your next project.
Shiplap Wall
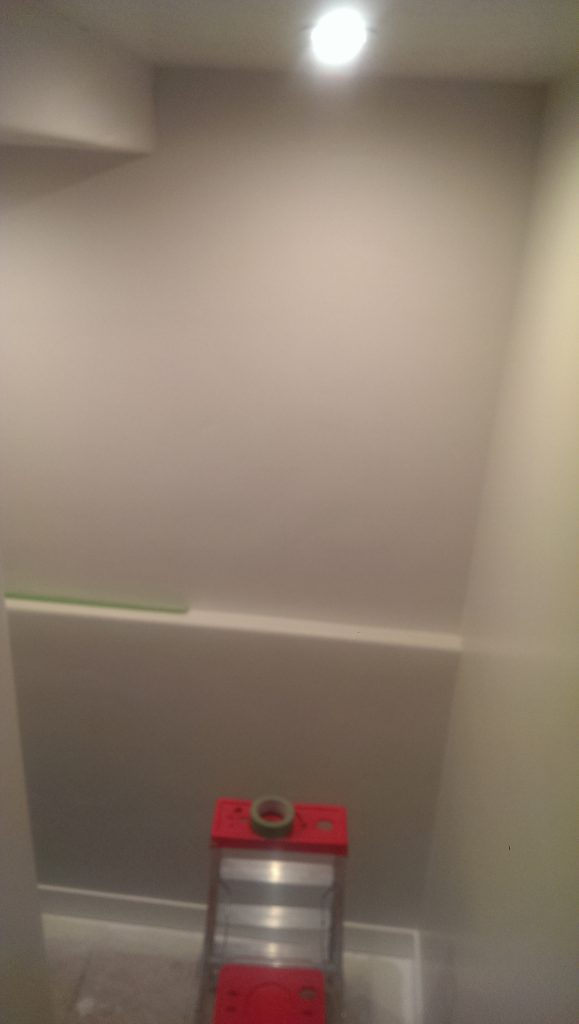
In our townhouse, we really wanted some kind of accent wall going down to the basement. I was tempted to do board and batten, but I wanted to try something new. I looked all over trying to decide what I wanted. I finally arrived at shiplap or a planked wall. Now planking would mean I would hook tongue and groove boards together in order to achieve the look I wanted. It would also be quite a bit thick. Shiplap is also very similar and both are more expensive than what I did. Now my idea of shiplap is really a faux shiplap I guess. I decided to go with this because it was thinner. Off to Home Depot to get some cheap sheets of plywood or utility board ($13 a sheet) ripped into 6-inch strips. I got home and sanded them slightly to get them a little smoother where they were cut.

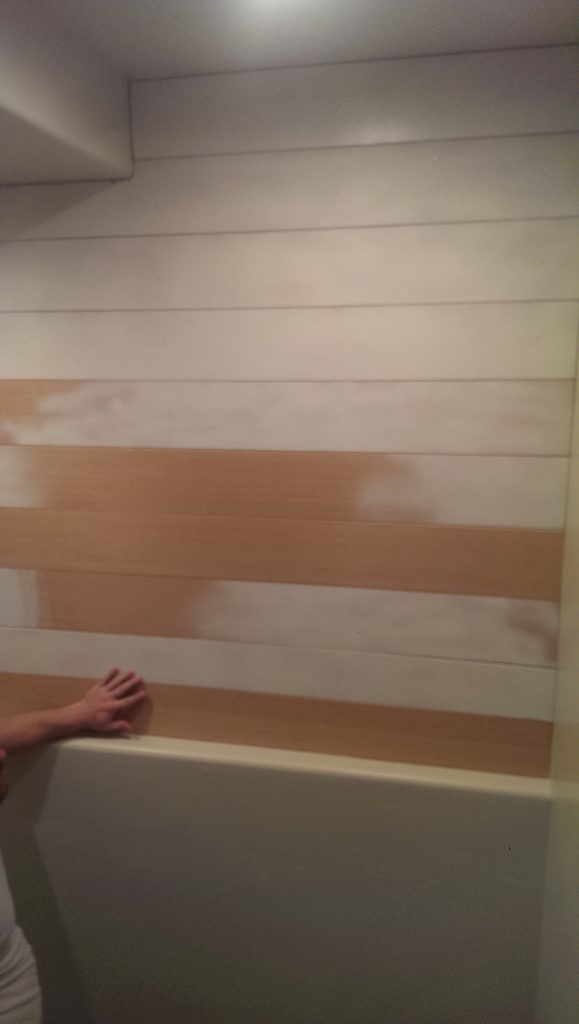
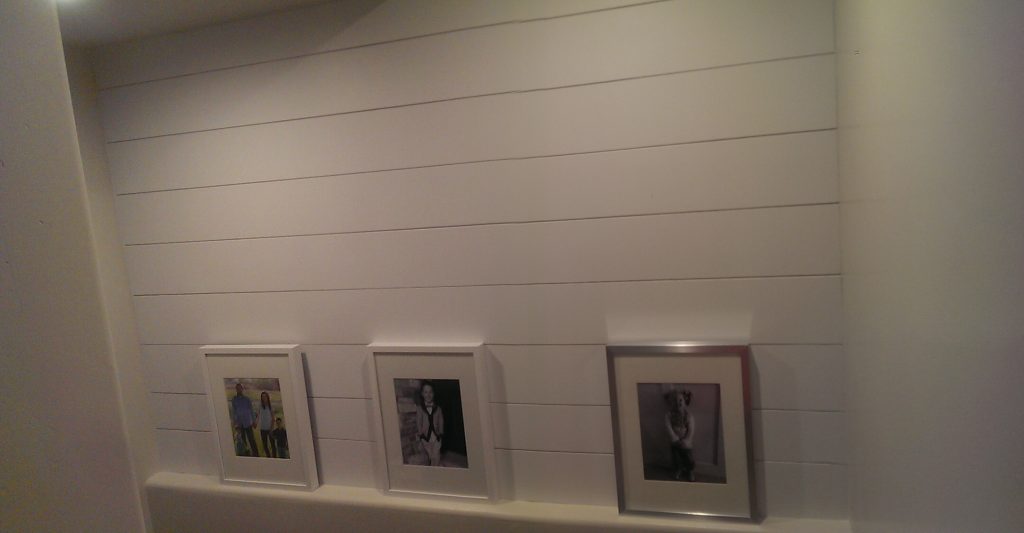
First, I painted the wall white where the planks would go. I spaced them slightly apart using a nickel and I didn’t want the tan color to peek through. Then I started priming the planks. It was kind of hard to do this before I even had nailed them to the wall, so I quit half way through :). I bought a cordless nail gun for this ya’ll! So I just started nailing them up to the wall using a nickel to space in between the boards. We had a weird curve towards the top of our ceiling and we just used our jigsaw to cut that since home Depot only does straight cuts. It wasn’t perfect but I caulked, filled , and painted so no one will ever notice. Once all my boards were up I filled all the nail holes and caulked. Then I painted three coats of white paint with a foam roller. Now if you get paint where you spaced the boards, just use a spatula or putty knife to scrap it out. I wanted to hang three pictures but I couldn’t decide if I wanted white frames or silver. I ended up choosing the silver frames from IKEA. What do you think?
Kate
Hi there, I’m Kate. Welcome to White Lane Decor. Thanks for stopping by. I love neutral, bright, and airy spaces. I’m always looking for new ways to turn our house into a home. Have a look around and find inspiration for your next project.