The following post contains affiliate links. Read my full disclosure here.
I was trying to come up with a solution for our mudroom. There is the perfect little cubby for a built-in bench and lockers. We have done so much work and transformations to this house since we bought it. We are working on finishing up the basement and a few other projects. I wanted to create a cute inexpensive mudroom area. The budget for this space was tight! All of our money is going into the basement and other areas of the house.
Since we moved in, the plan for this space has been to build a built-in bench with storage lockers. Maybe even a hidden little printer cabinet that could pull out when needed. However, I knew that would not be in the budget right now and I wanted to give this area a quick makeover now.
I needed something that would work for now and that could also be added on to when the budget allowed. Those lockers and built-in bench were not going to make the cut this round. I had to get creative and come up with something functional and stylish until then.
My first thought was shiplap. Of course, who doesn’t love a good shiplap wall with some hooks and a bench in the mudroom? When I crunched the numbers it just didn’t make sense to put shiplap here. That would blow my whole budget for the entire space. I decided the most cost-effective trim work for this little cubby would be floor to ceiling board and batten.

Lay out the boards at Home Depot to decide on the style.
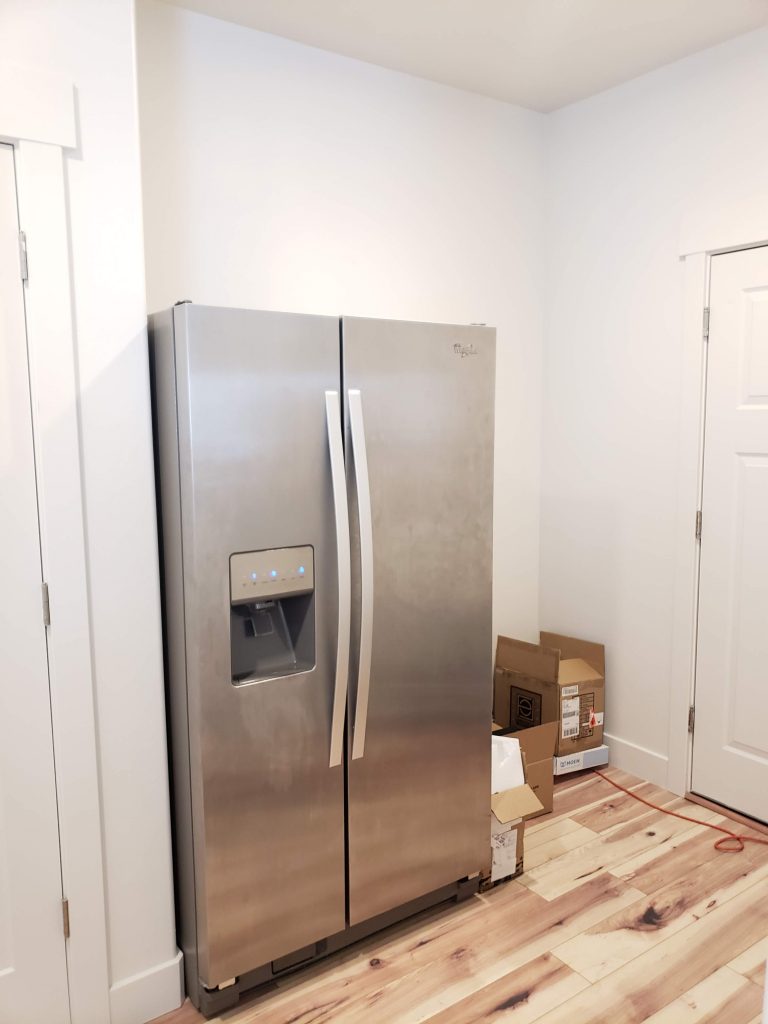
The mudroom before the update.
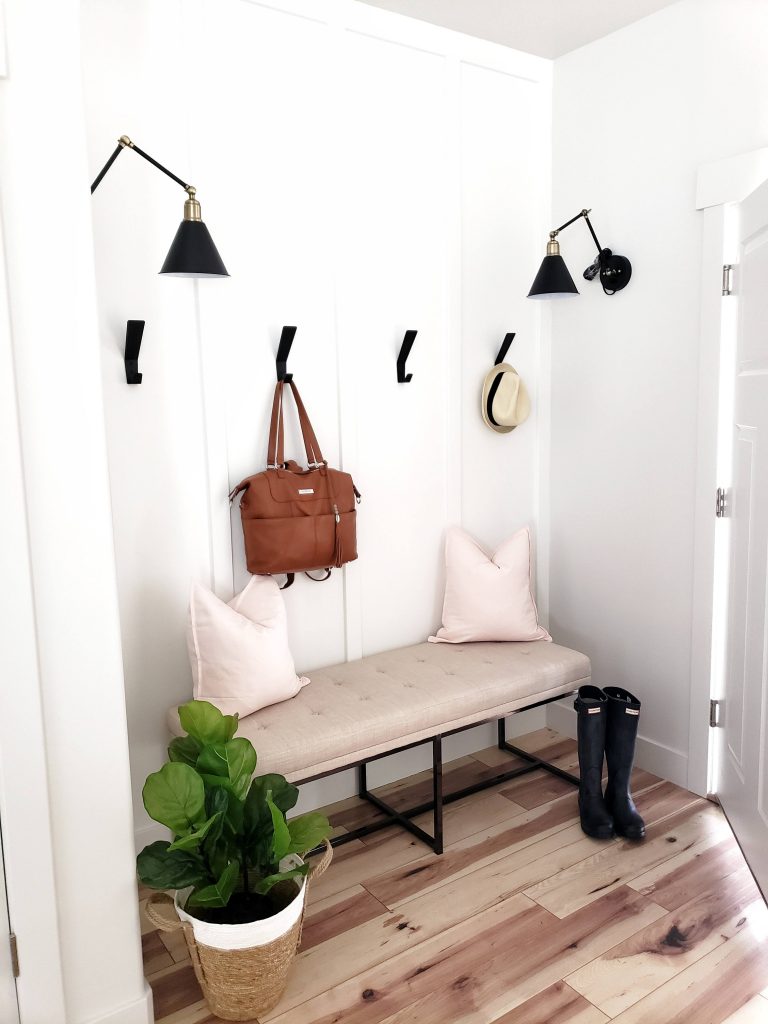
As soon as I had the wall trim picked the rest of the area just came together. I had a bench in our master bedroom that fit this little cubby perfectly. It is not the built-in bench I wanted but it will be a good placeholder until we get around to building the custom one. I also found some modern black hooks at Target for less than $6. I did splurge (for my tiny budget in this room) on these two wall sconces. I shopped my house for the rest of the accessories and pillows to pull it all together.
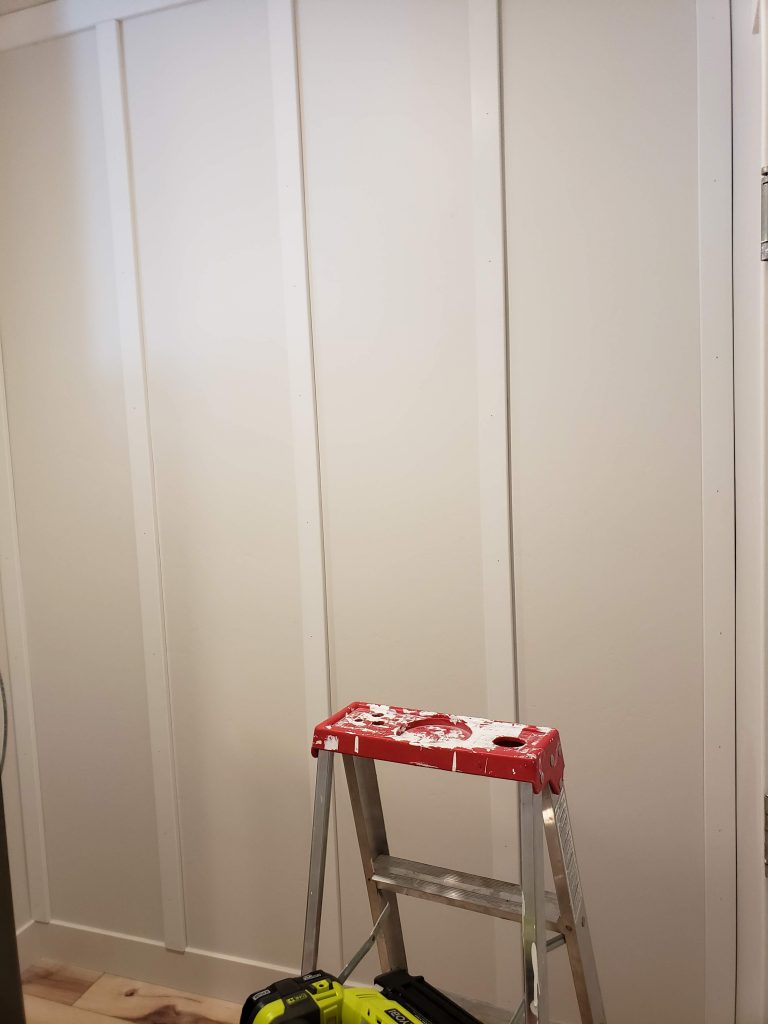
The boards are up and ready for caulk & paint.
The great thing about this board and batten is that we can continue it around the rest of the mudroom and add a built-in bench right in front of it later. I was able to get all the MDF wood trim for this 80″ wall for about $35. I had the caulk, nail gun, and paint already on hand to finish everything else.

Ok, the steps you have been waiting for:
*I used a 1×3.5 MDF primed board across the top horizontally and nailed that in first. Home Depot will do all of your cuts for free. Measure the area you want to trim out and how many boards of each size you will need. When you go buy your boards you can get them cut too.
*Next, I used 5 1x 2.5 MDF primed boards across the wall vertically. I nailed up each end piece first. I knew I wanted a board to finish on each vertical end. I took the wall space I had left and evenly spaced the other 3 boards to create 4 equal spaces across the wall.
*Caulk the trim and fill the nail holes. I love using this tool to caulk. It makes things so much easier.
*Tape off the area and Paint. I used a foam roller and Sherwin Williams “Pure White.” It took 3 coats.
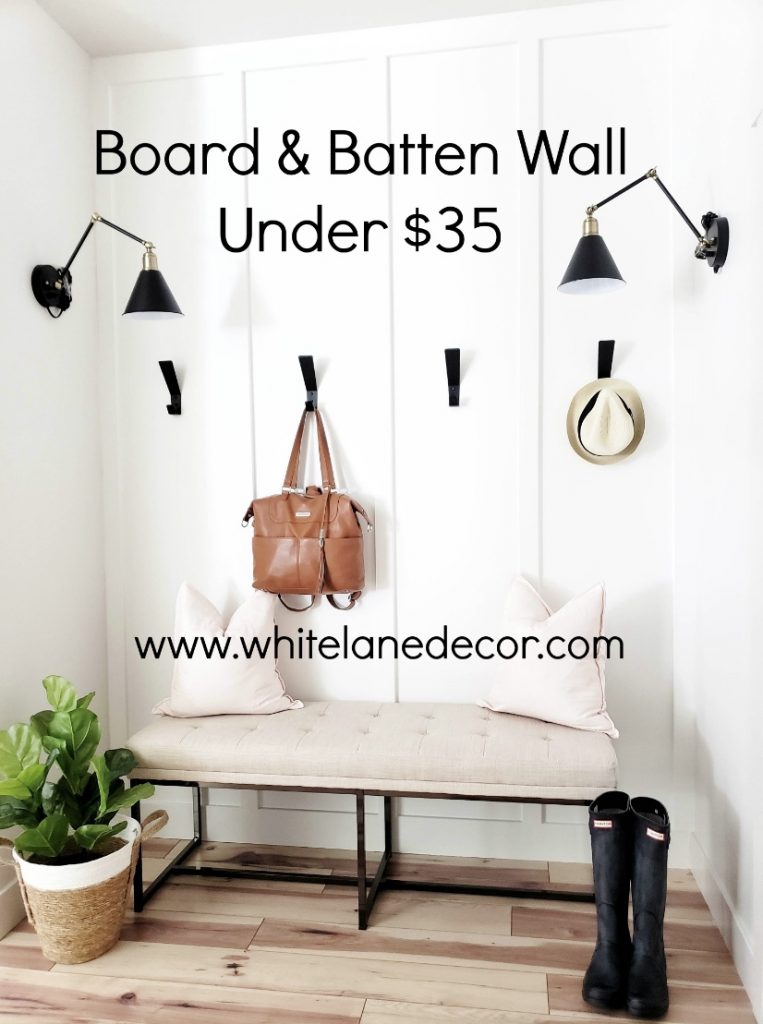
This is one of the easiest and least expensive ways to add character and dimension to a room. Not a bad looking wall for only $35. It is a great temporary fix until we get around to making what we really want for our mudroom. I see more floor to ceiling board and batten going in our house soon. 🙂

I like how the Lily Jade bag looks hanging on the wall.
Where are the wall scones from?! Love them!
Thanks! Found them on LamPlus.com.
Thanks! They are from Lampsplus.com