
Kate
Hi there, I’m Kate. Welcome to White Lane Decor. Thanks for stopping by. I love neutral, bright, and airy spaces. I’m always looking for new ways to turn our house into a home. Have a look around and find inspiration for your next project.
Board and Batten Dining Room
Oh Hey! It’s been a few days but I’m back. First, my son got strep throat on Sunday and then I got strep throat on Wednesday ( haven’t been that so sick in years). Thursday was Christmas Eve and then Christmas so it has been a little cray cray around here.
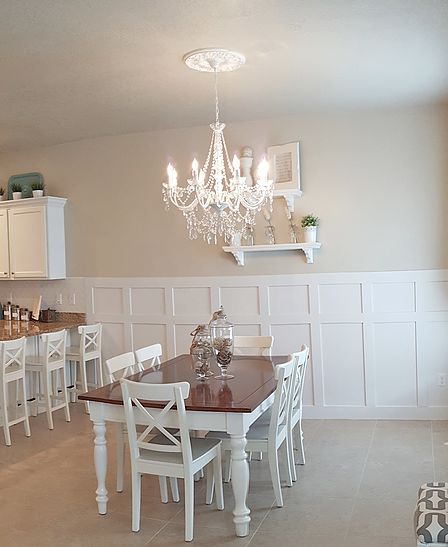
Board and batten! My favorite stuff to add character to a house! I just love all the trim, white, and depth that it gives to a room. In the townhouse, we were able to put some in the entry, half bath, and dining. In our new house, I want it in a lot more places! Hopefully, my little tutorial will help you decide to go get some board and batten going in your house too
First off, I used painters tape to give me a visual of how it would look. I use painters tape to do this with almost all my projects. I measured out the length of the wall to figure out how far apart each board should be. My wall length with my boards meant that one space would be a little smaller than the others. Two inches isn’t a big enough space for the common eye to notice the difference so it would be fine. I also had my backsplash that would run right into the board and batten. At first, I thought the board and batten should be higher. I know it’s dumb because then you have the end of your backsplash and a step up where the board and batten starts. I don’t know why I thought this ( this is why painters tape is so handy to visualize). Mr. Whitelane was adamant that the height of the board and batten be flush with the height of the backsplash. After taping it all off I realized he was right! Now I knew the height of where I wanted the boards and I was ready to go buy them at Home Depot.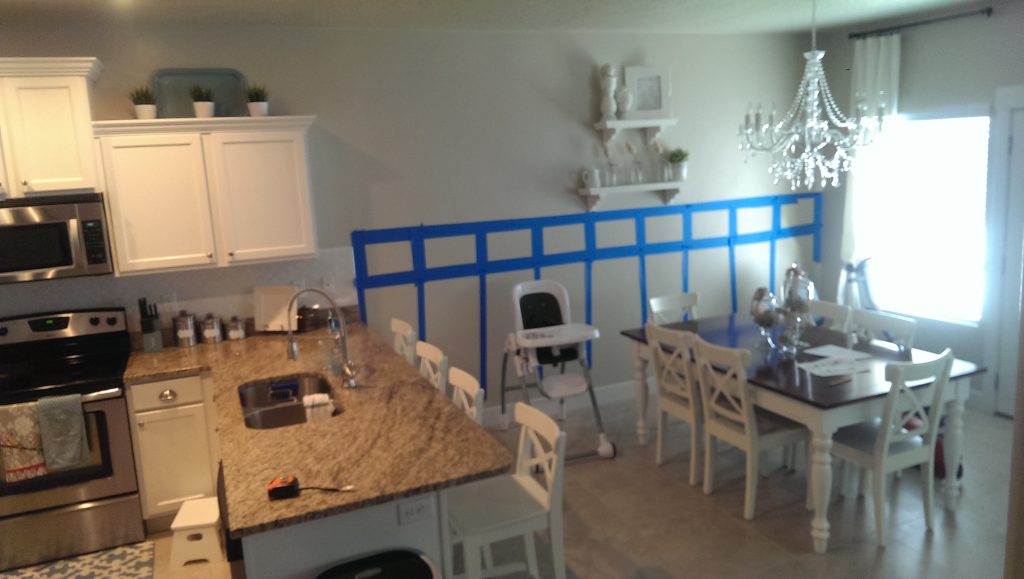
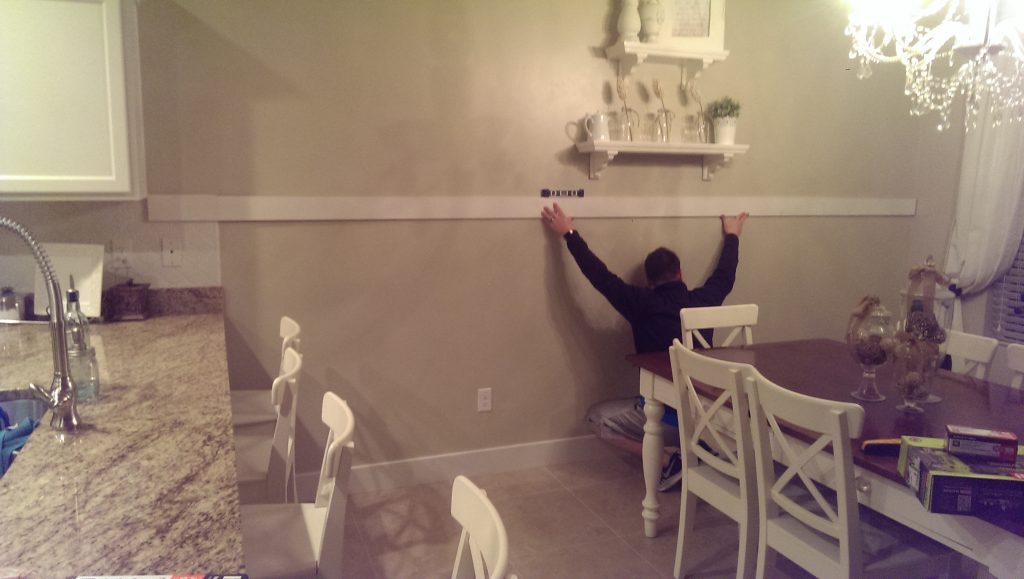
We nailed up all the vertical boards about 20” apart. I also put a little bit of liquid nail on the back of each board before we nailed it up. Using a cordless pneumatic nail gun was so amazing for this project. No compressor or cords was just awesome! Ryobi Air Strike really made this easy. After we got all the vertical boards up, it was time for the top horizontal piece. You can see Mr. Whitelane holding up the long top piece before we cut it to length. This top piece we cut at home with a jigsaw to make sure we got it right. We also marked where all the studs were with a stud finder to make sure we were getting the nails in a stud where possible. Between the liquid nails and the nail gun, these boards aren’t going anywhere!
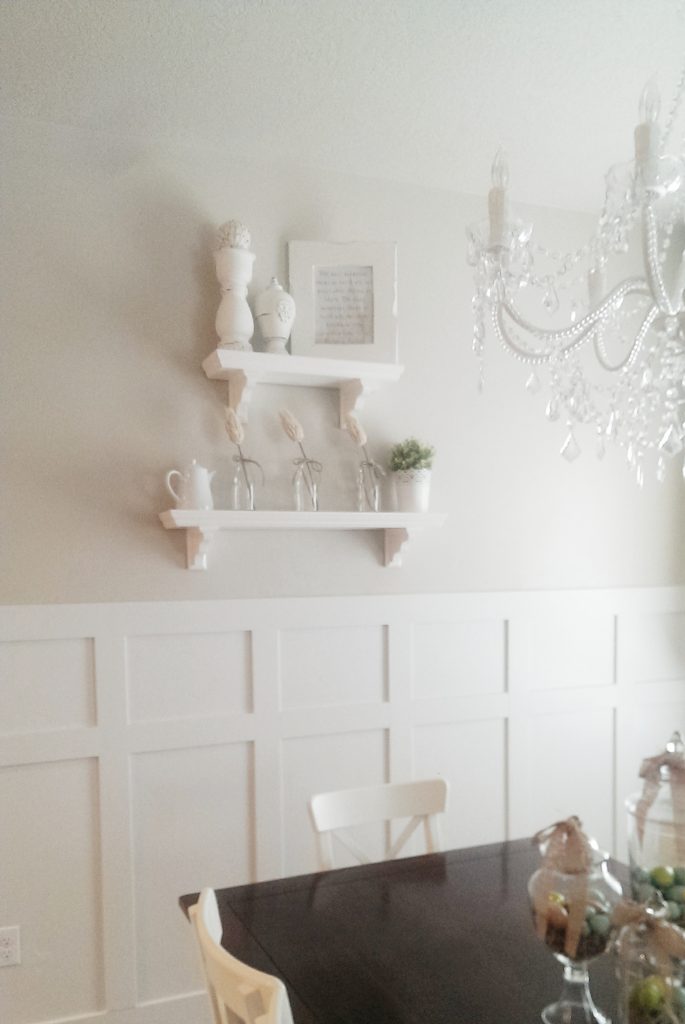
After all the boards were nailed into place we had to fill them with wood fill or putty. After that dried we sanded smooth in the areas that were filled. Ok, I seriously hated caulking everything. It was the worst. It took forever and was messy. UNTIL….one day Mr.Whitelane said he had an idea about something that would make it easier. He went to WAL-Mart and came back with the tool that changed my life! I’m not joking! It’s called a caulk finishing set or caulk remover. It is this little arrow looking tool with a handle that will work wonders.(Here is a picture of the one I used I found on Lowes website) It saved me so much time, not to mention gave the smoothest caulk lines I have ever seen! So easy ( I used this tool to caulk the trim in an entire basement with ease). After the caulk and spackle was all dry I used a foam roller and got to painting three coats of white. I probably could have stopped at two but I like to be sure and drag things out 😉 .
Kate
Hi there, I’m Kate. Welcome to White Lane Decor. Thanks for stopping by. I love neutral, bright, and airy spaces. I’m always looking for new ways to turn our house into a home. Have a look around and find inspiration for your next project.